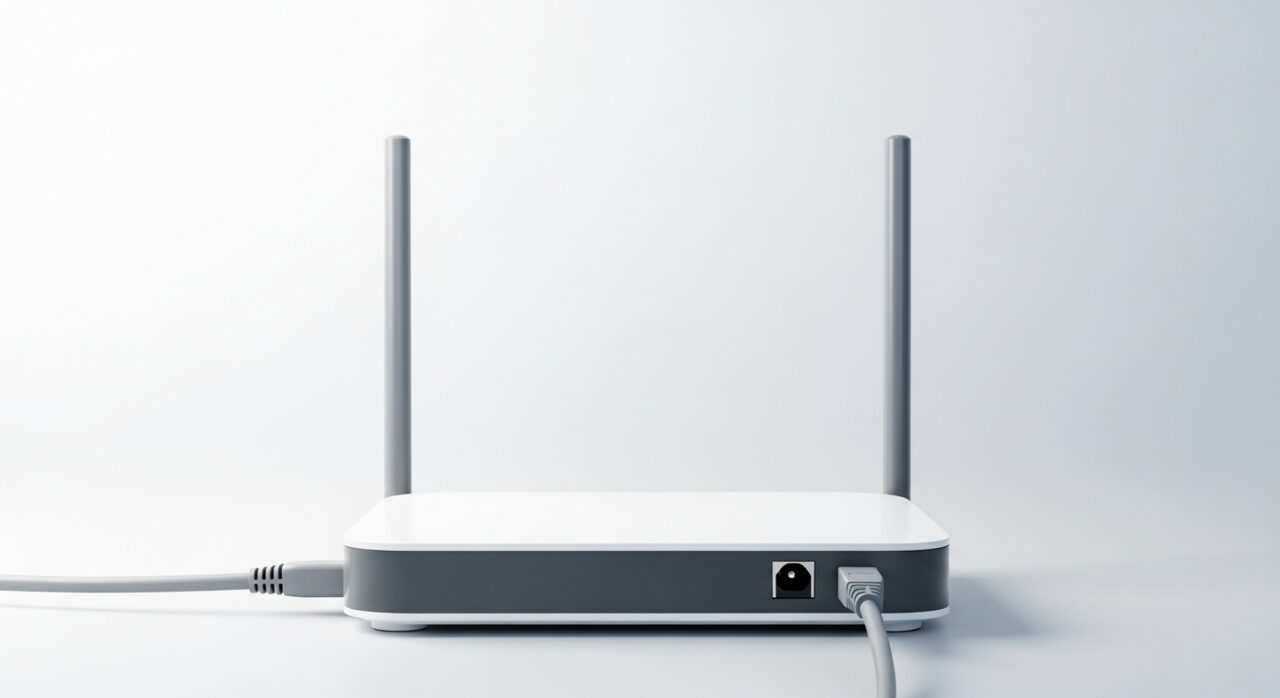
Understanding the problem
A wireless signal spreads outward from the router and grows weaker with every metre and every barrier it must cross. Thick walls, floors, and large metal appliances absorb or reflect it, so rooms shielded by them receive only a faint remainder. Tucking the router into a corner, cupboard, or low spot starts the signal off already blocked on one side. Neighbouring networks sharing the same channel add background chatter that further muddies the air. None of this is a fault in the network itself; it is simply the physics of a fading signal meeting the shape of a home.
Symptoms
- Signal is strong near the router but fades further away
- Certain rooms drop to one or two bars or lose the link entirely
- Speeds fall sharply at the edges of coverage
- Connections hold downstairs but struggle on other floors
Likely causes
- 1Distance between the device and the router
- 2Thick walls, floors, or large appliances blocking the signal
- 3The router tucked into a corner, cupboard, or low position
- 4Interference from neighbouring networks on the same channel
- 5An older router with limited range for the space
What to observe and check
- Observe how the signal weakens as you move room to room
- Note whether specific walls or appliances mark where coverage drops
- Watch whether relocating the router to a central, open spot helps
- Check whether nearby networks crowd the same channel during weak periods
Step-by-step repair
 1
1Map the weak areas
Walk room to room and note where the signal fades, since coverage weakens with every metre and barrier it must cross.
 2
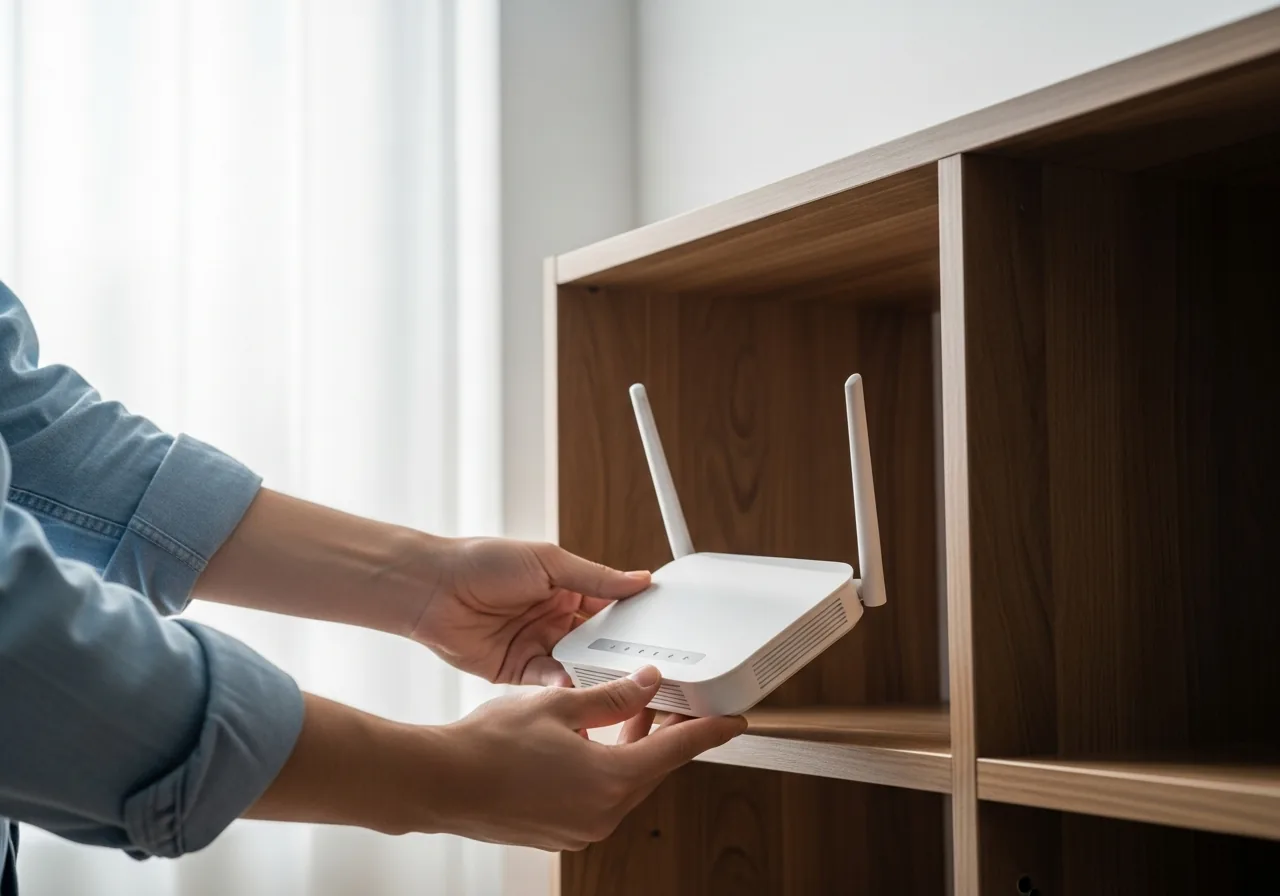
2Move the router to an open spot
Place the router centrally and lifted off the floor, out of corners and cupboards, so its signal starts its journey unobstructed.
 3
3Clear nearby obstacles
Keep the router away from thick masonry and large metal appliances that absorb or reflect the signal into the rooms beyond.
 4
4Choose a quieter channel
Where neighbouring networks crowd the same channel, switch to a less busy one to clear some of the background chatter.
 5
5Re-check coverage room to room
Walk the home again and confirm the previously weak areas now hold a usable signal and steady speeds.
When to seek help
If improving coverage would involve mains wiring or work at height you are not comfortable with, leave it to a qualified installer.
Reducing the chance it returns
Place the router as centrally and openly as the room allows, lifted off the floor and clear of cupboards, so its signal starts its journey unobstructed. Keep it away from large appliances and thick masonry that swallow coverage. Where a network nearby crowds the same channel, choosing a quieter one restores some clarity. For homes where distance simply defeats a single source, planning for a second relay point in the dim areas spreads coverage more evenly, so the edges of the home no longer fade out during everyday use.
Repair110 is a free, informational resource. These steps describe a careful, general approach — every device is a little different, so work slowly, back up anything you value, and prioritise your own safety. If a step feels beyond your comfort, stop and consult a qualified technician.