Understanding the problem
For a drive to appear, the system must detect it electrically, supply steady power, and then read the small map near its start that describes how the storage is laid out. Detection happens at start-up and again whenever a device is plugged in. If a connector sits slightly proud, a cable flexes open, or power dips below what the controller needs, that handshake never completes and the drive stays invisible. The disk may be perfectly healthy; the system simply never received a clean enough signal to recognise it.
Symptoms
- The drive is missing from the list of available storage
- Start-up halts or warns that no storage can be found
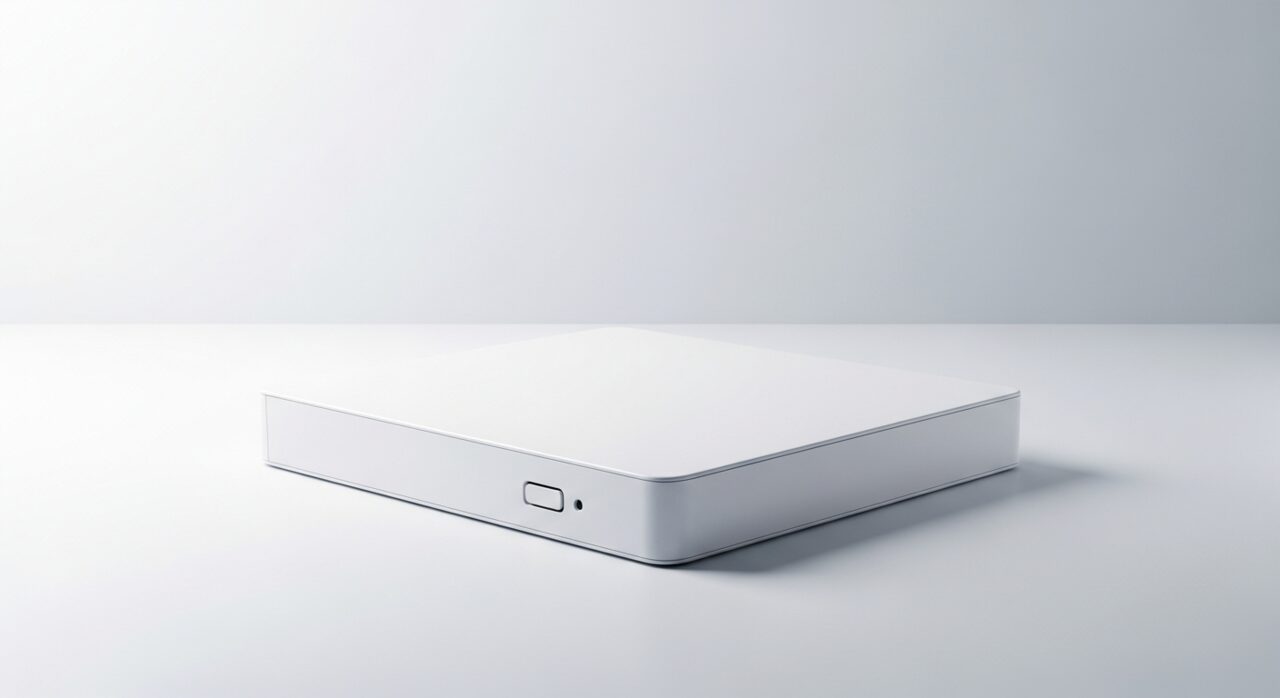
- An external drive connects but never shows up to use
- The system pauses for a long time while searching for the disk
Likely causes
- 1A loose or partially seated data or power connector
- 2A cable that has become worn, bent, or intermittently faulty
- 3The operating system or its drivers failing to mount the volume
- 4A drive that has lost power because of a failing connection
- 5Internal failure of the drive controller itself
What to observe and check
- Note whether the drive is silent, spinning, or making unusual sounds
- Observe if it appears on another system or stays invisible everywhere
- Consider whether the issue began after moving or reconnecting cables
- Watch whether the drive is sometimes seen and sometimes not
Step-by-step repair
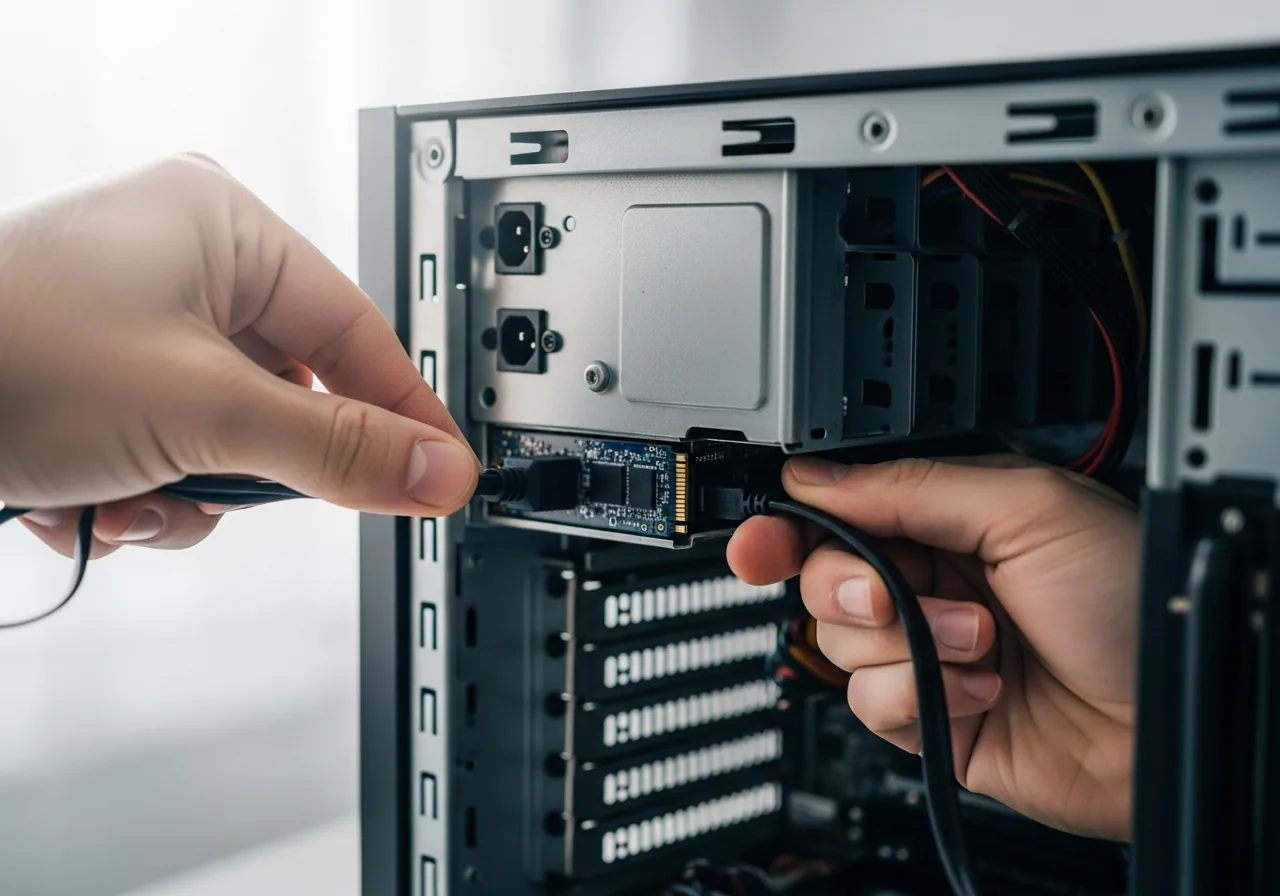 1
1Power down before checking links
Shut the system off and disconnect power before touching internal connectors, so the handshake can be retried safely from a clean start.
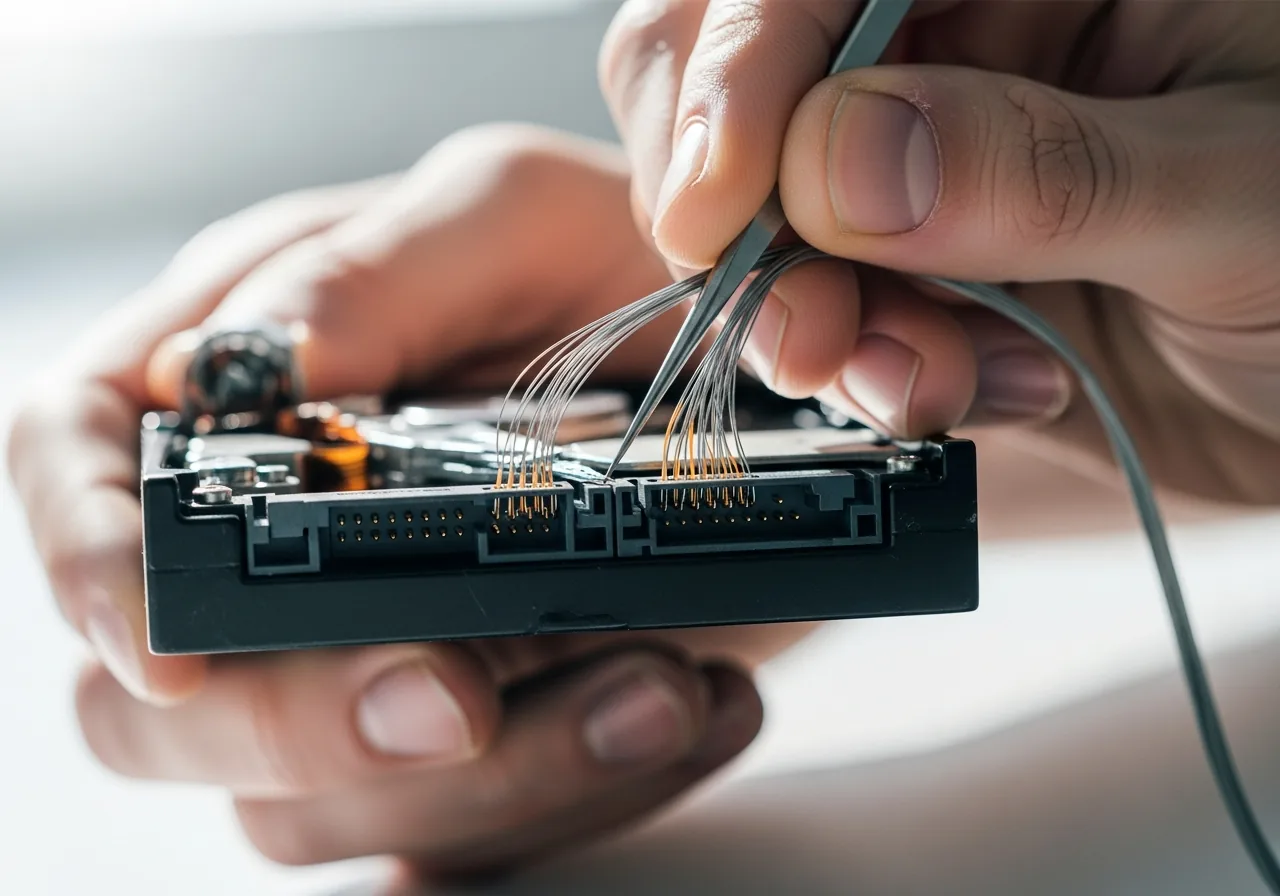 2
2Inspect connectors and cables
Look closely at the data and power connectors and their leads for anything worn, bent, or sitting slightly proud where contact could be lost.
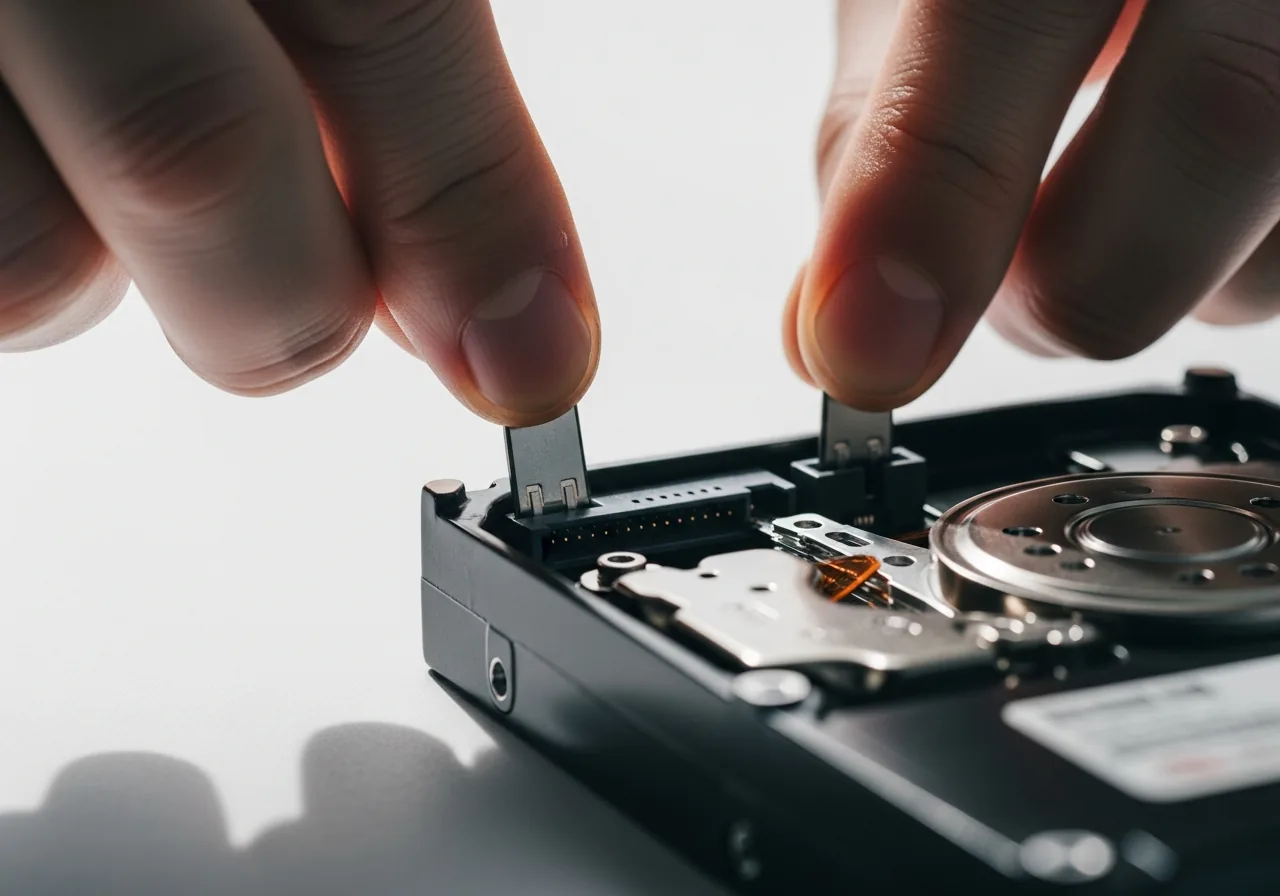 3
3Reseat the data and power connectors
Press both connectors home until they sit flush, since a connector sitting just slightly loose is enough to keep the drive invisible.
 4
4Check the system's storage list
Power back on and see whether the drive is now recognised, and check whether the operating system simply needs to mount the volume.
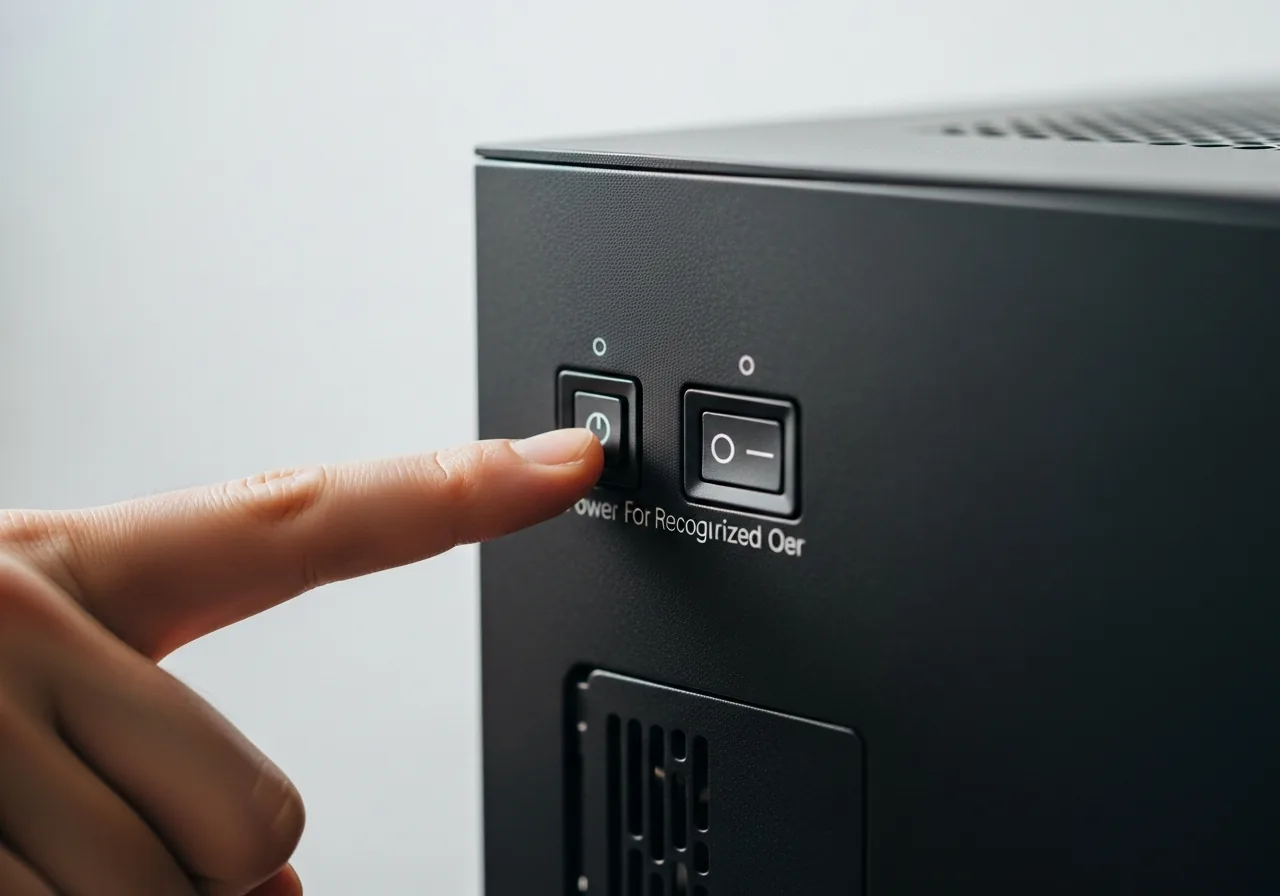 5
5Confirm the drive is recognised
Make sure the drive appears reliably and stays listed, rather than vanishing again the next time the system searches for it.
When to seek help
If the drive holds irreplaceable data and refuses to appear, avoid repeated power cycles and consult a qualified data recovery specialist before risking further harm.
Reducing the chance it returns
Seat data and power connectors firmly until they sit flush, and route cables so they are not pulled taut or pinched when a case is closed. Keep external drives on a stable surface where the plug is not nudged each time something is moved. Replace any cable that feels loose or has been bent sharply, since the damage tends to worsen quietly. When a drive has just been moved or reconnected, confirm it appears before relying on it, so a marginal connection is caught early rather than during important work.
Repair110 is a free, informational resource. These steps describe a careful, general approach — every device is a little different, so work slowly, back up anything you value, and prioritise your own safety. If a step feels beyond your comfort, stop and consult a qualified technician.