Understanding the problem
Early in start-up the firmware works through a list of places it expects to find start-up instructions. When it reaches the end of that list without recognising a usable drive, it reports that nothing bootable exists. This happens when the drive has worked loose from its connector, when a cable no longer carries a clean signal, when the priority list points at the wrong place, or when the drive itself has begun to fail and no longer answers. The message simply records that the search finished with no readable start-up area in sight.
Symptoms
- A text message stating no start-up device was found
- The device pauses on a mostly empty screen at power-on
- The same message returns after every restart
- The system never reaches the operating system at all
Likely causes
- 1A storage drive that has become disconnected or unseated
- 2The start-up settings pointing to the wrong device
- 3Damaged start-up data the system can no longer recognise
- 4A failing or failed drive that no longer responds
- 5A cable or connector fault breaking the link to the drive
What to observe and check
- Note whether the drive appears in the system's start-up settings
- Observe if the message followed moving or reconnecting hardware
- Consider whether the drive made unusual sounds beforehand
- Watch whether the issue is constant or comes and goes
Step-by-step repair
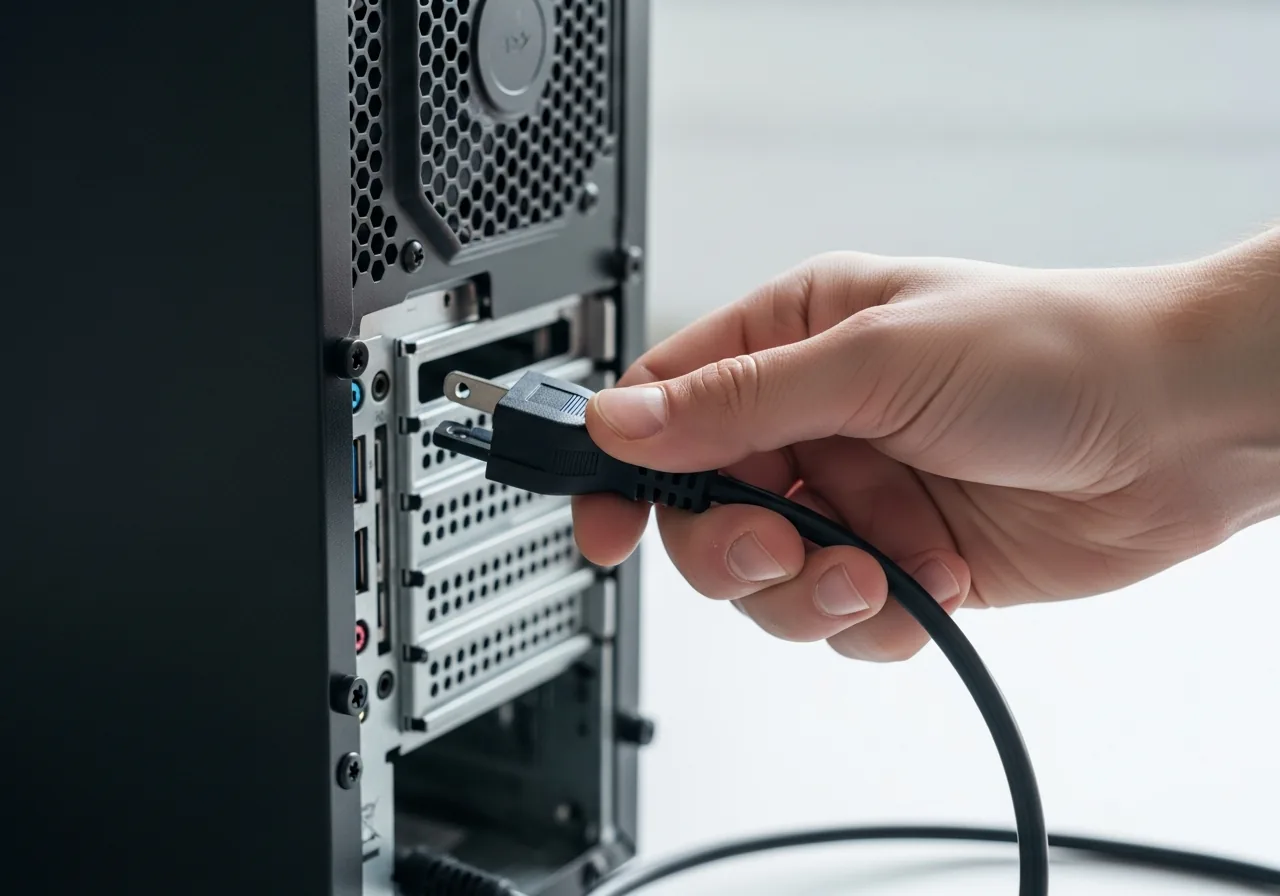 1
1Shut down and disconnect power
Turn the device off and unplug it before opening anything, so no current is present while you reach the storage drive and its cable.
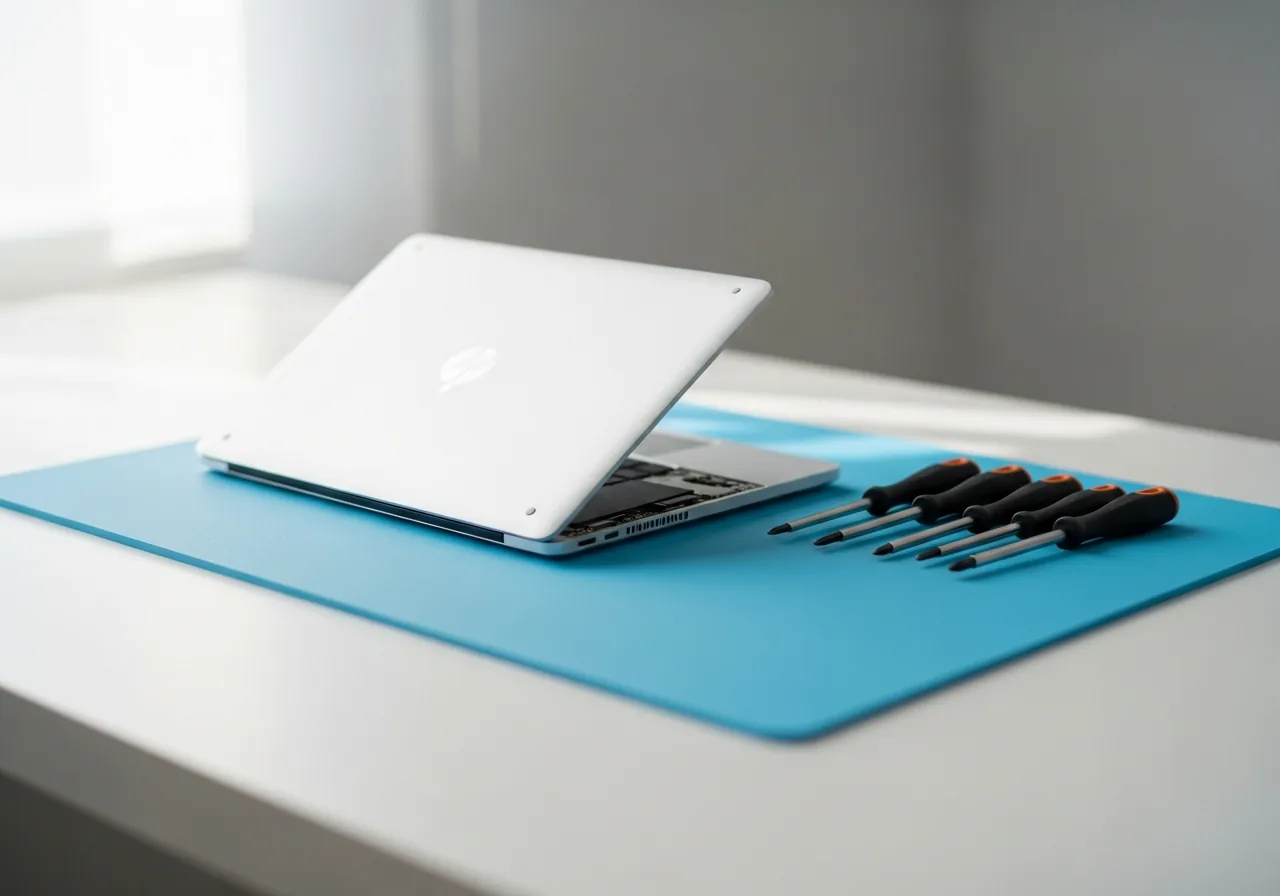 2
2Prepare a safe work area
Set up a clean, well-lit surface and ground yourself against static before touching the internal parts that connect to the drive.
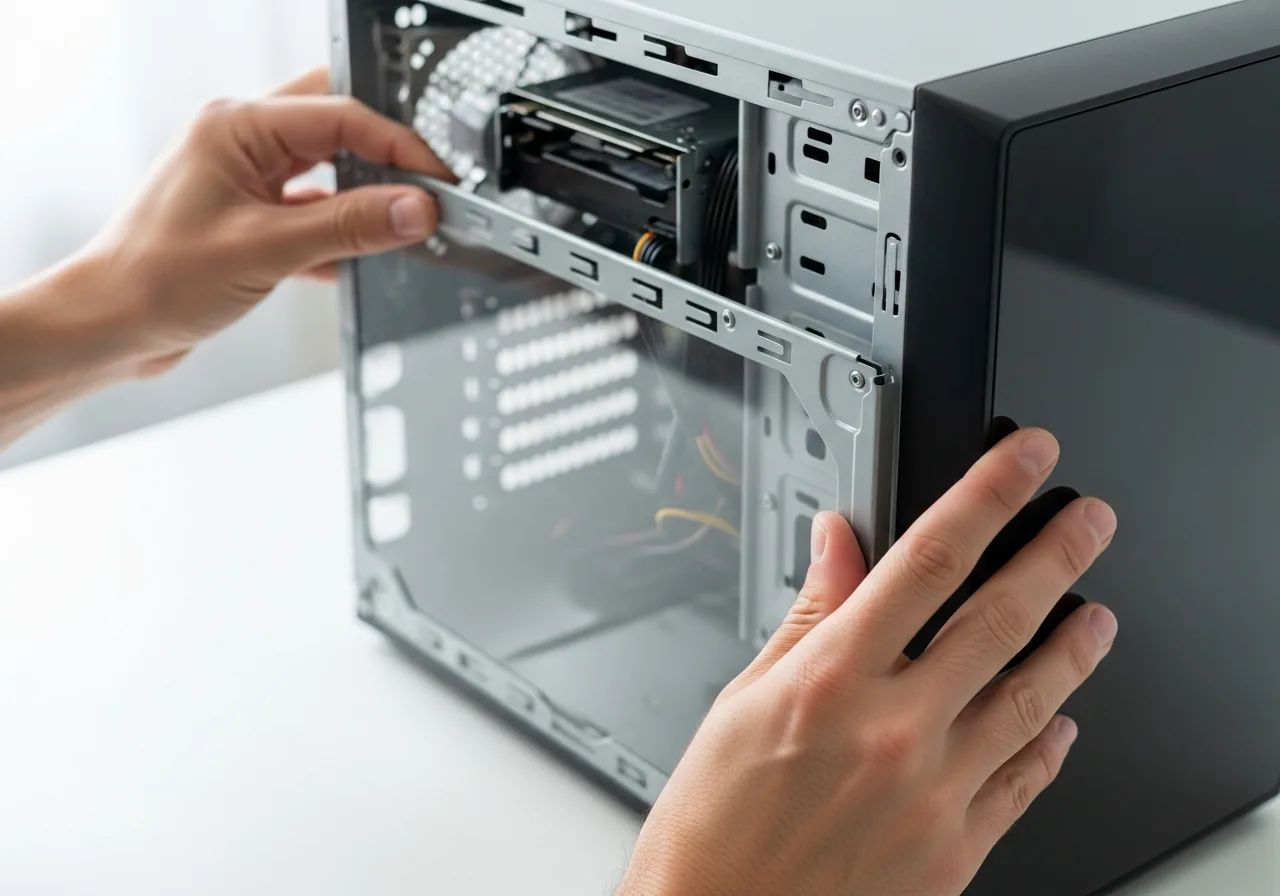 3
3Open the access panel
Remove the screws and lift the panel gently to reach the storage drive without straining nearby cables or connectors.
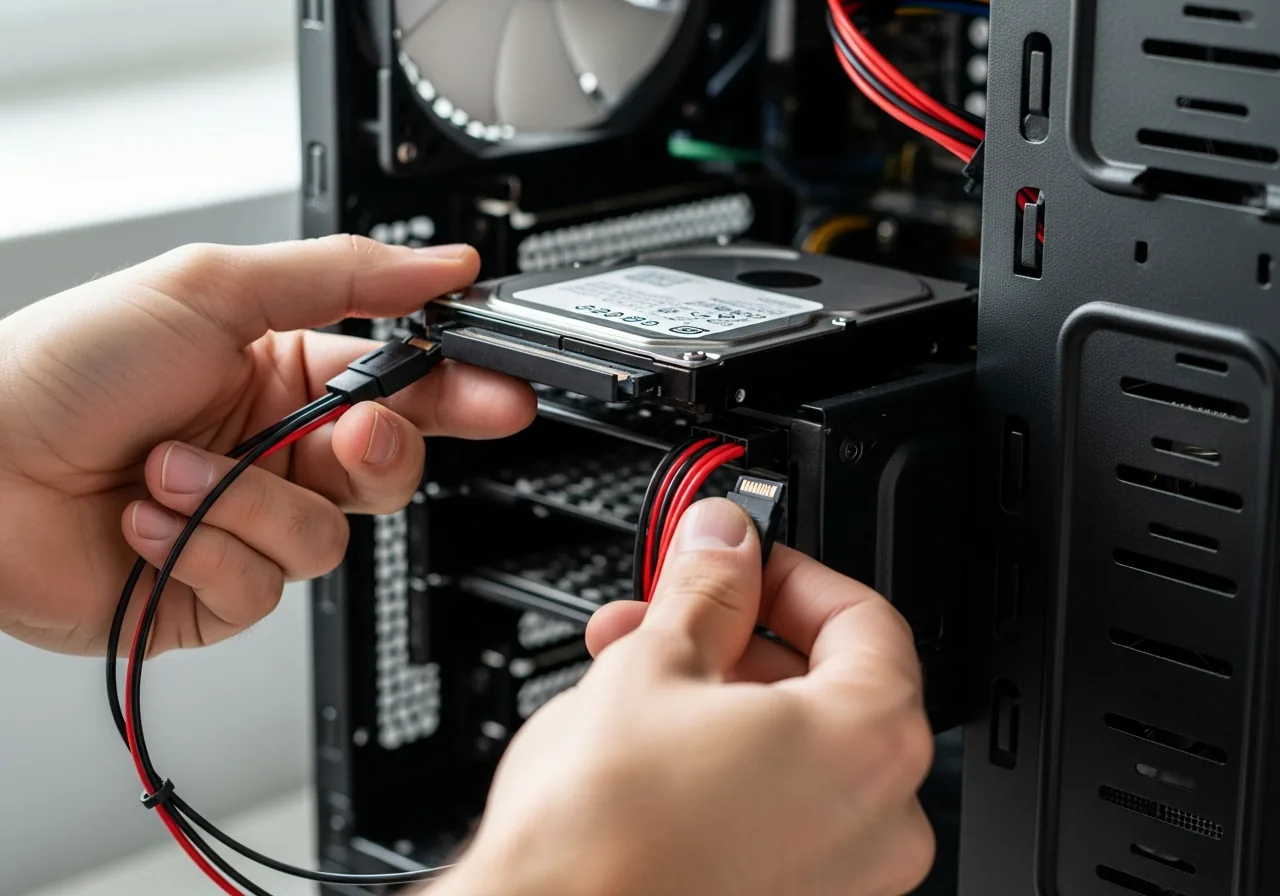 4
4Reseat the drive and its cable
Firmly reconnect the storage drive and its data cable, since a connector worked loose by movement is a common reason the drive goes unseen.
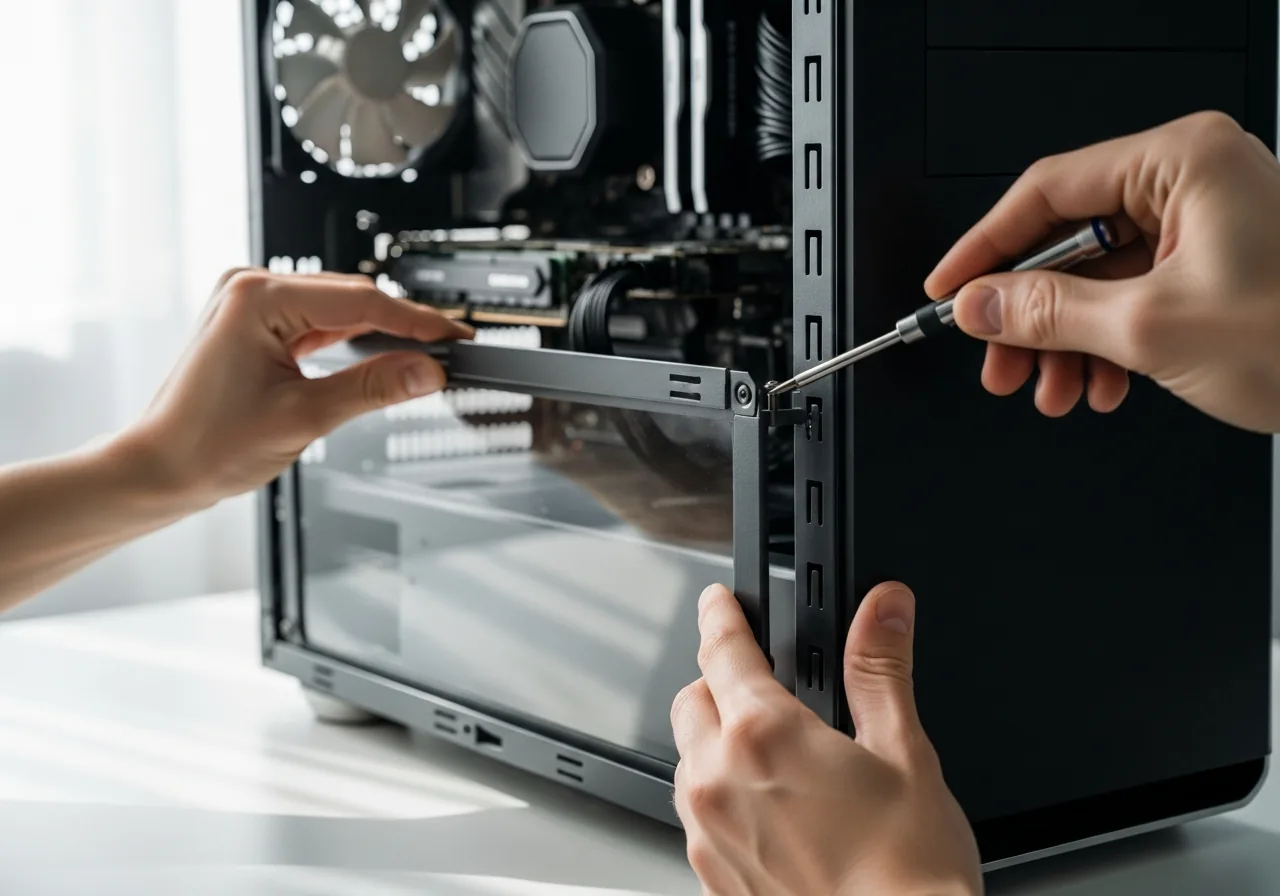 5
5Close the device back up
Refit the panel and screws once the connections feel secure, leaving nothing loose inside.
 6
6Power on and check detection
Start the device and confirm the start-up message is gone and the drive is recognised again.
When to seek help
If the drive holds important data and is no longer recognised, avoid repeated restarts and consult a recovery specialist to protect what may still be retrievable.
Reducing the chance it returns
Keep important work copied somewhere separate, so a drive that stops answering never takes your only copy with it. Move and transport the device carefully, since knocks and vibration can ease a drive or its cable out of firm contact over time. Pay attention to early warnings such as unusual noises or occasional slow reads, and have an ageing drive looked at before it fails outright. When opening a machine, reseat connectors gently and fully, which keeps the link between the system and its start-up drive dependable.
Repair110 is a free, informational resource. These steps describe a careful, general approach — every device is a little different, so work slowly, back up anything you value, and prioritise your own safety. If a step feels beyond your comfort, stop and consult a qualified technician.