Understanding the problem
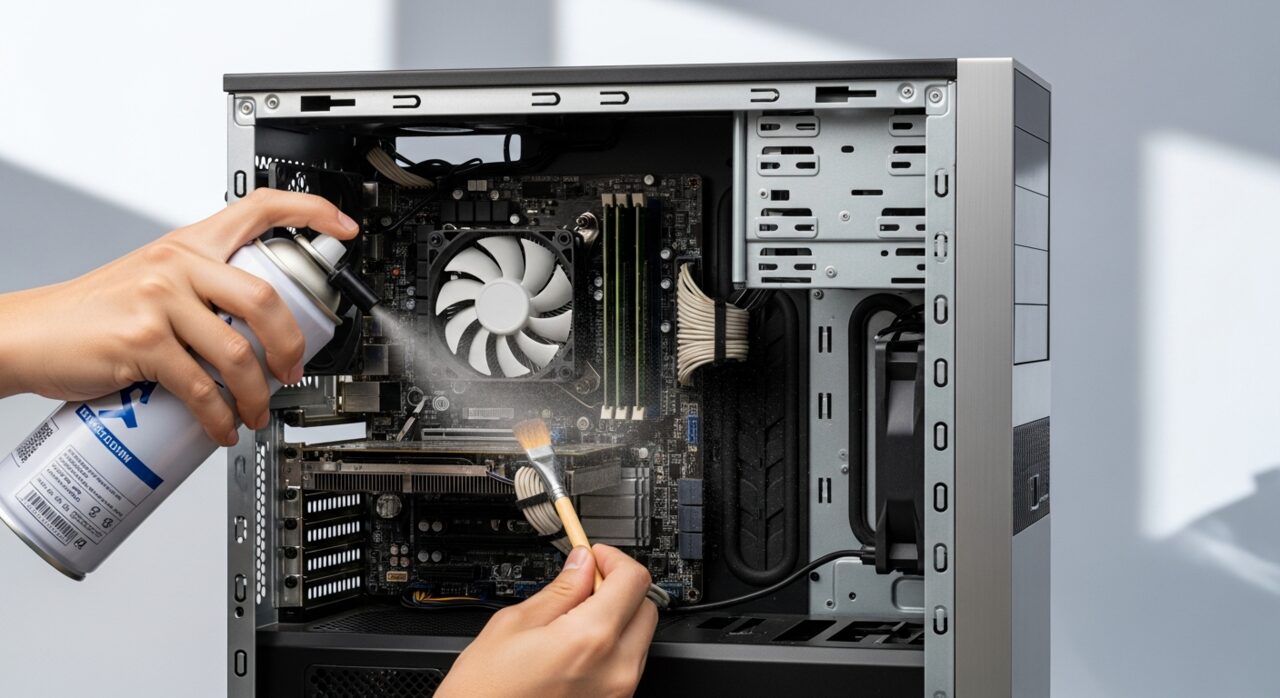
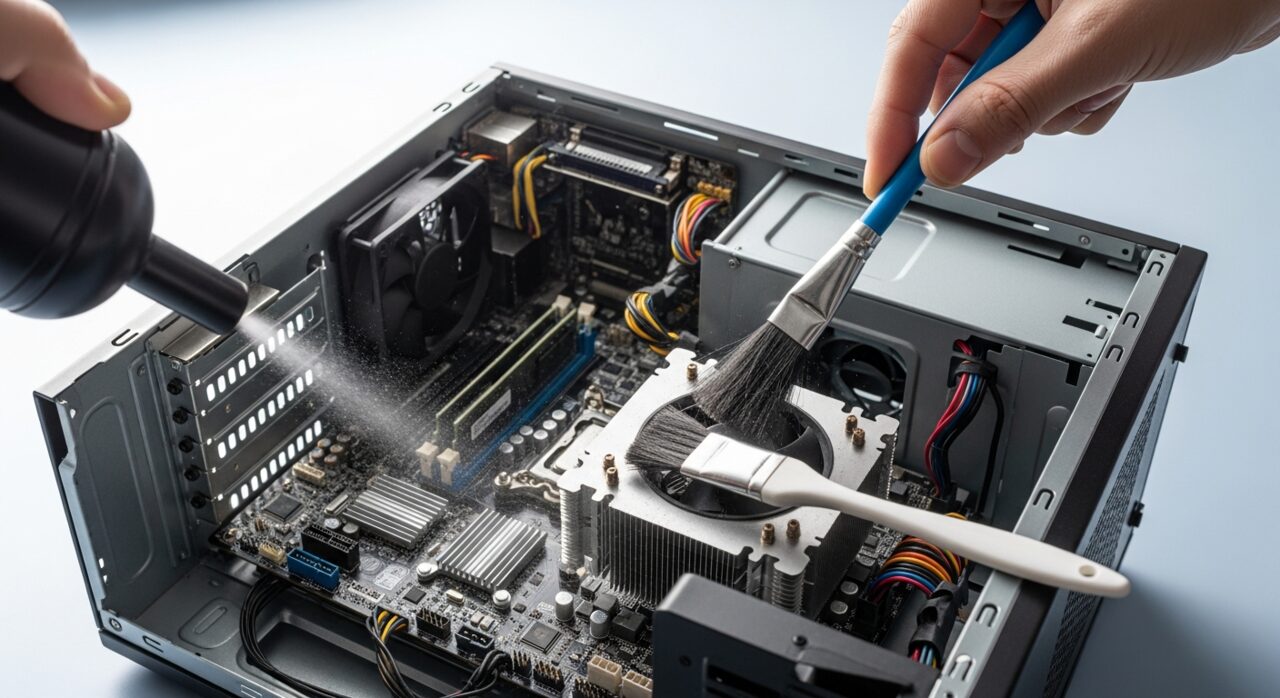
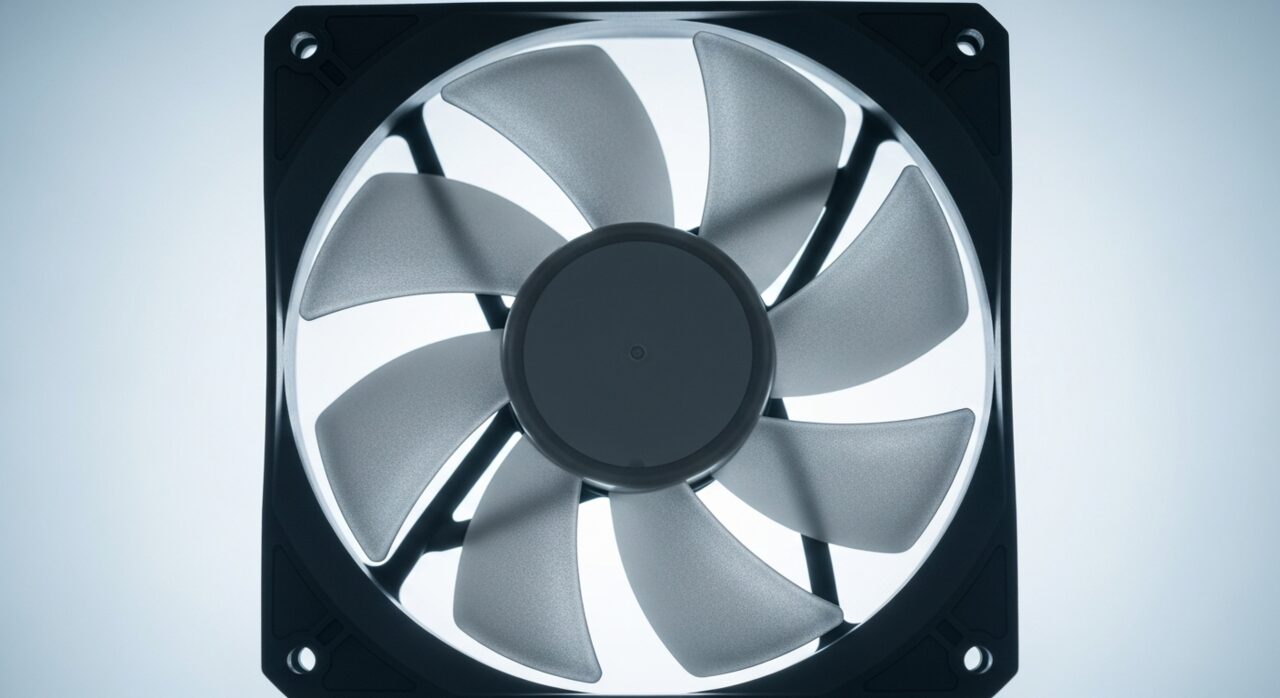
A cooling fan works by pulling cool air across thin metal fins that carry heat away from the busiest chips. As air passes through, it leaves behind fine dust, which clings to the fin surfaces and the leading edge of each blade. Over time this layer behaves like a blanket, insulating the very fins meant to release heat and narrowing the gaps air must travel through. The fan then spins faster and louder to move the same amount of air, while temperatures still climb because the dust is quietly trapping warmth inside.
Symptoms
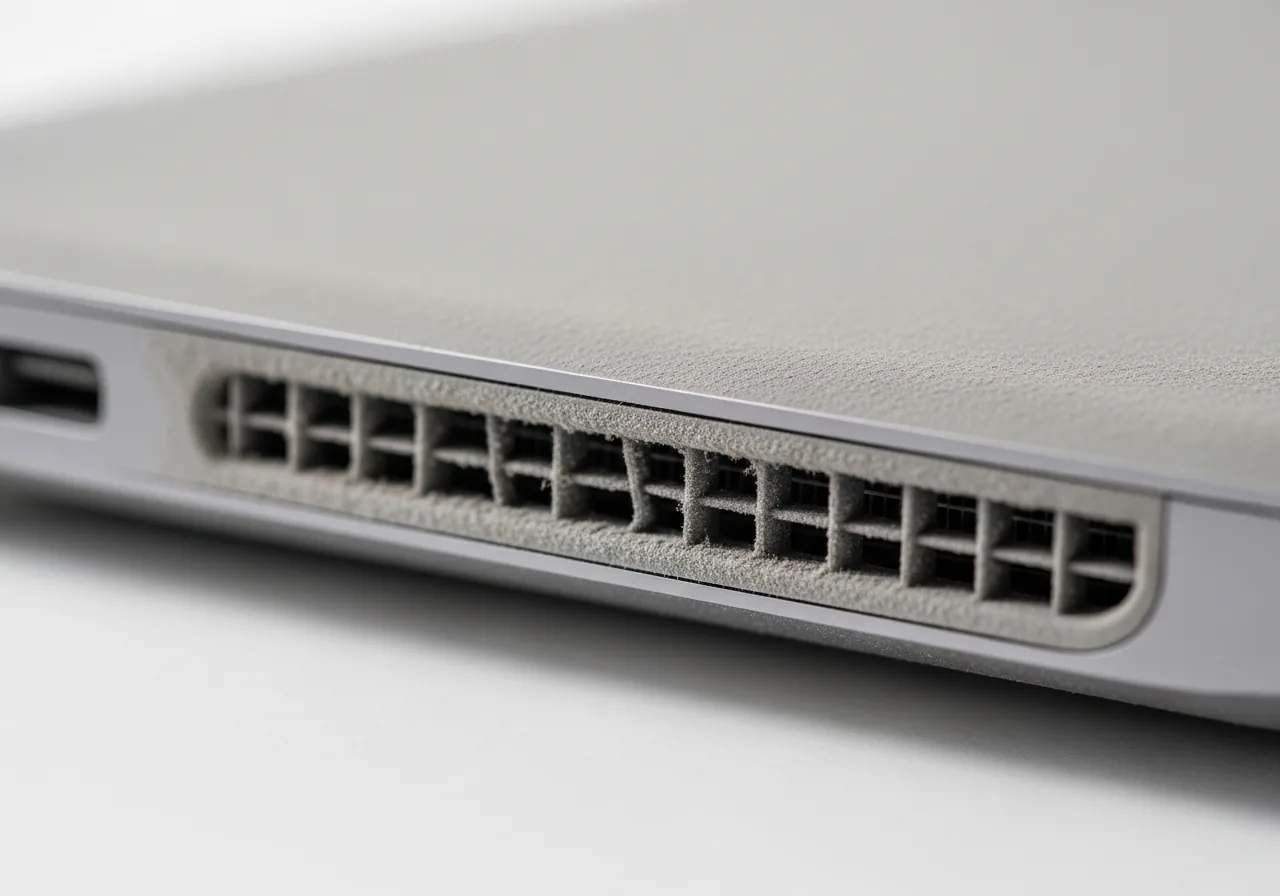
- Vents look grey and matted where airflow should pass freely
- Fans sound louder or rattle compared with how they once ran
- The device grows hot faster than it used to during normal work
- Warm air barely escapes the exhaust even when the fan is spinning
Likely causes
- 1Months of airborne dust drawn in and settling on the fan blades
- 2Operating the device on soft surfaces that block the intake
- 3A pet-friendly or dusty environment feeding the build-up
- 4Sticky residue from the air binding fine particles to the fins
- 5Fans slowing with age, allowing debris to gather more easily
What to observe and check
- Observe how thick the dust layer looks across the visible vents
- Note whether the fan spins freely or hesitates when the device starts
- Consider holding the fan still before any cleaning so it is not over-spun
- Understand where the intake and exhaust sit so airflow is not blocked again
- Watch whether temperatures settle after dust is gently cleared away
Step-by-step repair
 1
1Power down and unplug
Shut the device down fully and disconnect it from power before going near the fan, so nothing spins or draws current while you work.
 2
2Find the intake and exhaust
Locate where air is drawn in and pushed out, and note how thick the grey, matted dust looks across each vent before you touch it.
 3
3Hold the blades still
Gently steady the fan with a finger or a soft tool so it cannot be over-spun, which can damage the bearing while you clear it.
 4
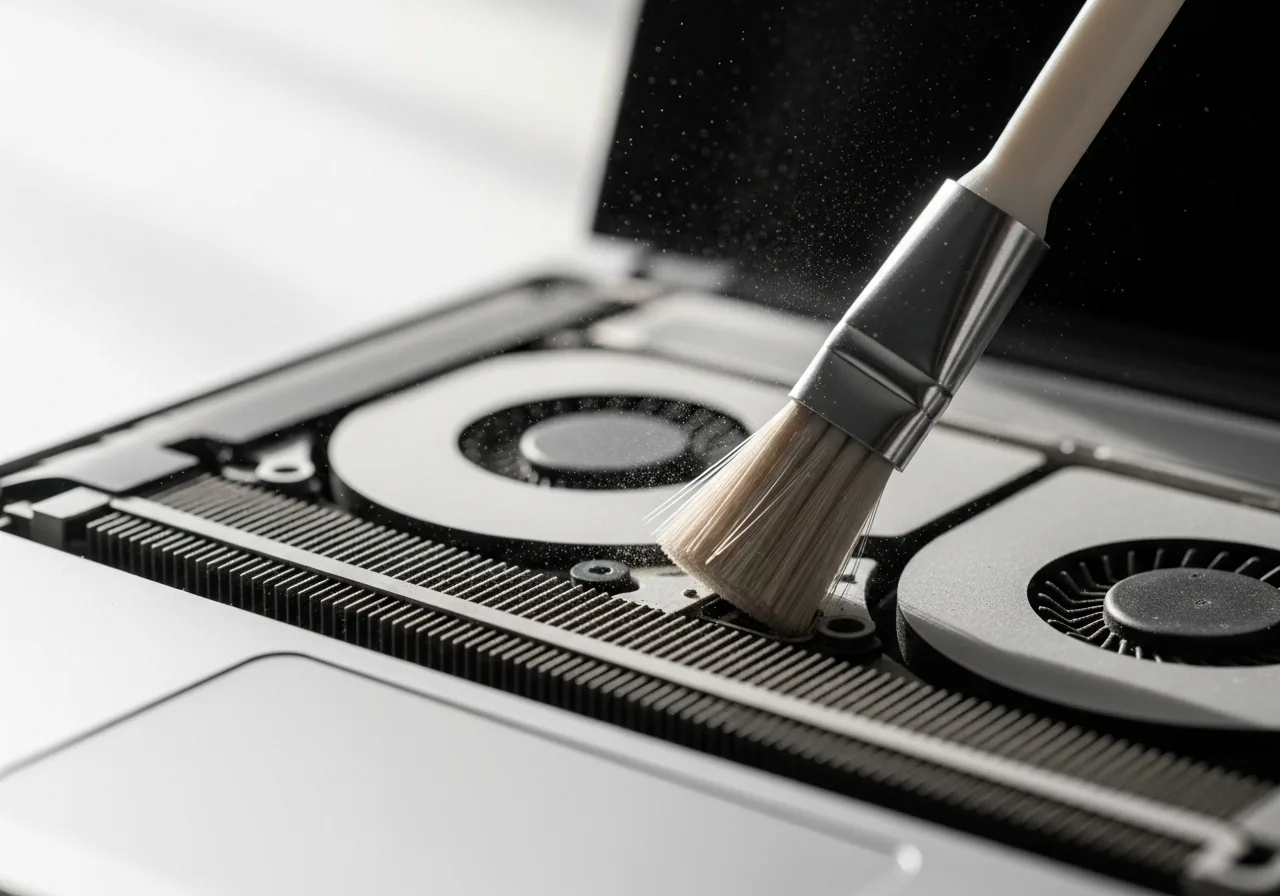
4Clear the dust gently
Lift the dust from the blades and fins with light, patient strokes rather than force, working from the intake side so debris is pushed back out.
 5
5Confirm cooling has settled
Run the device on a hard, flat surface and check that the fan sounds calmer and warm air escapes the exhaust freely again.
When to seek help
If reaching the fan means opening a device that stores energy, or you see swelling, liquid, or scorch marks inside, leave the cleaning to a qualified technician.
Reducing the chance it returns
The simplest way to keep dust from gathering on the blades is to give the intake clean air to draw from. Stand the device on a hard, flat surface so it does not pull fibres up from rugs or bedding, and keep the area around it free of crumbs and pet hair. A light, regular wipe of the outer vents stops particles compacting into a stubborn mat. Cleaning calmly before the fan grows loud, rather than after, means you rarely need to disturb the delicate blades at all.
Repair110 is a free, informational resource. These steps describe a careful, general approach — every device is a little different, so work slowly, back up anything you value, and prioritise your own safety. If a step feels beyond your comfort, stop and consult a qualified technician.