Understanding the problem
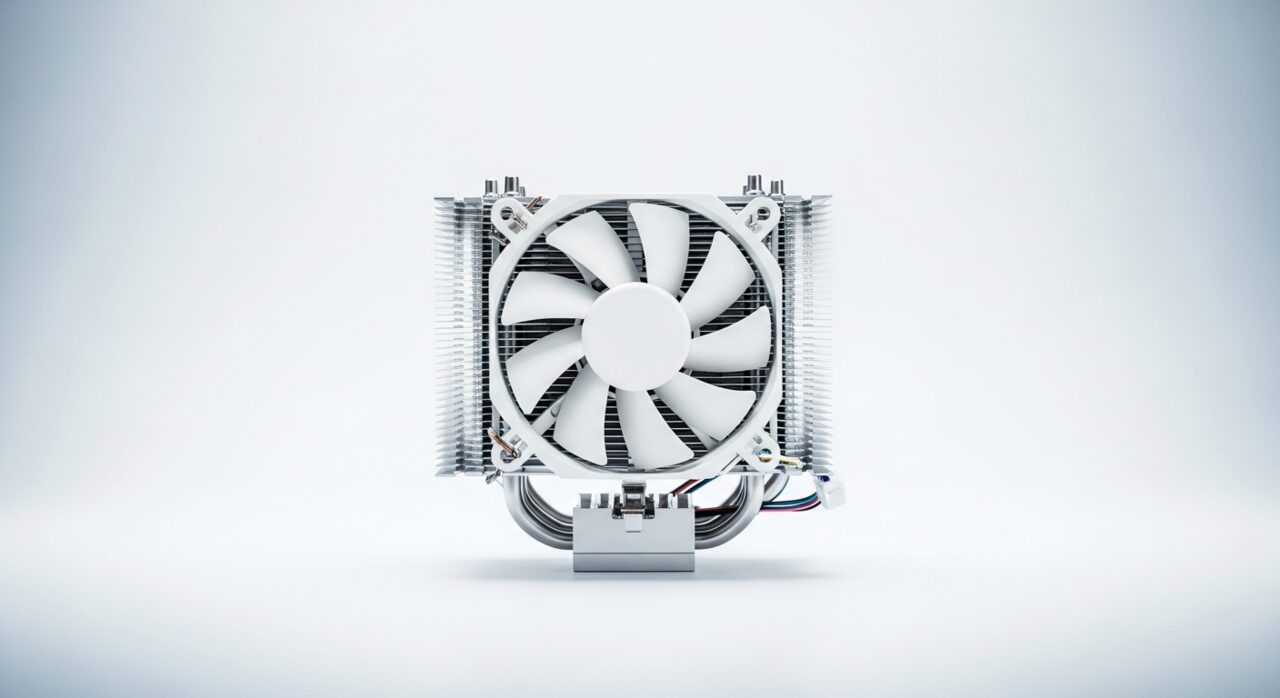
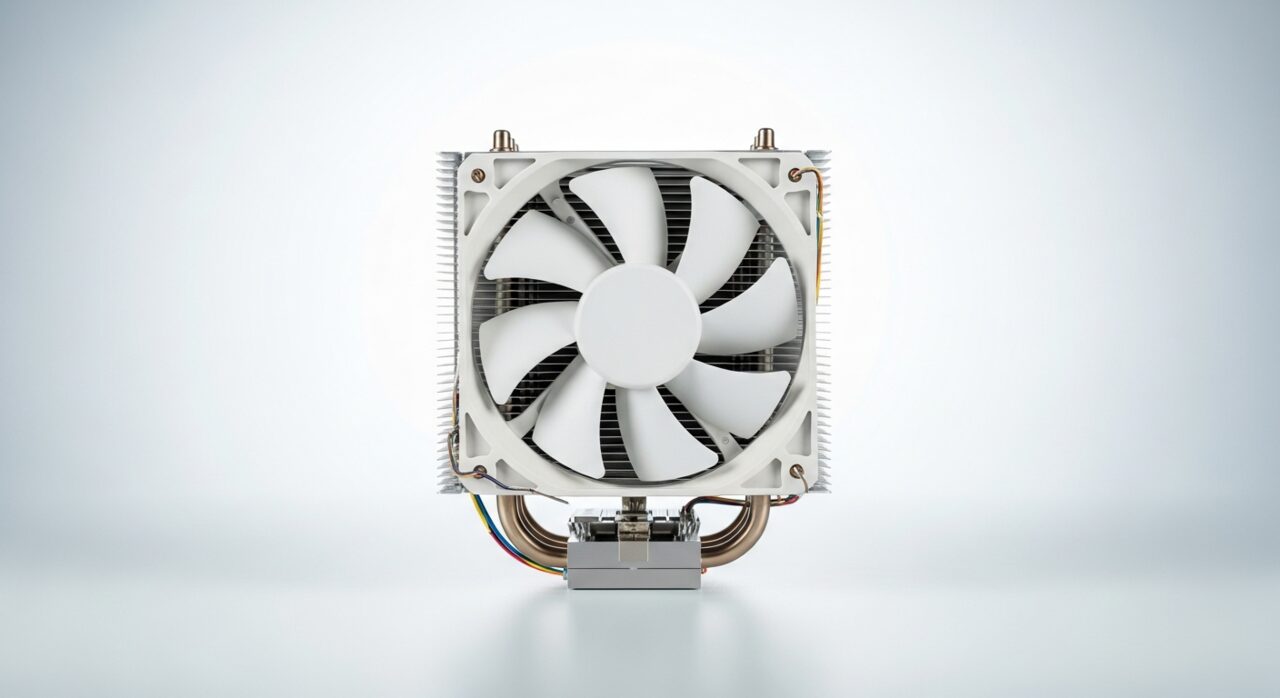
Cooling depends on a chain of small, precise contacts: a heatsink pressed firmly against a chip through a thin film of thermal paste, a fan plugged in and spinning, and clear channels for air. Opening a device for a move or upgrade disturbs that chain. If a heatsink is lifted and replaced without fresh paste, a gap of air forms where heat should flow. A fan cable can be left loose, a panel can pinch an airflow route, or a new part can simply run hotter than the original cooling expected. Any of these lets temperatures climb soon afterwards.
Symptoms
- Higher temperatures appearing only since recent internal work
- Fans working harder than they did before the change
- A loose rattle or vibration that was not present previously
- Warmth concentrated near the part that was moved or replaced
Likely causes
- 1A heatsink reseated without renewing the thermal material between surfaces
- 2A fan cable left unplugged or only partly connected after reassembly
- 3Cables or panels obstructing an airflow channel that used to be clear
- 4A cooling component not fully seated, leaving a gap in heat transfer
- 5Newer hardware producing more heat than the original cooling expected
What to observe and check
- Compare temperatures and noise against how the device behaved before
- Note whether the fan still responds the way it did previously
- Observe if anything inside looks shifted, loose, or out of place
- Consider whether the new part draws more power and runs hotter
Step-by-step repair
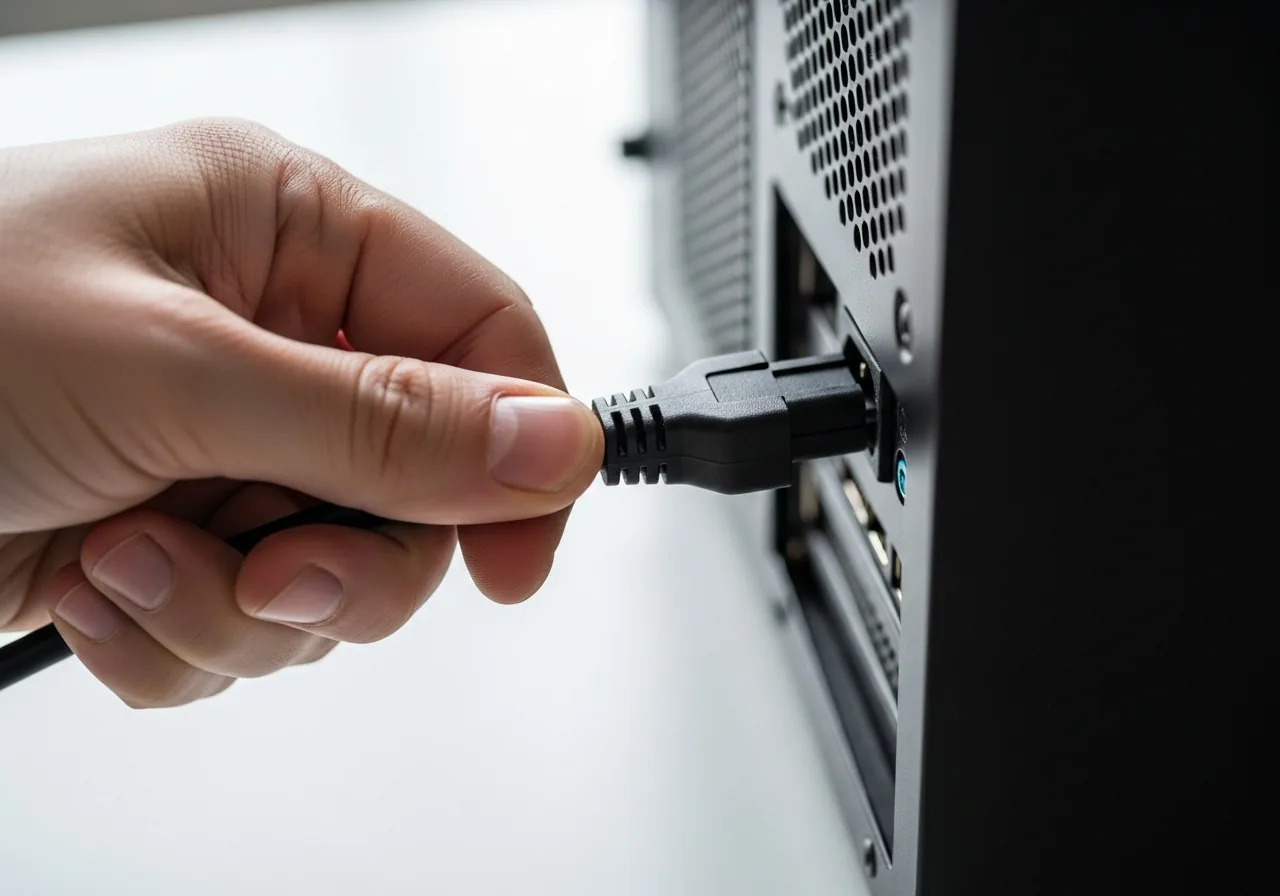 1
1Power down and disconnect
Shut the device off and remove it from power before reopening it, as internal parts can hold charge and a fan may turn unexpectedly.
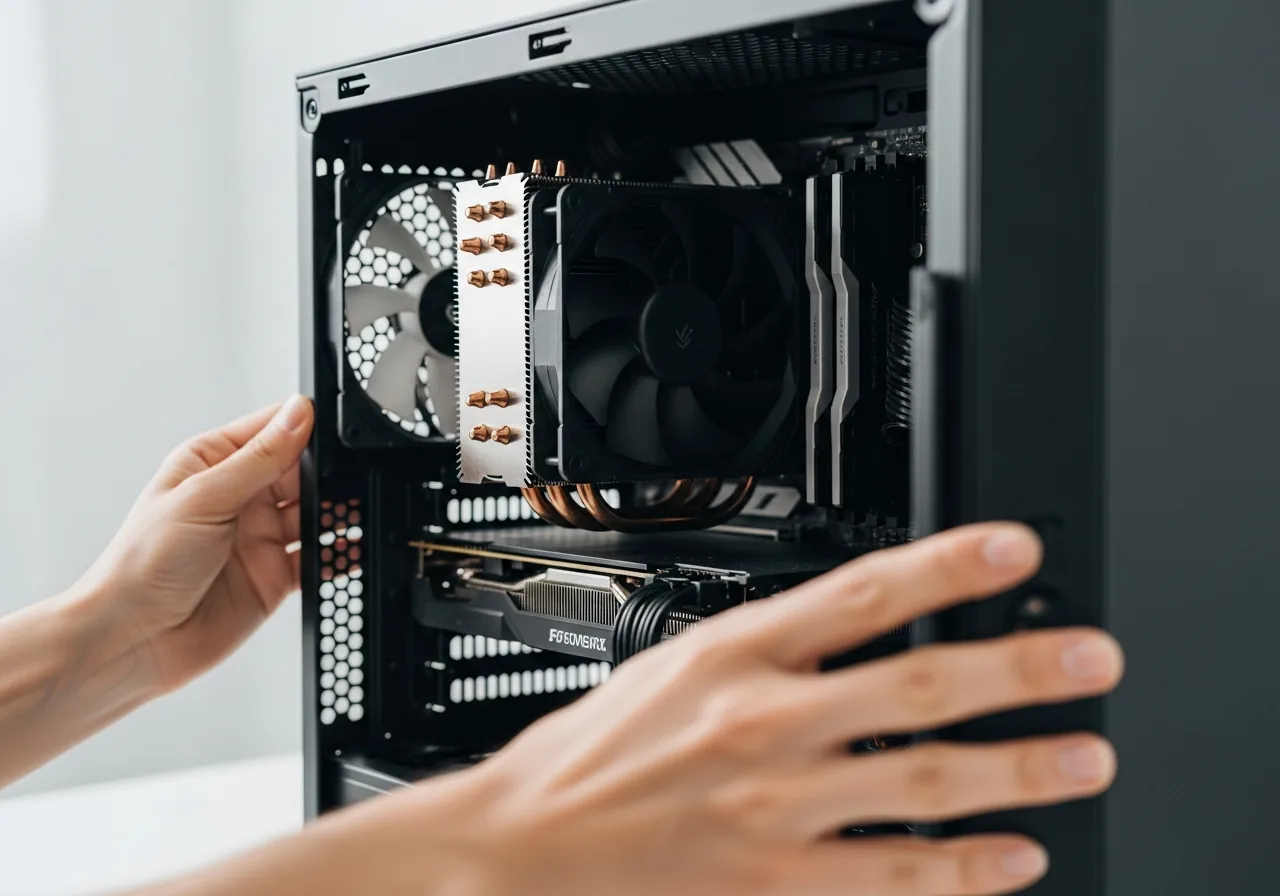 2
2Reopen the device
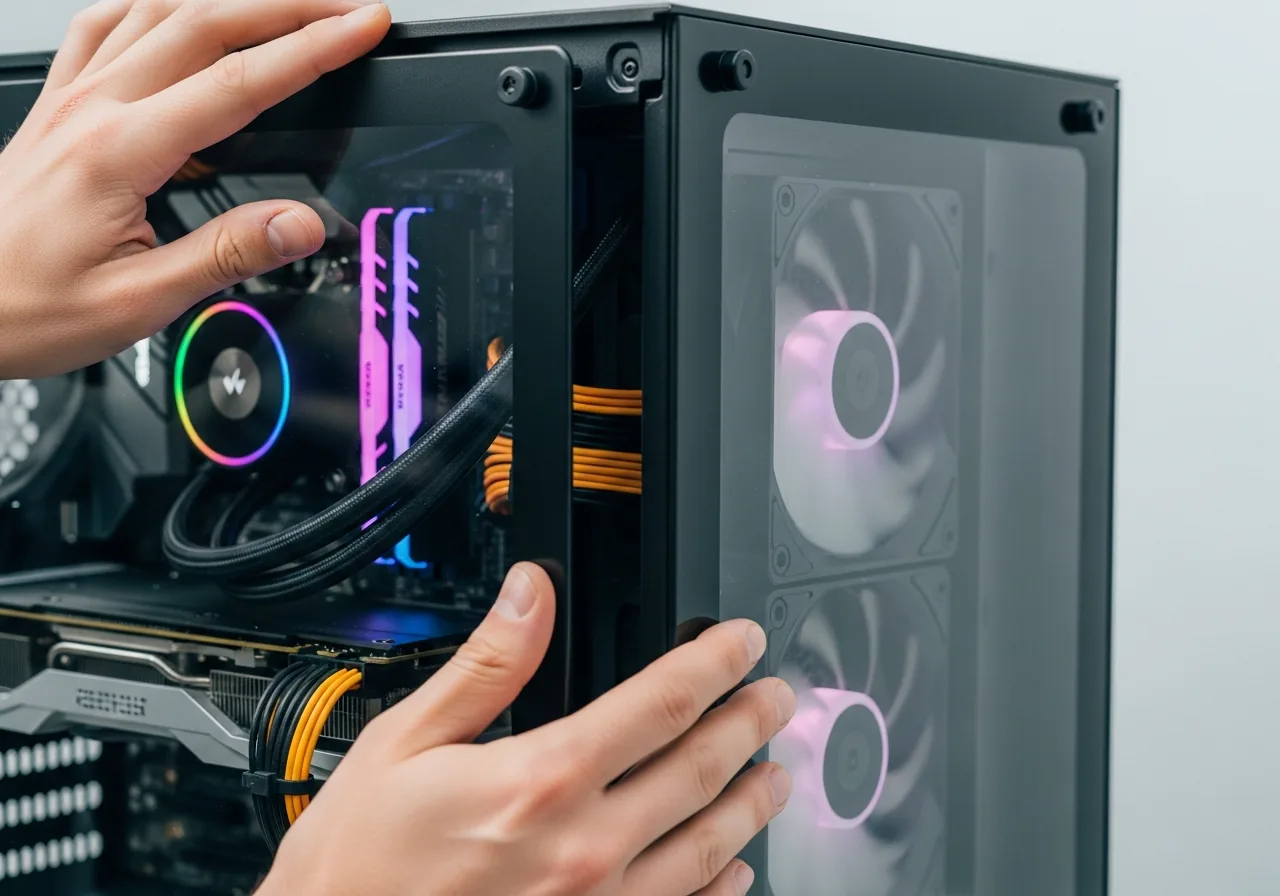
Take off the panel you worked behind during the move or upgrade so you can revisit the cooling parts that were disturbed.
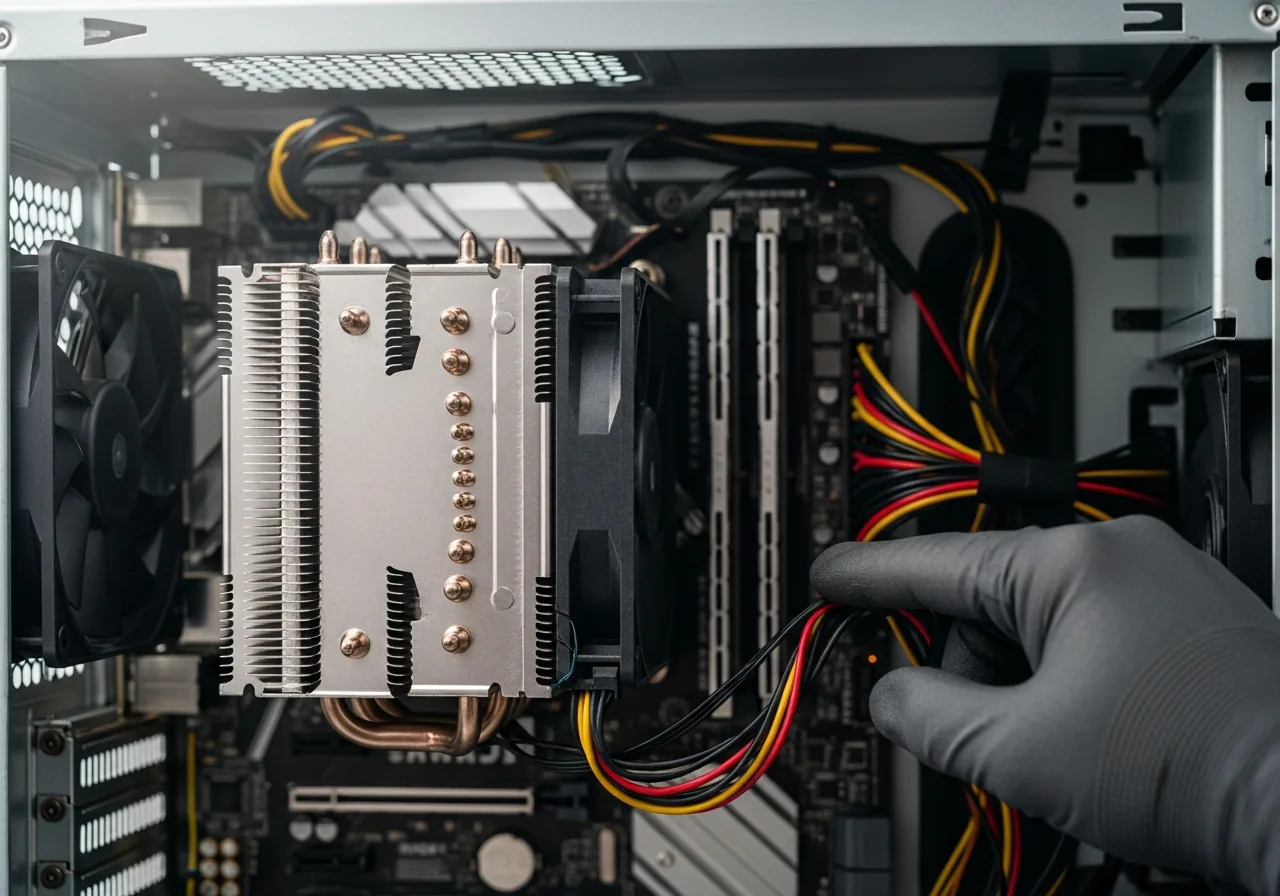 3
3Inspect the disturbed cooling parts
Look for anything shifted, loose, or out of place, and check that no cable or panel now sits across an airflow channel that used to be clear.
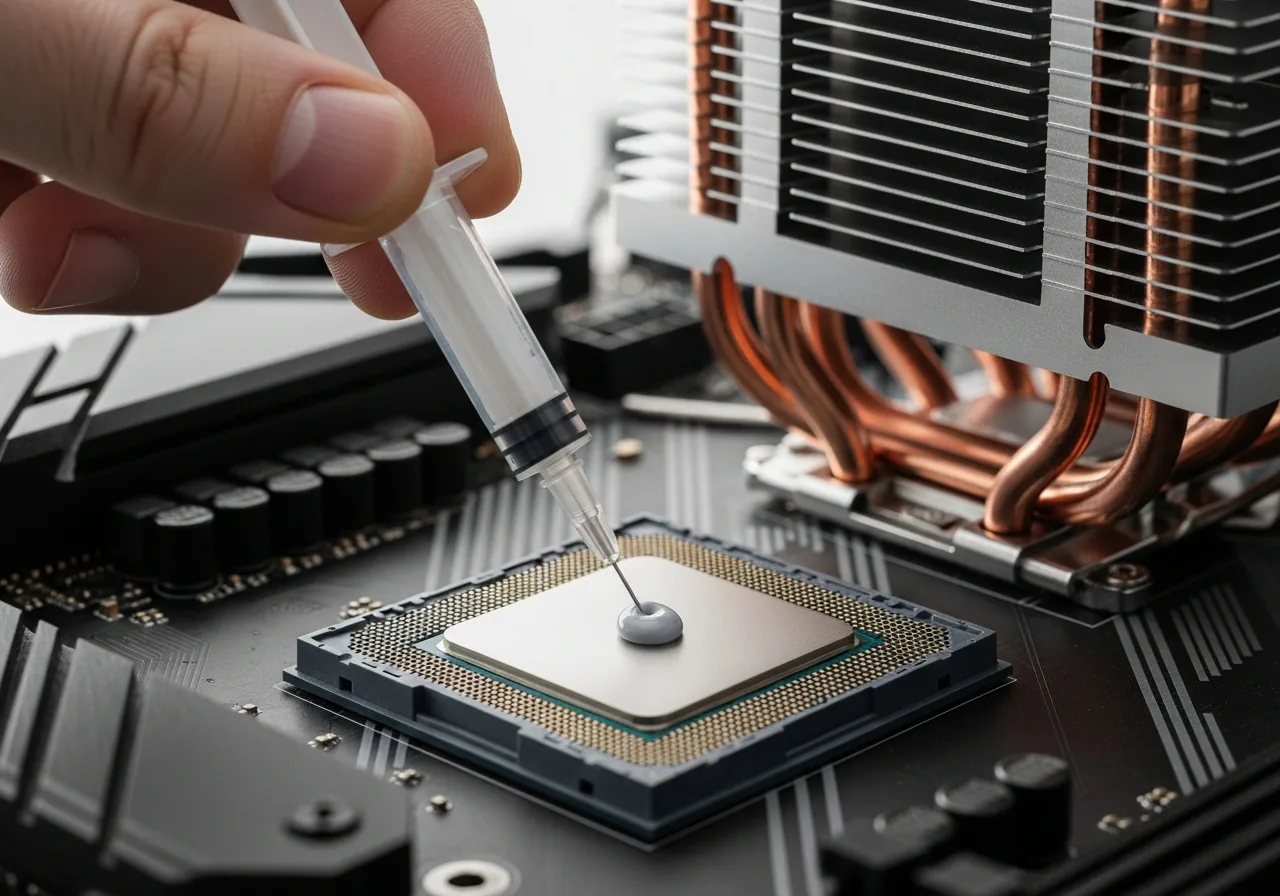 4
4Reseat the heatsink with fresh paste
If the heatsink was lifted, renew the thermal paste and press it back firmly and evenly, then confirm the fan cable is fully connected before closing.
 5
5Close the device back up
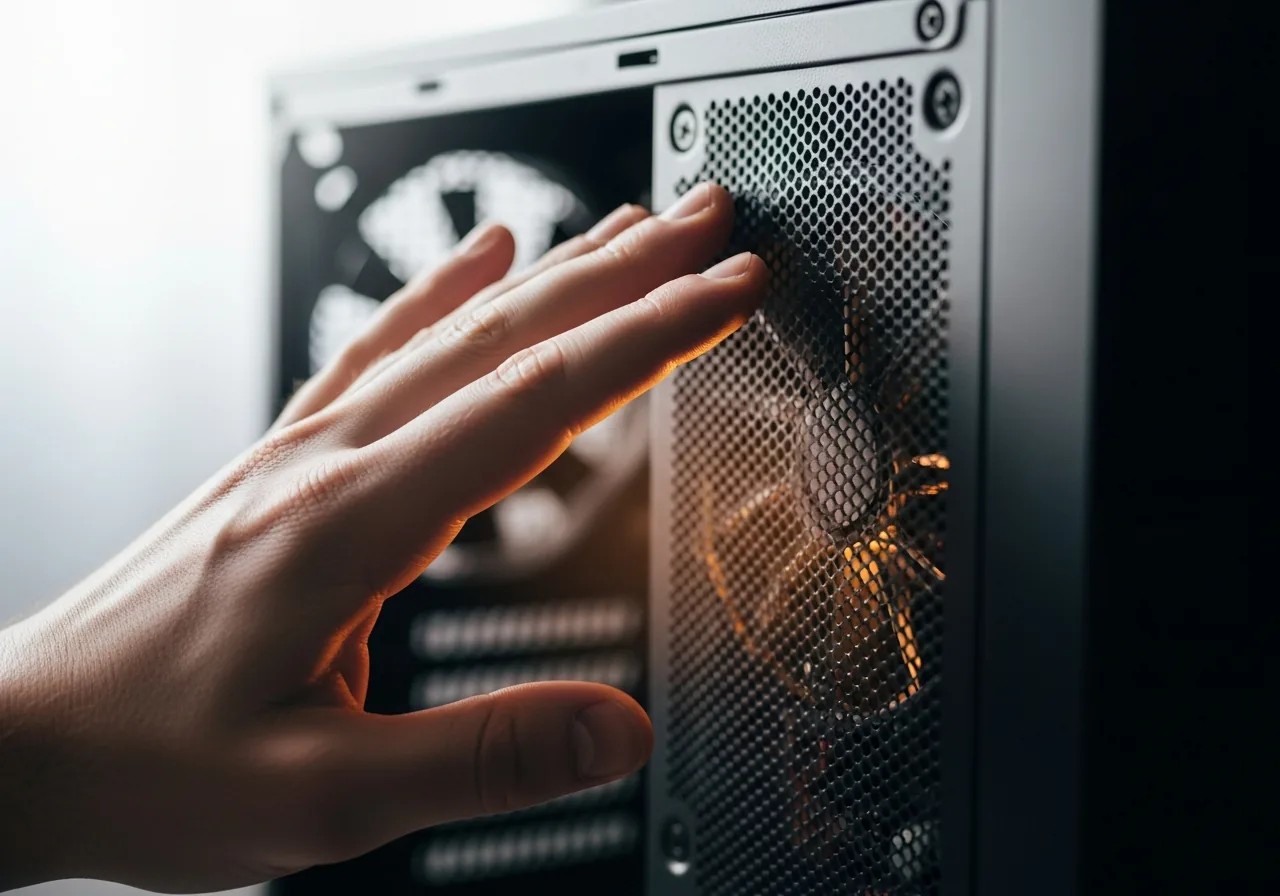
Refit the panel with cables routed clear of the airflow path, making sure nothing is pinched as it goes back together.
 6
6Compare temperatures with before
Power on and take a temperature and noise reading, checking it now behaves as it did before the change rather than running hotter.
When to seek help
If you are unsure a cooling part is seated correctly, or the device holds stored energy, ask a qualified technician to verify the work before relying on it.
Reducing the chance it returns
Whenever the inside is opened, treat the cooling path as part of the job rather than an afterthought. Renew the thermal material if a heatsink has been lifted, seat it firmly and evenly, and confirm every fan cable is fully connected before the panels go back. Route cables clear of the airflow channels so nothing new obstructs them, and take a temperature reading afterwards to compare against how the device behaved before. If a replacement part runs warmer, check the cooling has the headroom to match it. Careful reassembly keeps a helpful change from quietly raising the heat.
Repair110 is a free, informational resource. These steps describe a careful, general approach — every device is a little different, so work slowly, back up anything you value, and prioritise your own safety. If a step feels beyond your comfort, stop and consult a qualified technician.