Understanding the problem
Clean audio depends on a steady, unbroken stream of samples reaching the speaker at an even pace. Each crackle is a tiny gap or spike in that stream. It may come from a worn cable contact flickering open and closed, from the system falling behind under load so the buffer momentarily empties, or from a sample-rate setting that forces awkward conversion. Stray electrical noise can also ride into the signal path. Because the ear hears these interruptions as sharp clicks, the timing of when they appear quietly reveals which of these links is faltering.
Symptoms
- Audio is broken up by clicks, crackles, or sudden pops
- The noise grows worse during busy moments on the system
- Wiggling a cable or plug changes the sound
- Distortion rises and falls with volume level
Likely causes
- 1A loose or damaged cable or a dirty headphone socket
- 2The system struggling to process audio under heavy load
- 3An audio sample-rate or buffer setting that does not match the source
- 4An outdated or conflicting sound driver
- 5Electrical interference reaching the audio path
What to observe and check
- Observe whether the crackle changes when you move the cable or plug
- Note if the noise appears only when the system is under heavy load
- Watch whether lowering the volume reduces the distortion, hinting at overdrive
- Check whether a different output or set of headphones is free of the noise
Step-by-step repair
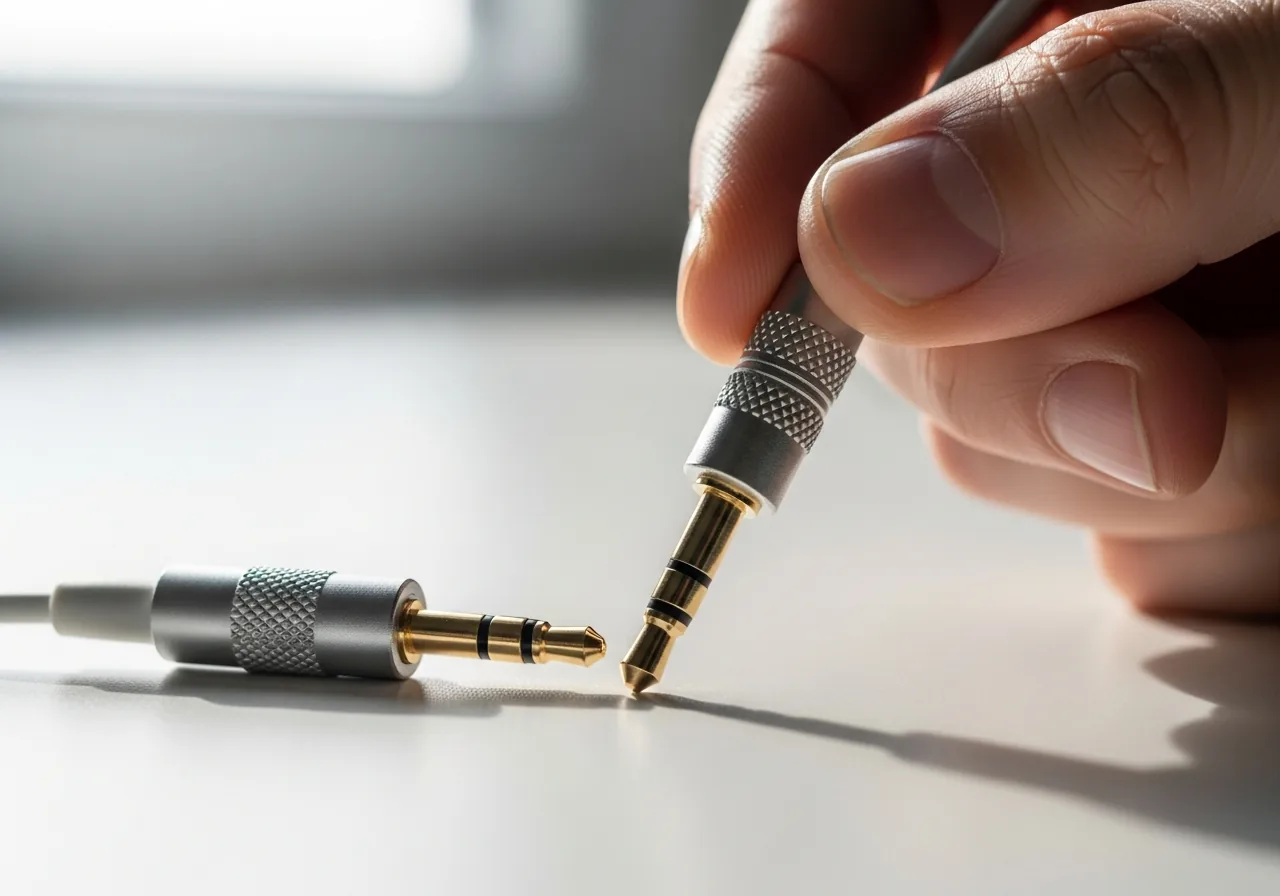 1
1Test the cable and socket
Gently reseat the plug and try a different lead or socket, since a flickering contact or dirty jack often causes the clicks.
 2
2Reduce the system load
Close demanding tasks running alongside playback, because a stretched system empties the audio buffer and creates gaps you hear as crackle.
 3
3Match the sample-rate setting
Adjust the audio sample-rate to a sensible default so the system is not forced into awkward conversion that breaks the stream.
 4
4Update the sound driver
An outdated or conflicting sound driver can mishandle timing, so bring it to a current, stable version.
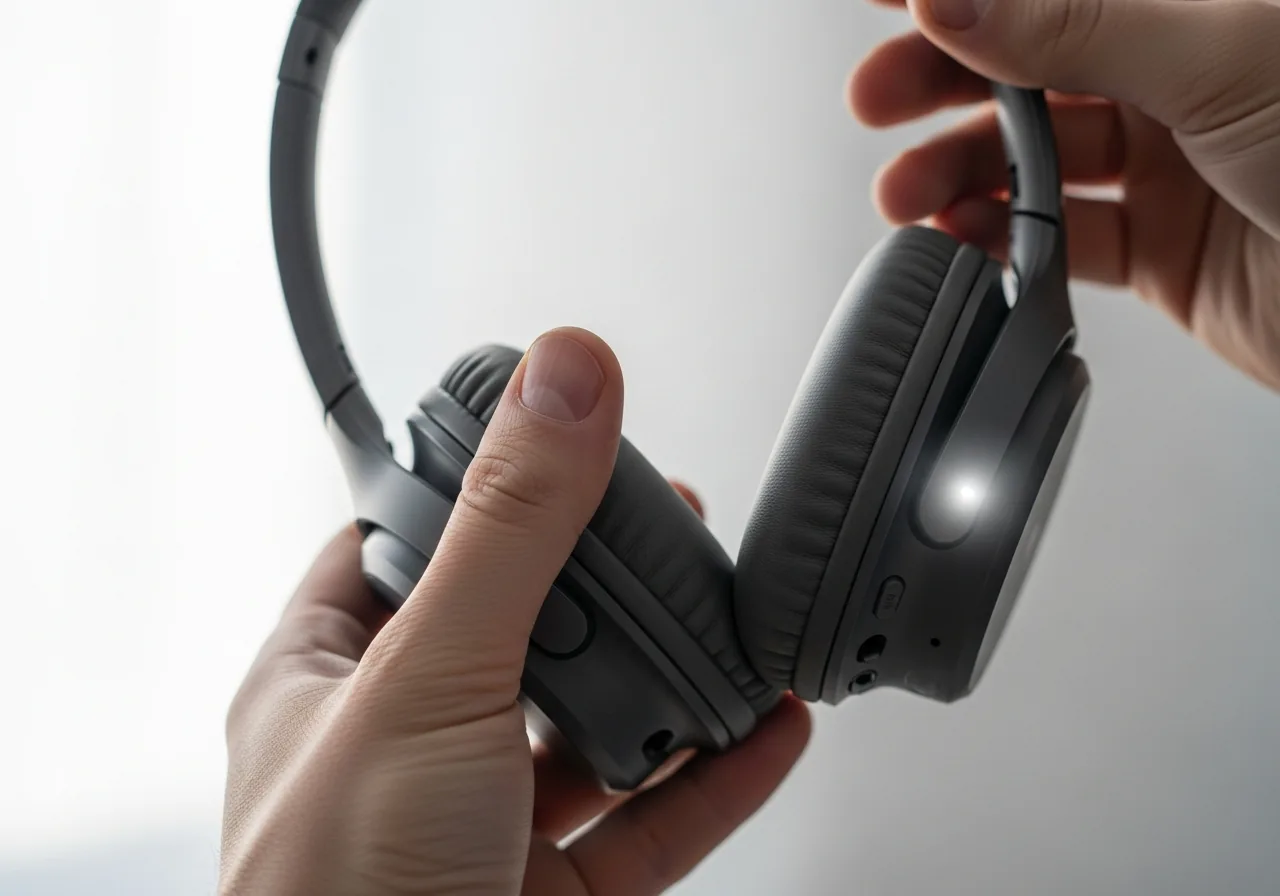 5
5Listen for clean playback
Play a steady track and confirm the crackle has gone once the cable, load, and settings are addressed.
When to seek help
If crackling is joined by a burning smell or the device grows hot, stop using it and seek qualified help.
Reducing the chance it returns
Treat cables gently, coiling them loosely and keeping plugs clean and fully seated so contacts stay reliable over time. Avoid running too many demanding tasks alongside playback, since a system stretched thin is what empties the audio buffer. Leaving sample-rate settings at sensible defaults spares the system needless conversion, and keeping sound software current helps it manage timing smoothly. Routing audio cables away from power leads reduces stray interference. These small, steady habits keep the signal flowing evenly and make returning crackle far less likely.
Repair110 is a free, informational resource. These steps describe a careful, general approach — every device is a little different, so work slowly, back up anything you value, and prioritise your own safety. If a step feels beyond your comfort, stop and consult a qualified technician.