Understanding the problem
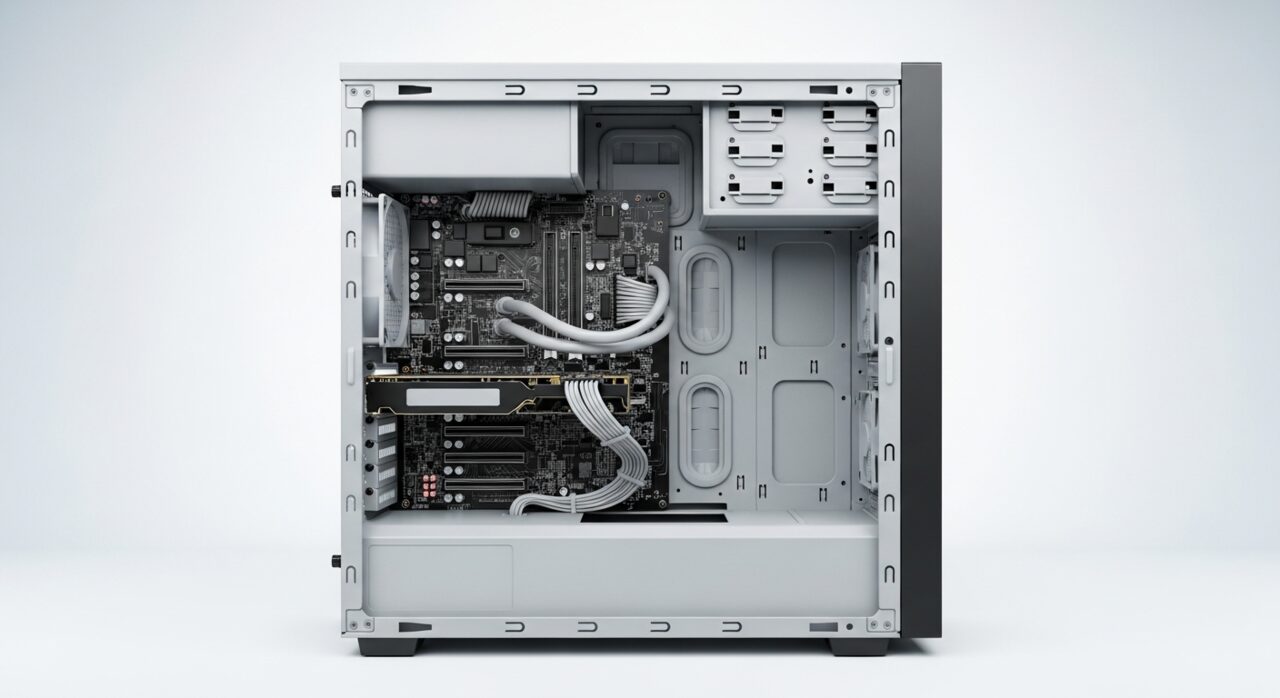
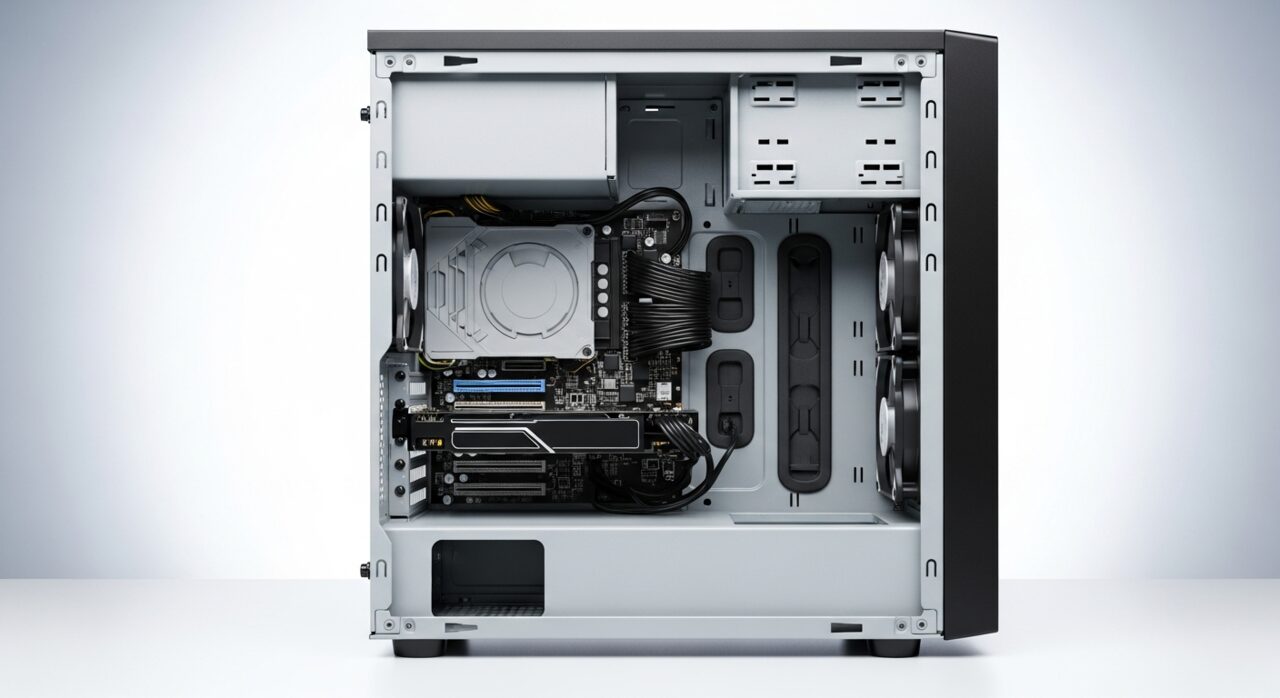
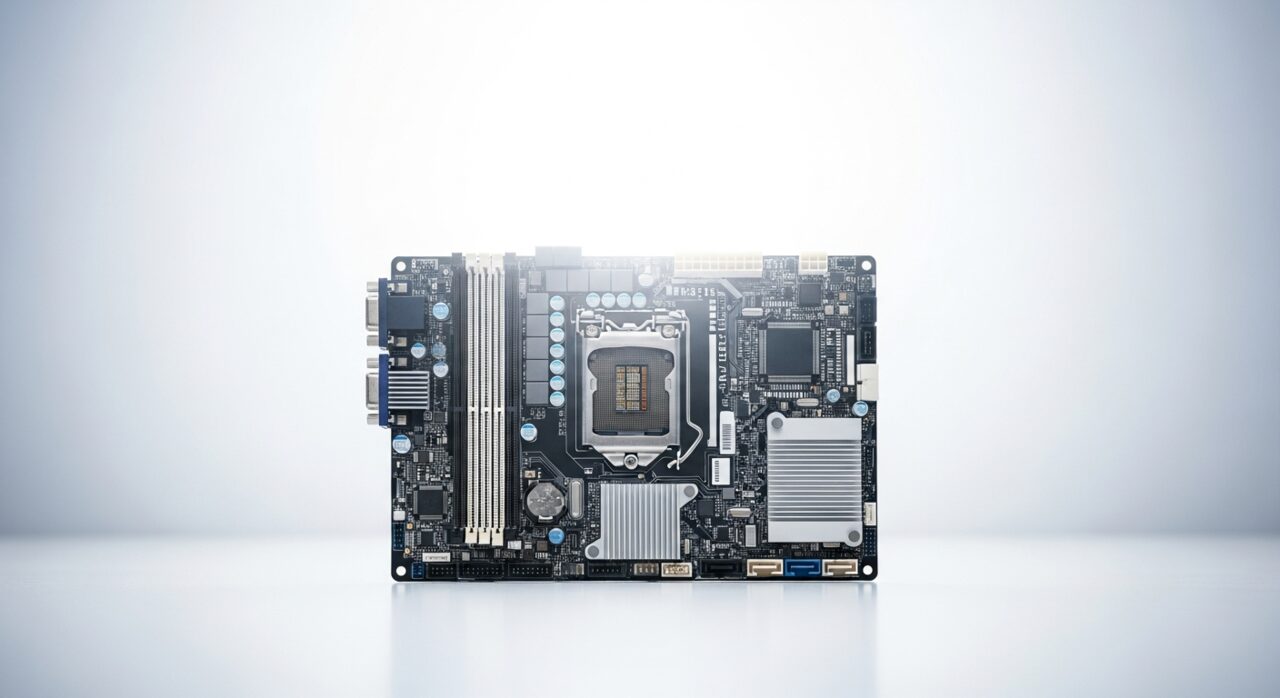
A picture only appears once the board has powered up, found working memory, and handed the image to a graphics output the monitor can read. Each step must succeed in order. If a memory module sits slightly proud of its slot, the board never reaches the point of drawing anything. If the lead plugs into the board's own port while a separate card holds the active output, the signal leaves through a socket nobody is watching. A blank screen on a clearly running tower simply means the picture was never produced or was sent down the wrong path.
Symptoms
- Fans spin and lights glow, but the monitor shows no signal
- The screen displays a no-signal message and then sleeps
- No startup logo or text ever appears on the display
- Keyboard lights may flash briefly with nothing on screen
Likely causes
- 1A loose or wrong video cable, or the wrong input selected on the monitor
- 2A graphics card not fully seated in its slot
- 3Memory modules unseated, preventing the board from starting its display
- 4A video output chosen on the board when a separate card is installed
- 5A graphics chip or driver fault halting the picture early
What to observe and check
- Confirm the monitor is set to the input the cable is plugged into
- Note whether the video lead connects to the card or the board's own port
- Observe if the monitor briefly wakes then reports no signal
- Watch for any beep or light pattern at the moment of power-on
- Consider whether the issue began after moving or transporting the tower
Step-by-step repair
 1
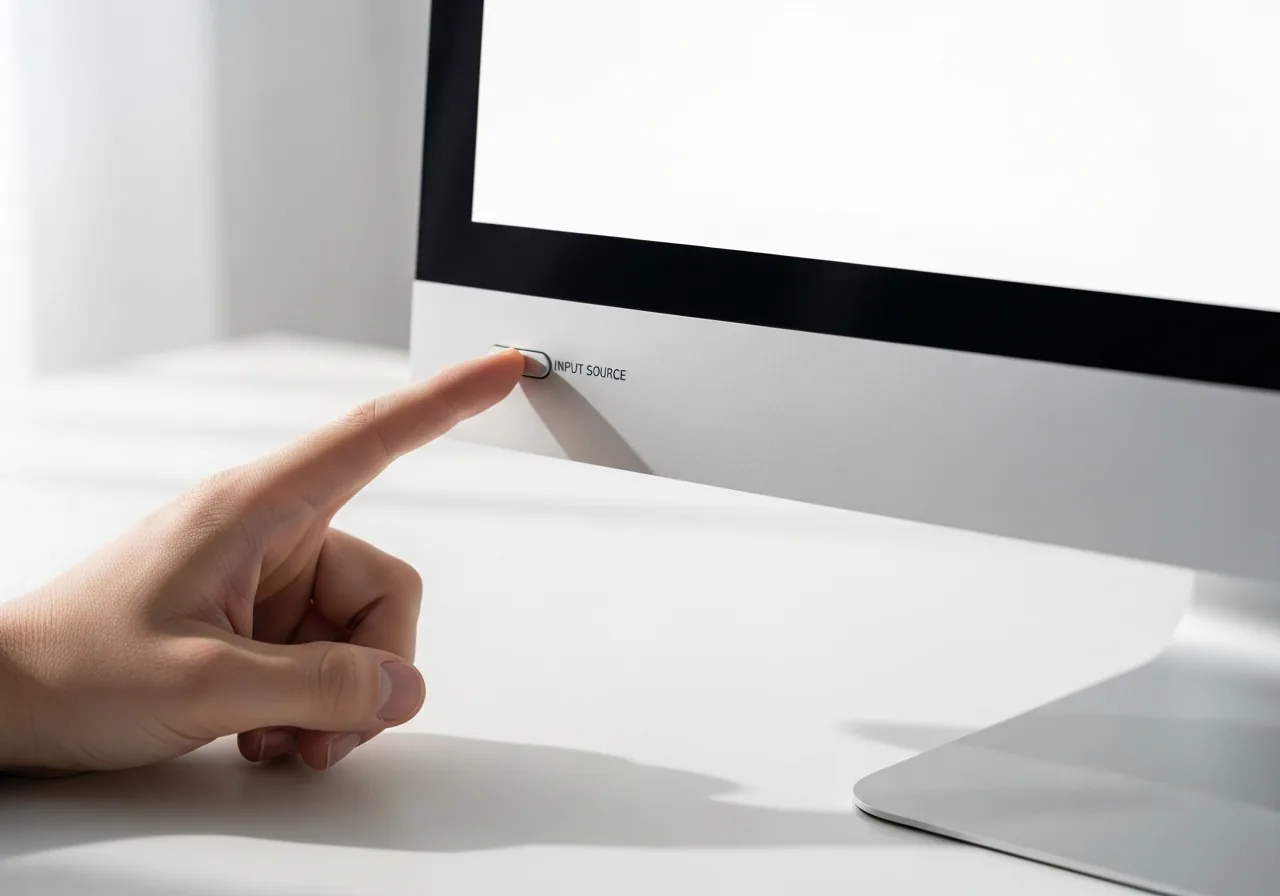
1Set the monitor's input source
Confirm the monitor is switched to the same input the cable is plugged into, since a wrong input selection alone can leave a perfectly good machine showing no signal.
 2
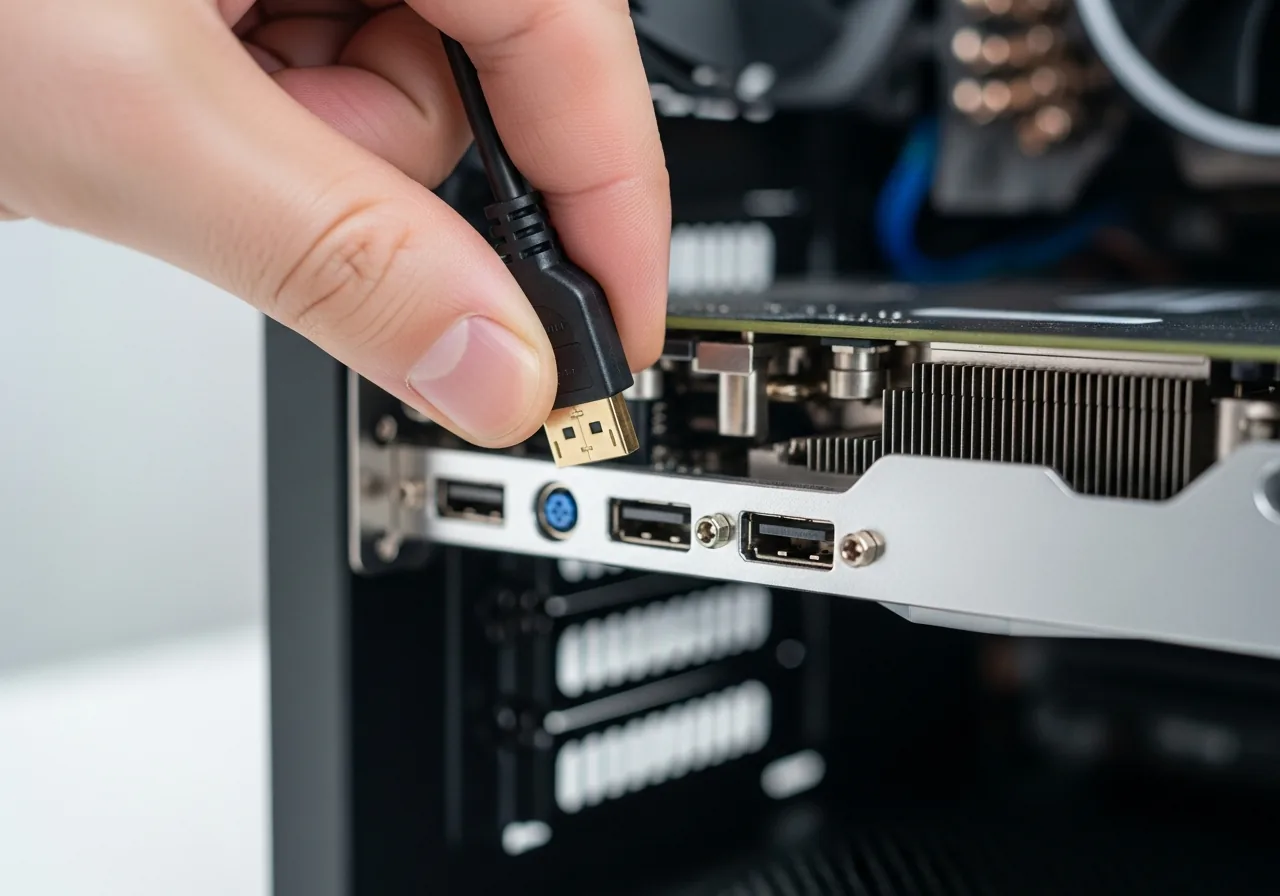
2Move the cable to the card output
If a separate graphics card is fitted, connect the video lead to the card's output rather than the board's own port, where the picture would never appear.
 3
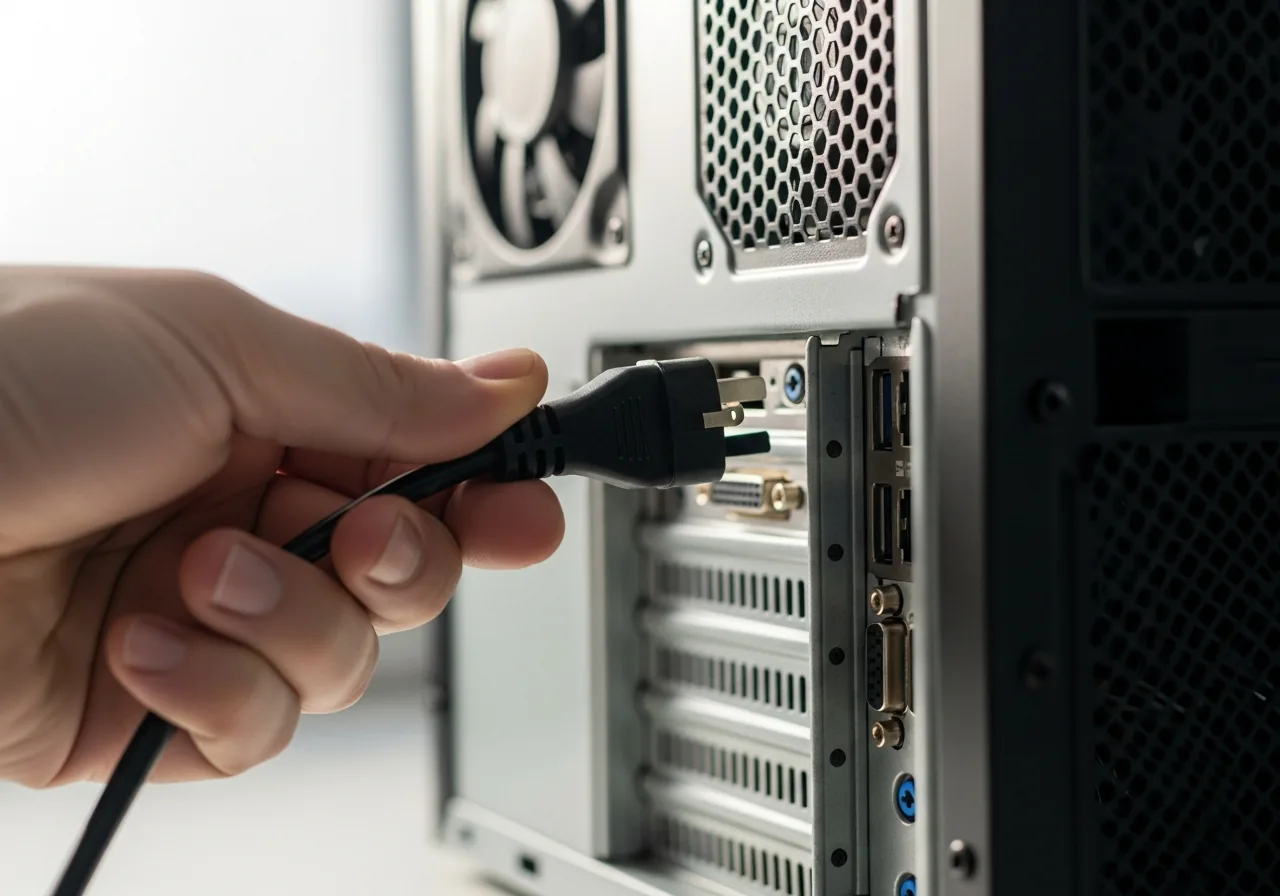
3Unplug before opening the case
Switch off and disconnect the mains lead, then work with grounded hands before touching anything inside, as the supply can hold dangerous energy after unplugging.
 4
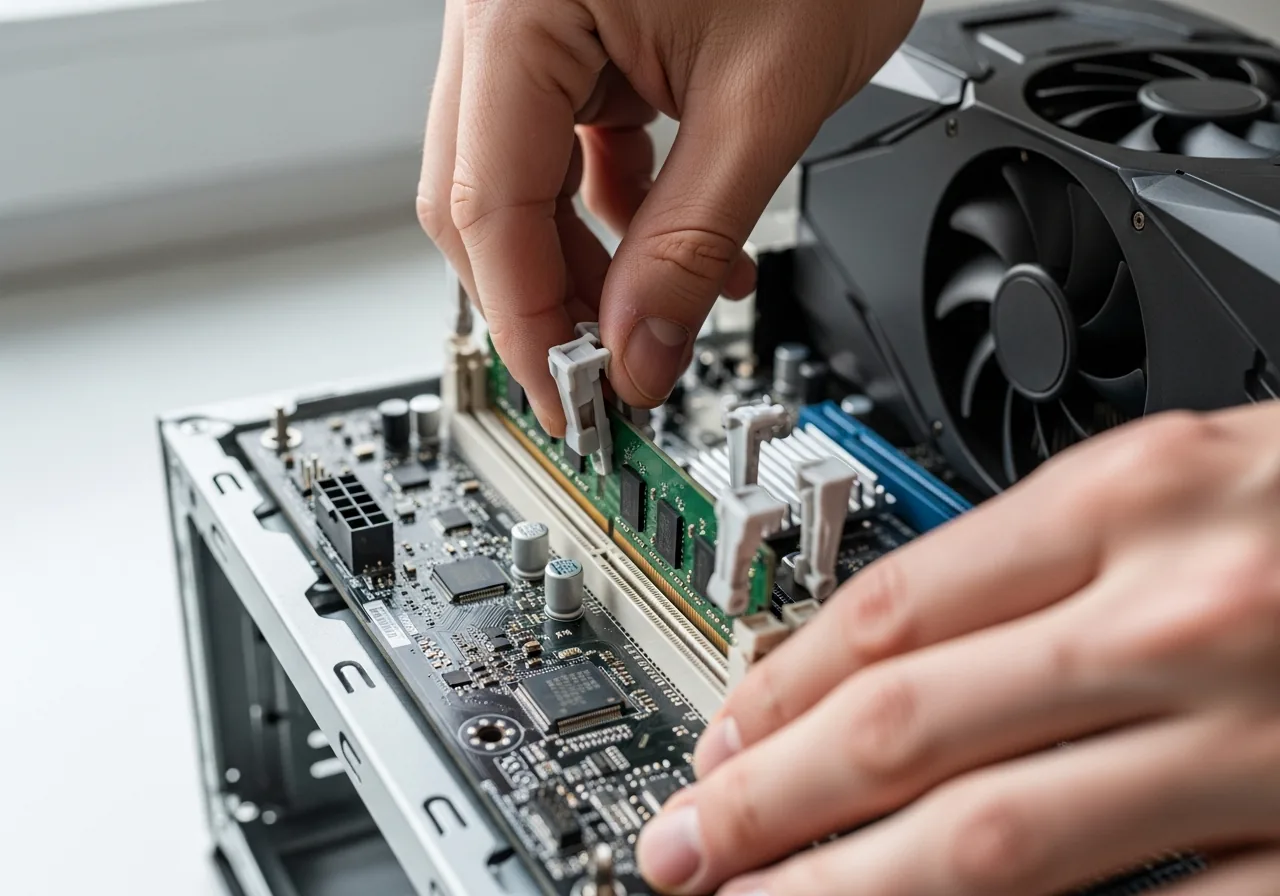
4Reseat the memory and graphics card
Press each memory module and the graphics card firmly back into their slots until the latches click, since a slightly proud module stops the board drawing any picture.
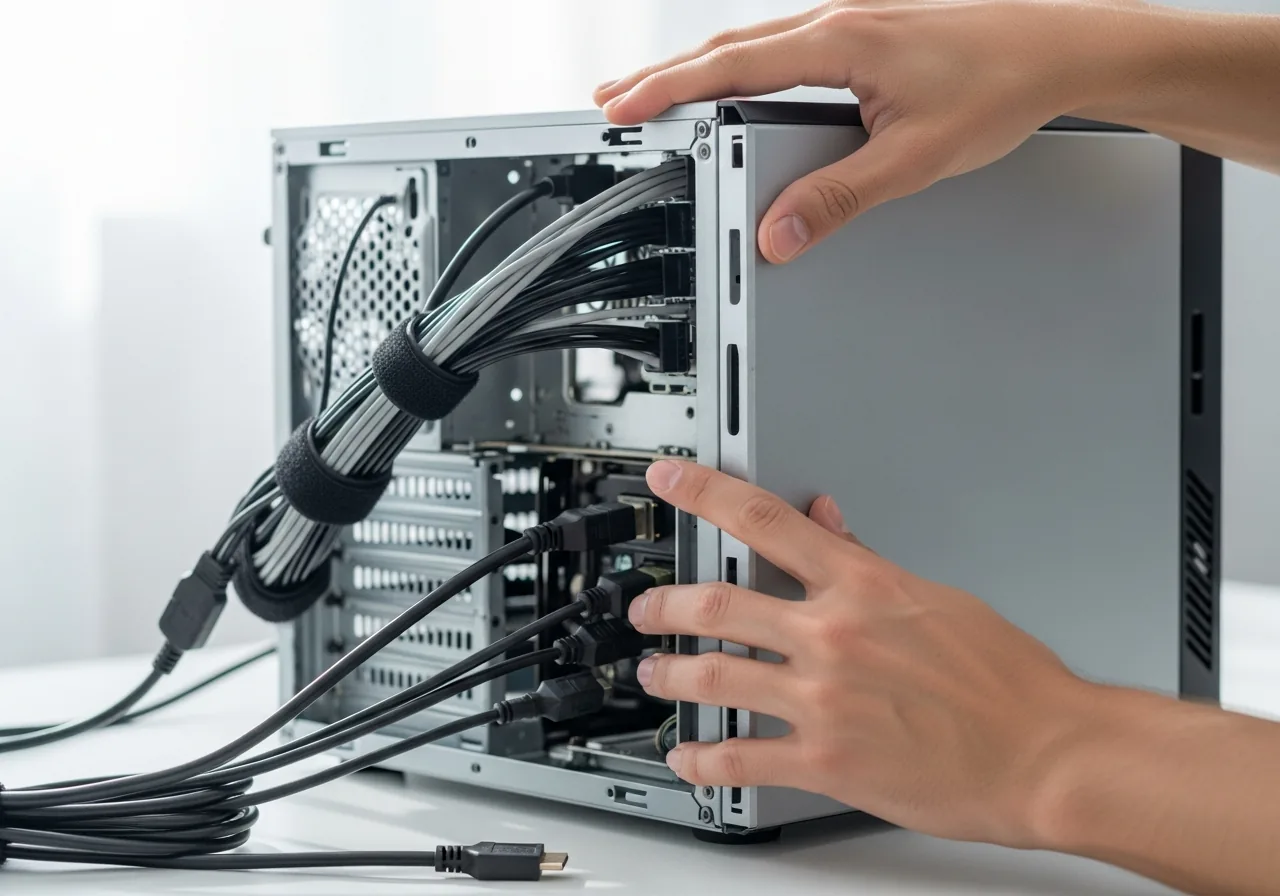 5
5Close up and reconnect
Refit the side panel and reconnect the video lead and mains before powering on, keeping cables clear so they cannot tug at a socket.
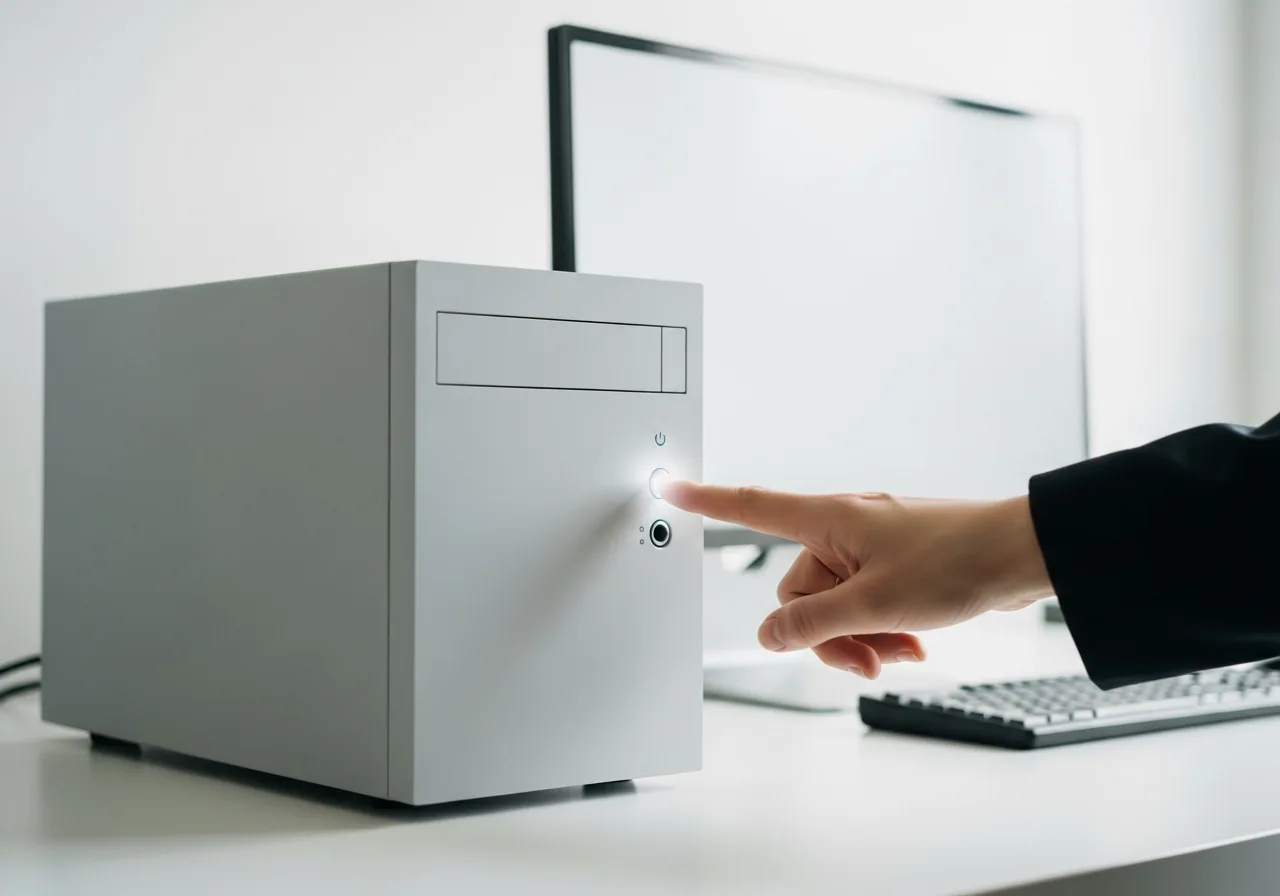 6
6Test for a picture
Power on and watch the monitor for a startup logo or text, confirming the image is now produced and reaching the correct output.
When to seek help
If careful checks of cable, input, and seating bring no picture, a technician can test the graphics card and memory in isolation to find which component is holding back the display.
Reducing the chance it returns
Most blank-screen surprises trace back to movement, so settle the tower in its final spot before connecting anything and route the video lead so it cannot tug at the socket. When a separate graphics card is fitted, get into the habit of always using its outputs rather than the board's ports. After any work inside the case, press each memory module and the card firmly home until they click. Keeping a single, known-good display cable on hand also lets you rule out a tired lead quickly the next time a picture goes missing.
Repair110 is a free, informational resource. These steps describe a careful, general approach — every device is a little different, so work slowly, back up anything you value, and prioritise your own safety. If a step feels beyond your comfort, stop and consult a qualified technician.