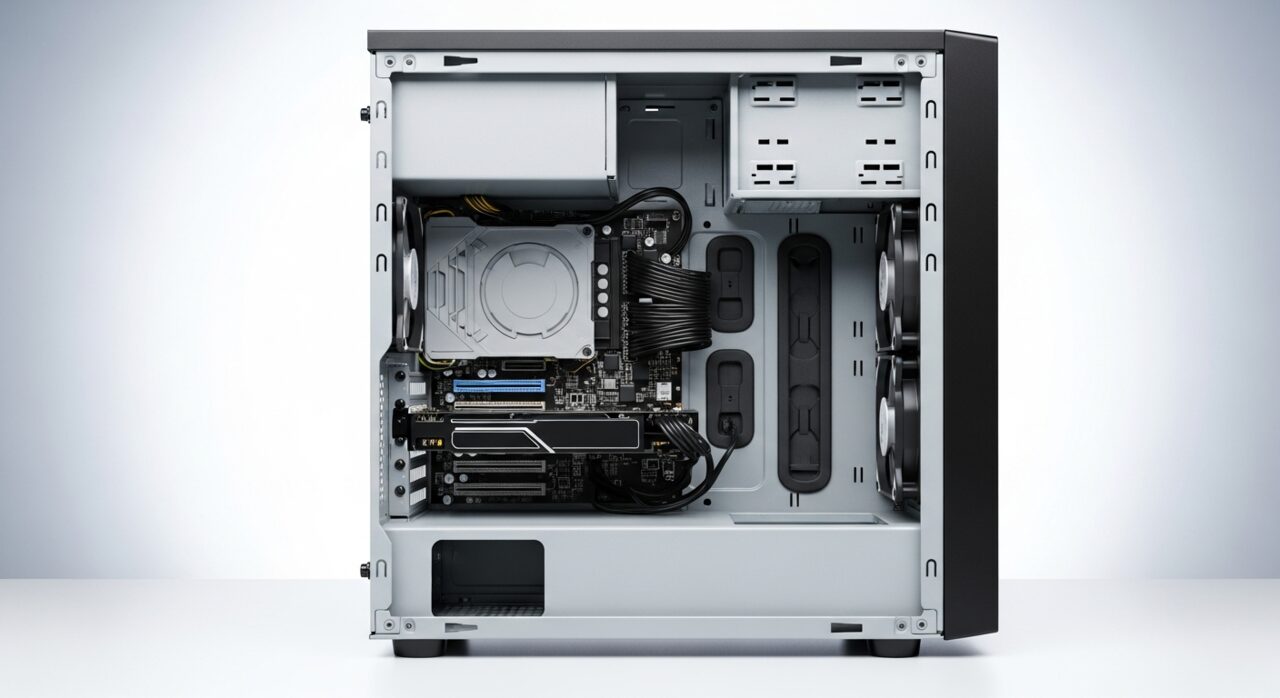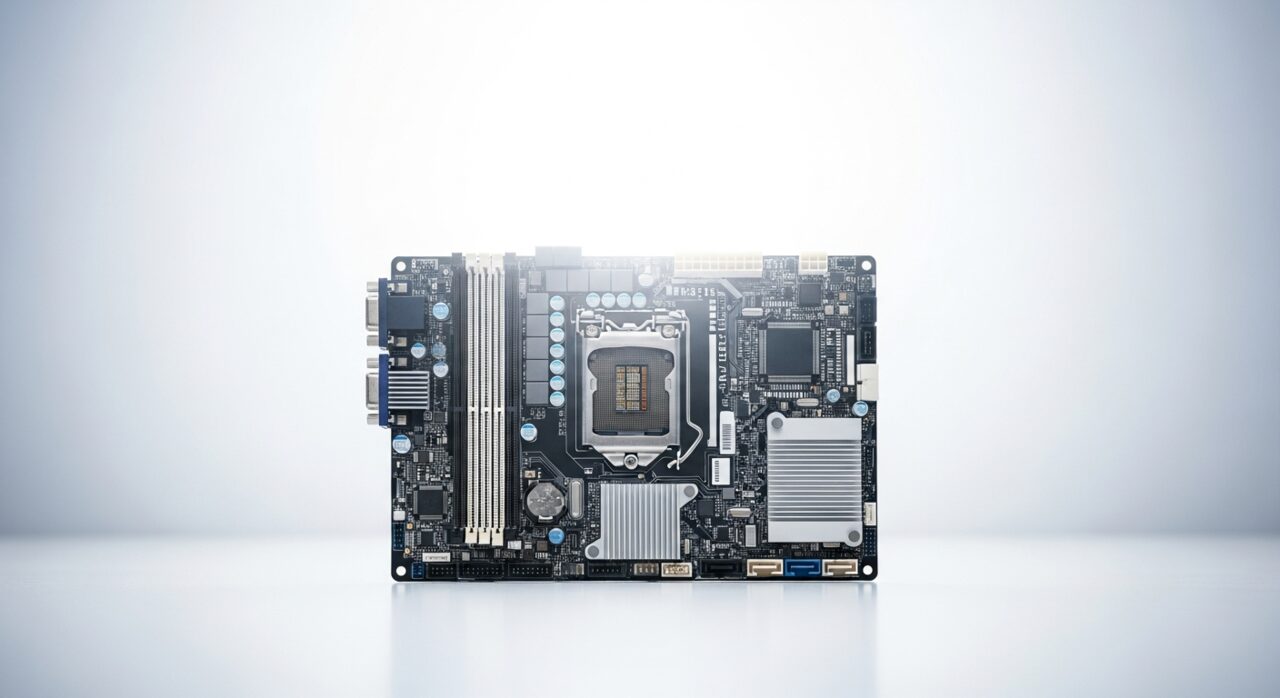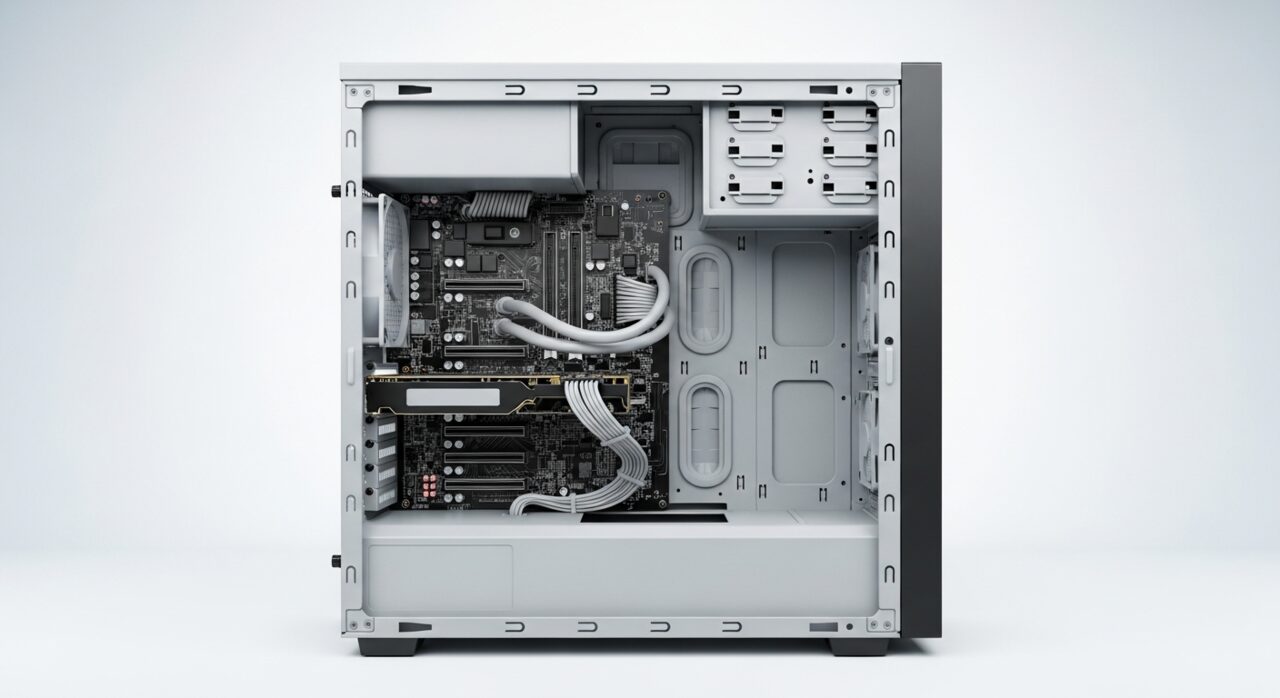
Understanding the problem
Before anything visible happens, the power supply must convert mains electricity into a small standby voltage that keeps the board alert and watching the power button. When you press that button, the board asks the supply to wake fully and energise every rail. A dark, silent machine means this earliest handshake never completed: either no current arrives from the wall, a rear master switch blocks it, the supply cannot produce standby voltage, or the button signal never reaches the board. Nothing later in the start sequence can begin until that first step succeeds.
Symptoms
- Pressing the power button produces no lights, fans, or sound
- No indicator glows on the case or the rear of the supply
- The machine is silent even with the power cable firmly seated
- Nothing happens regardless of how long the button is held
Likely causes
- 1A wall socket, surge strip, or power cable that is not delivering current
- 2A rear master switch on the power supply left in the off position
- 3A failed power supply unit no longer providing standby voltage
- 4A loose front-panel power button connection to the board
- 5A mainboard fault on the early power-on circuitry
What to observe and check
- Confirm the wall outlet works using another known-good device
- Note whether the rear supply switch and cable are fully engaged
- Observe if any standby light on the board glows when power is connected
- Listen for a brief fan twitch the instant power is applied
- Consider whether the failure followed a storm or power surge
Step-by-step repair
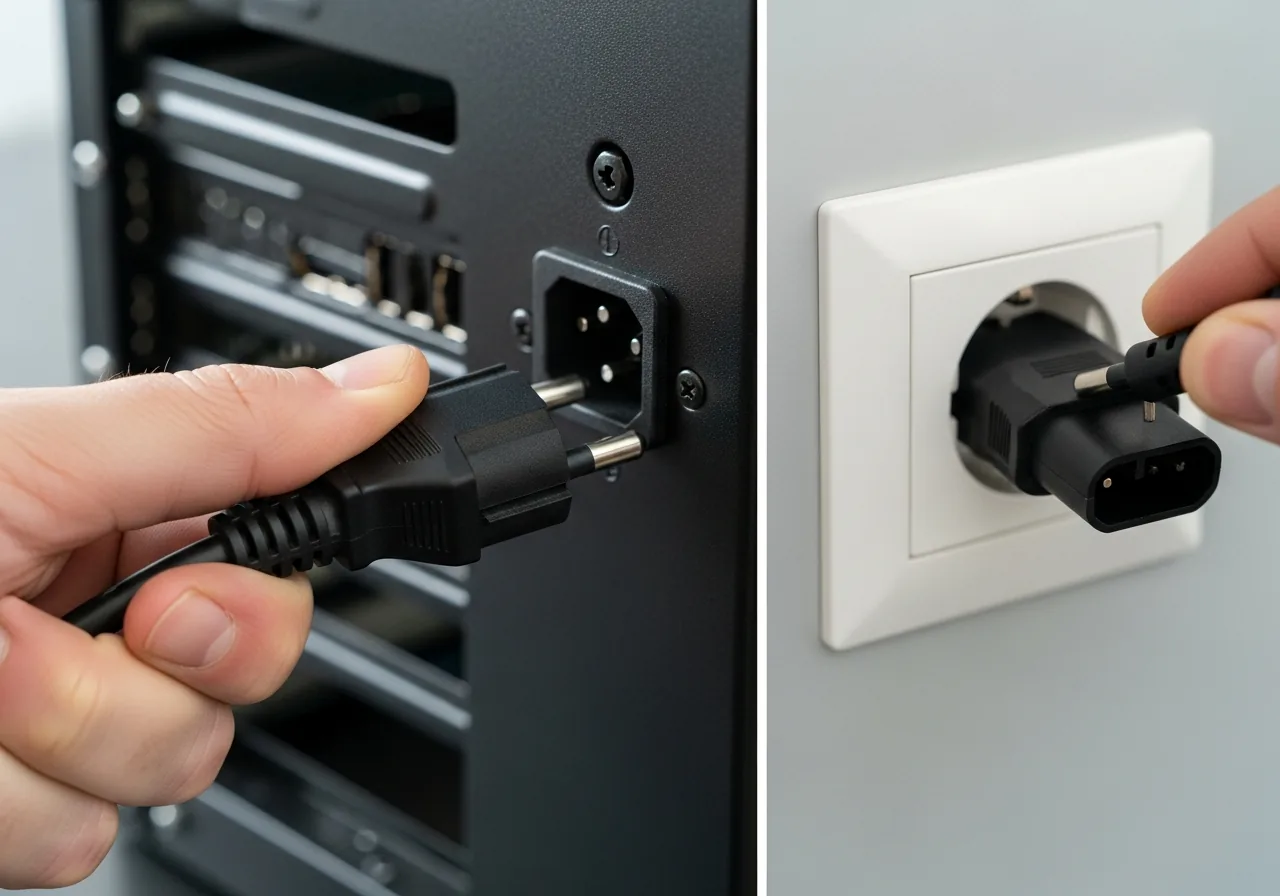 1
1Test the outlet and cable
Confirm the wall socket works with another device and seat the mains cable firmly at both ends, ruling out a dead outlet, surge strip, or half-pulled plug.
 2
2Confirm the rear power switch
Check that the master switch on the back of the power supply is set to on, since a knocked switch leaves the whole tower dark and silent.
 3
3Unplug before opening the case
Switch off and disconnect the mains lead before removing the side panel; the power supply can store dangerous energy even when unplugged, so handle it with care.
 4
4Reseat the front-panel power lead
Find the small front-panel power connector on the board and press it squarely back onto its pins, as a loose button lead can stop the start signal reaching the board.
 5
5Power on and watch for life
Reconnect the mains and press the button, looking for a standby light, a fan twitch, or any sign the early power handshake has finally completed.
When to seek help
If you smell burning, see scorch marks, or hear a sharp snap when applying power, disconnect it and seek qualified help. Power supplies can store dangerous energy even when unplugged.
Reducing the chance it returns
Protecting the supply from rough power goes a long way. Plug the tower into a quality surge protector, and during storms consider unplugging it entirely so a spike cannot reach the early power circuitry. Make a habit of seating the mains cable firmly and leaving the rear master switch on. Avoid daisy-chaining extension leads, which can starve the machine of clean current. If you move the tower, recheck the cable afterwards, since a half-pulled plug is a common reason a once-reliable machine suddenly stays dark.
Repair110 is a free, informational resource. These steps describe a careful, general approach — every device is a little different, so work slowly, back up anything you value, and prioritise your own safety. If a step feels beyond your comfort, stop and consult a qualified technician.