Understanding the problem
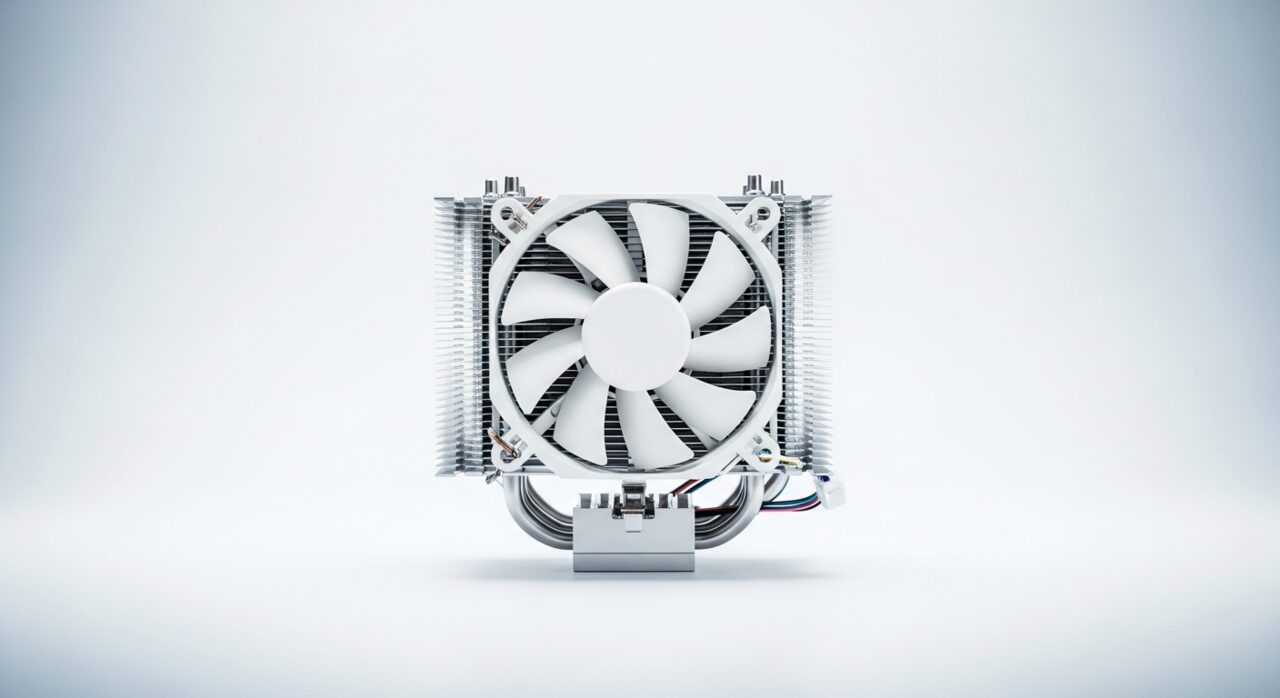
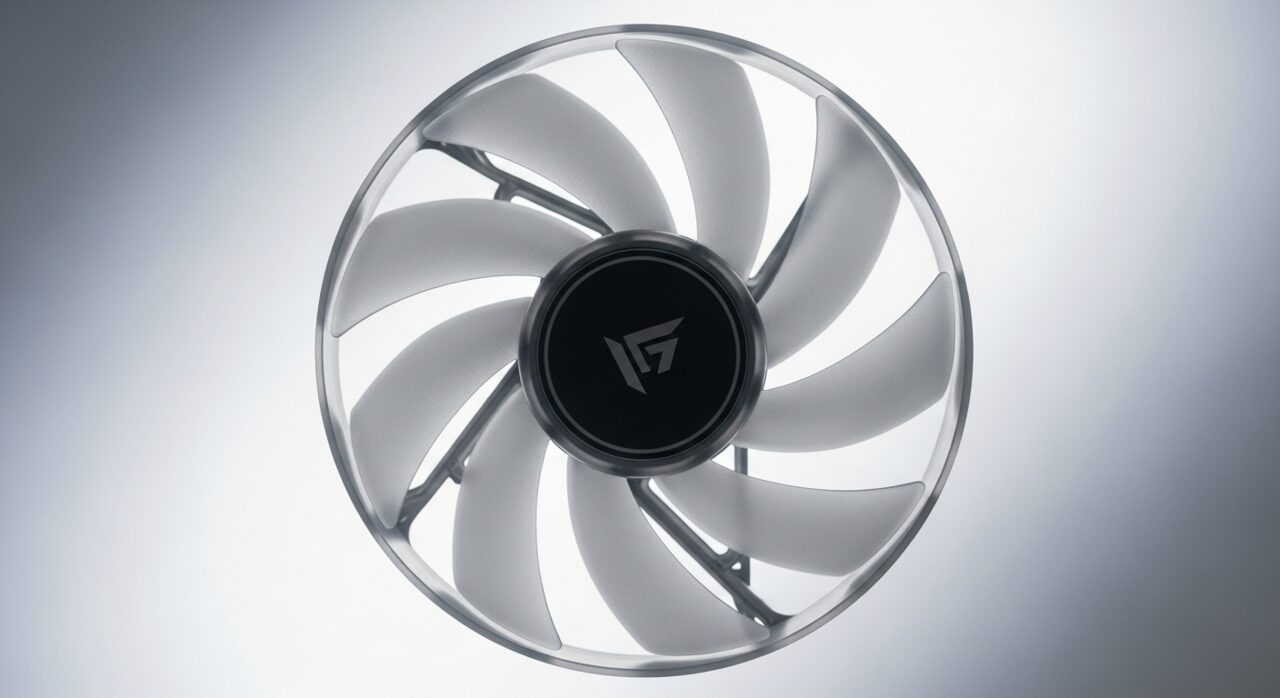
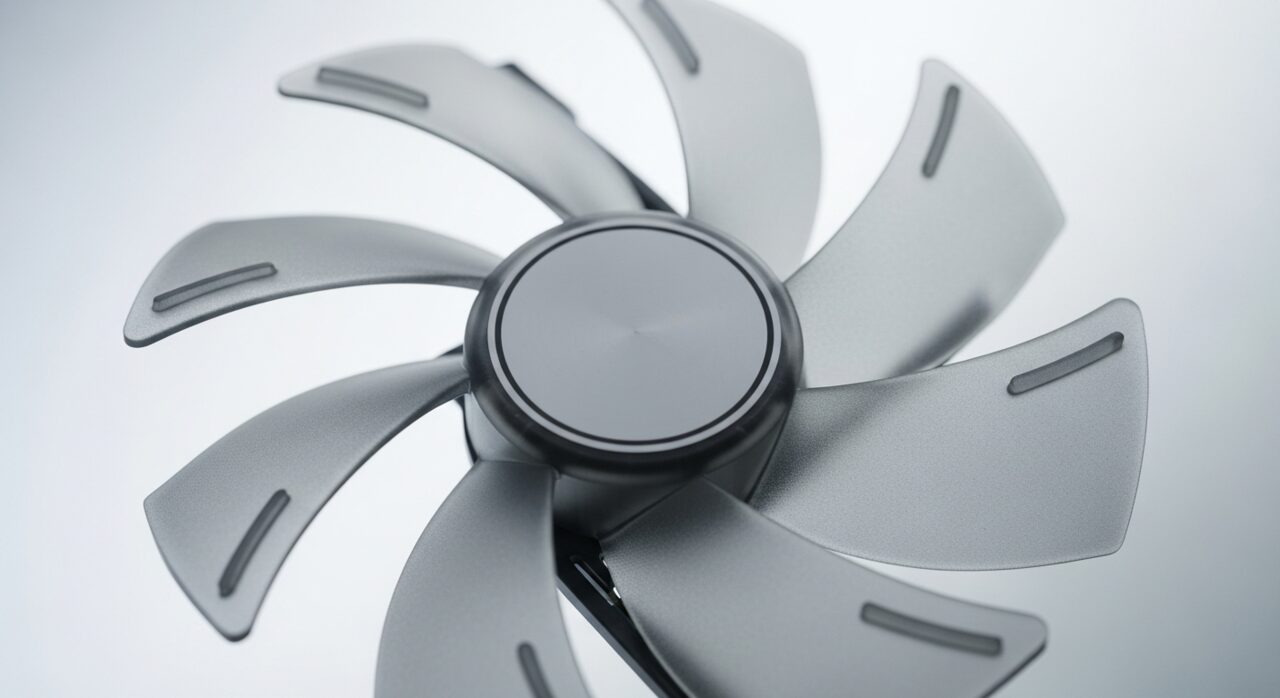
Cooling works by pulling air across closely spaced metal fins, where the moving stream lifts heat away. The same airflow inevitably carries fine particles inward, and over time those settle on the fins and the fan blades. A thin coating acts like a blanket, insulating the very surfaces meant to shed heat and narrowing the gaps air must pass through. The fan then works harder for less effect, temperatures drift upward, and because the change happens over months it feels normal. In damp or greasy air the dust can bind into a felted mat that chokes the channel entirely.
Symptoms
- Fans grow steadily louder over weeks and months for the same tasks
- Visible grey fuzz gathering around the vents and grilles
- Warm air emerging weakly rather than briskly from the exhaust
- The device feeling hotter than it did when it was newer
Likely causes
- 1Fine particles drawn in with cooling air and trapped on the fins
- 2Use in carpeted, dusty, or pet-friendly environments
- 3Tight internal channels where even a thin layer chokes airflow
- 4Long stretches between cleaning that let buildup compound
- 5Sticky residue binding dust into a felt-like mat across the heatsink
What to observe and check
- Look into the vents under good light to gauge how much dust is visible
- Note whether airflow from the exhaust feels weaker than you remember
- Observe if temperatures fall when the device is used in a cleaner space
- Consider how long it has been since the inside was last cleared
Step-by-step repair
 1
1Power down and unplug fully
Switch the device off and disconnect it from power before opening it, as internal parts can hold charge and a fan may turn unexpectedly.
 2
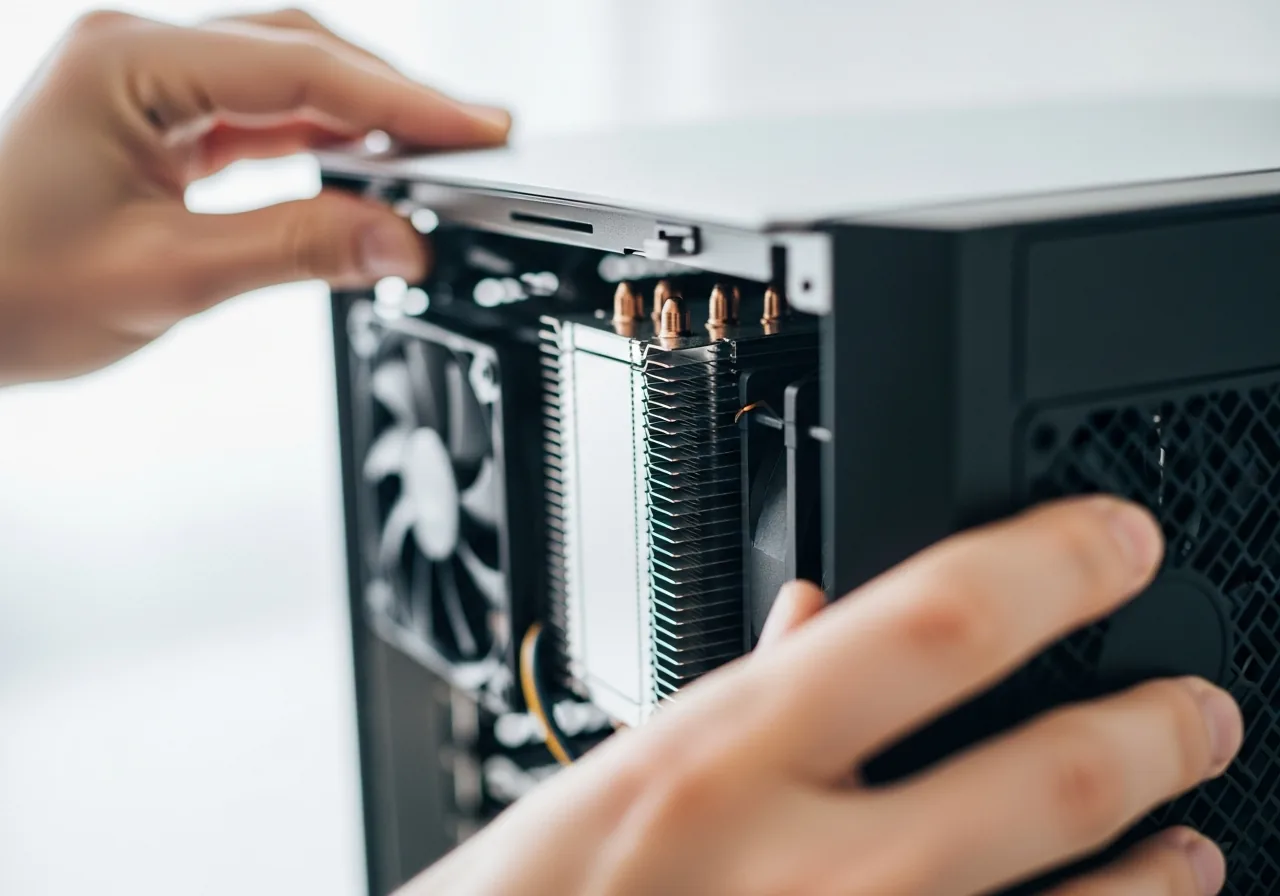
2Open the device to reach the fins
Remove the panel covering the heatsink and fan so you can see the closely spaced metal fins where dust collects.
 3
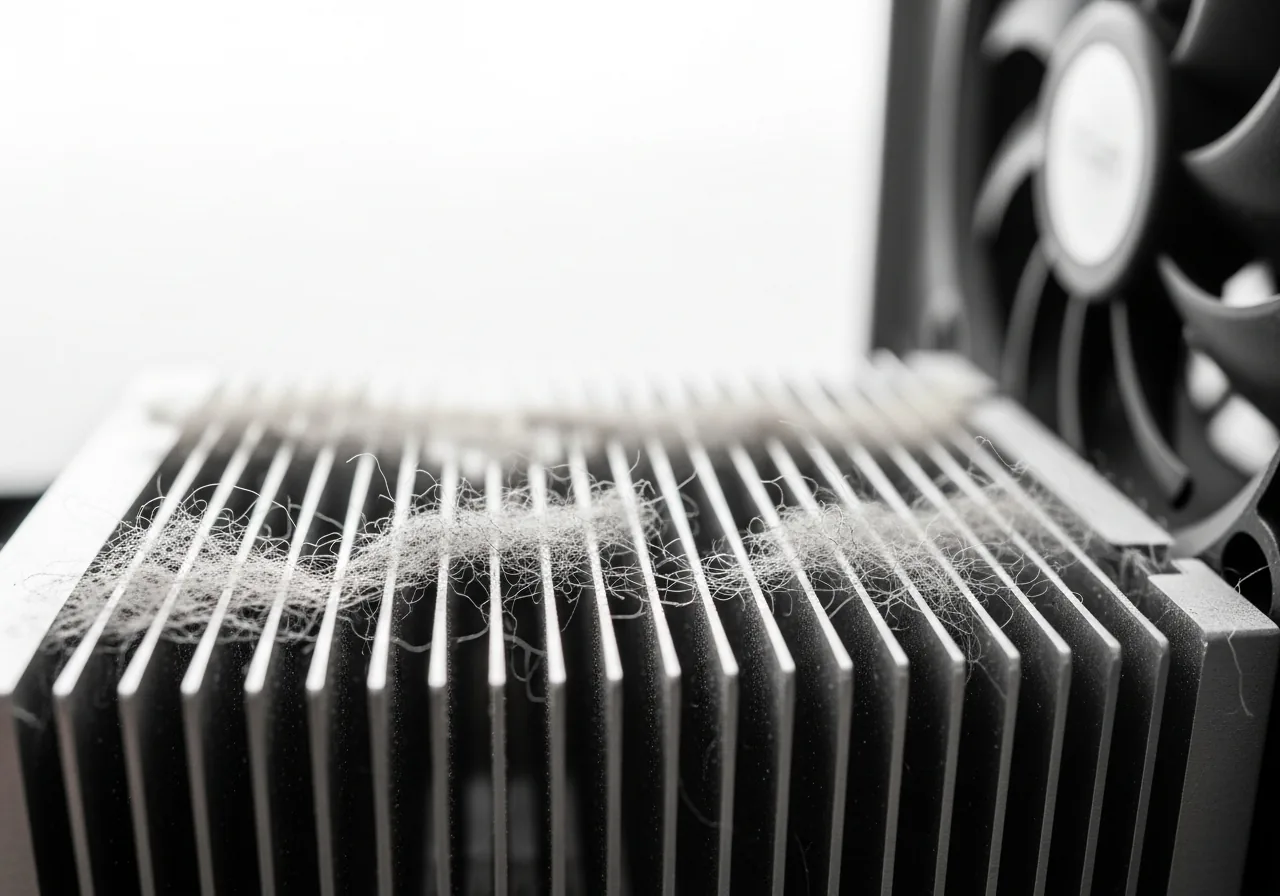
3Locate the clogged fins and blades
Under good light, find where grey fuzz or a felted mat has gathered across the fins and on the fan blades, narrowing the path for air.
 4
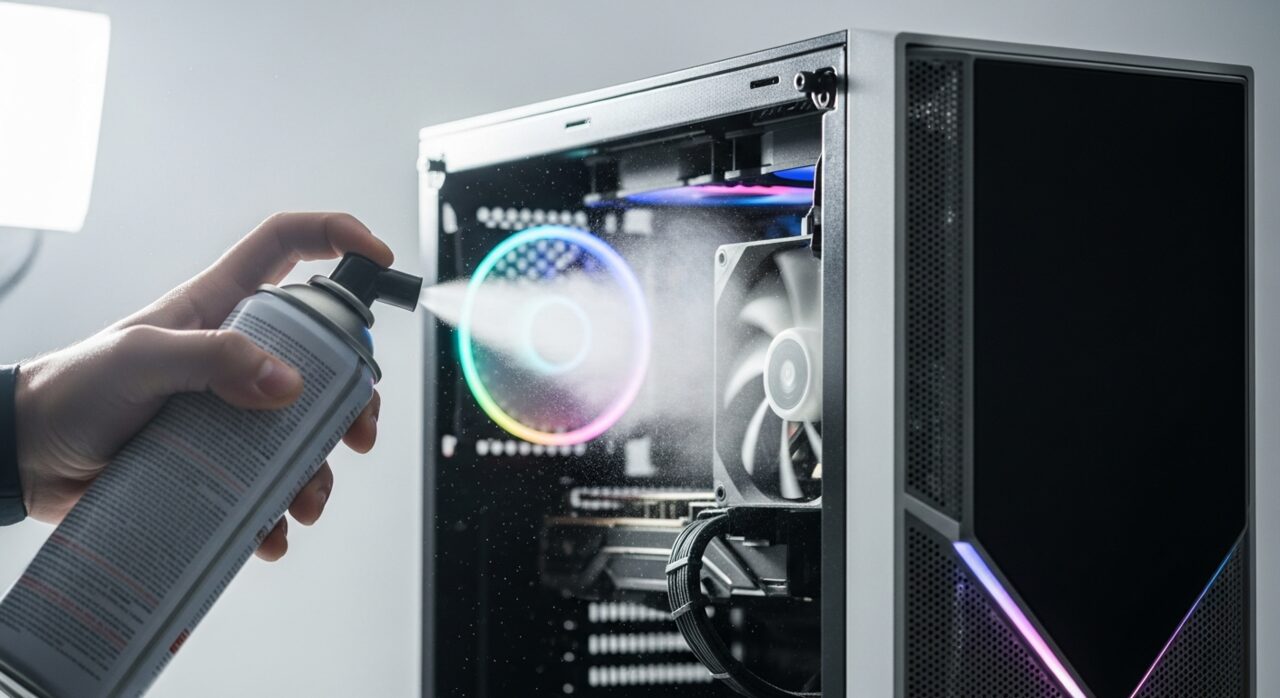
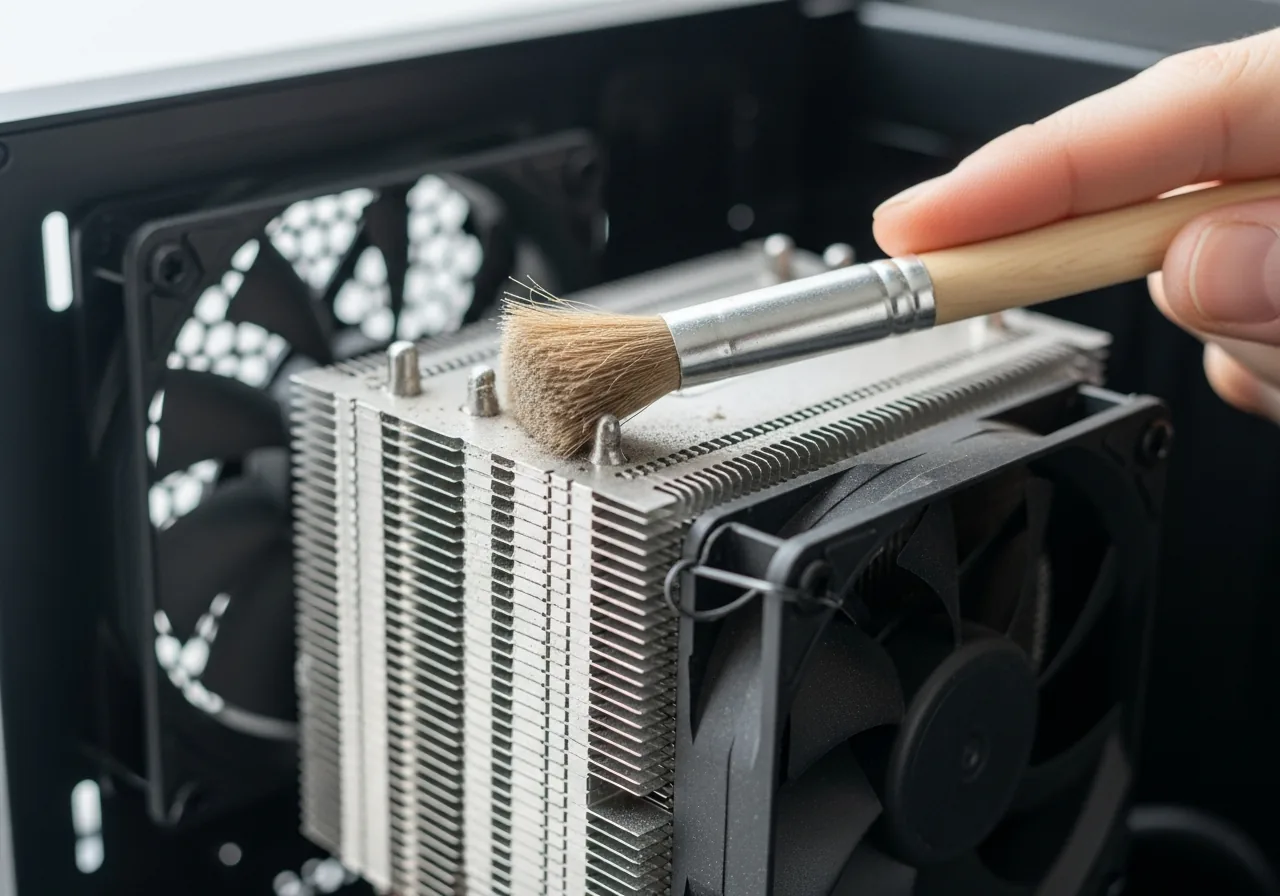
4Gently clear away the dust
Lift the buildup away carefully without bending the fins, and hold the fan still while you clean so spinning it does not strain the bearing.
 5
5Close the device back up
Refit the panel once the fins and blades are clear, checking nothing is loose or pinched before securing it.
 6
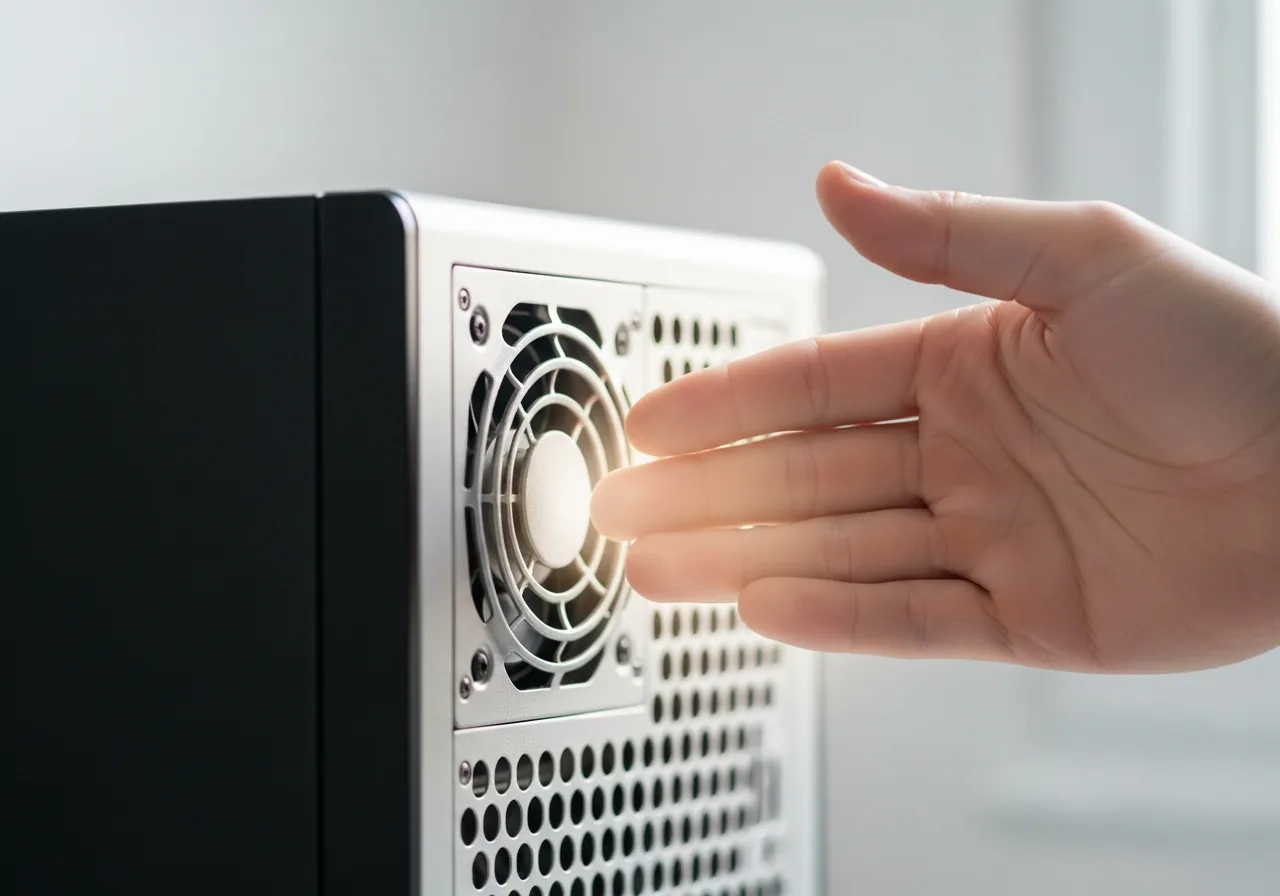
6Confirm airflow has improved
Power on and feel for brisk warm air at the exhaust, with the fan quieter for familiar tasks than it was before the clean.
When to seek help
If opening the device is unfamiliar or it holds stored energy, let a qualified technician clean it, especially when dust is paired with overheating or odd smells.
Reducing the chance it returns
Set a gentle routine of clearing the vents and grilles before buildup has a chance to compound, rather than waiting for heat to force the issue. Keep the device off carpets and away from rooms thick with pet hair or smoke, since those environments feed dust into it quickly. Raising it slightly so air is drawn from a clean space, rather than from the floor, makes a real difference. Treat steadily rising fan noise for familiar tasks as your cue that the fins are filling up and a careful clean is due.
Repair110 is a free, informational resource. These steps describe a careful, general approach — every device is a little different, so work slowly, back up anything you value, and prioritise your own safety. If a step feels beyond your comfort, stop and consult a qualified technician.