Understanding the problem
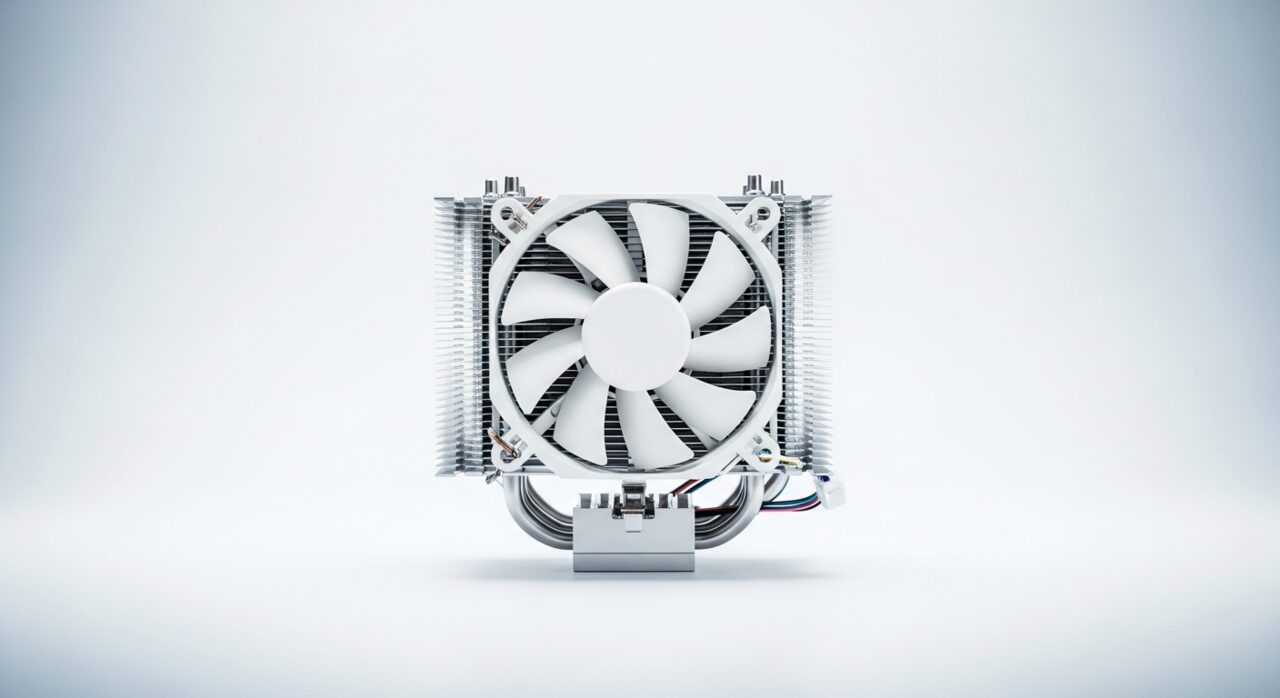
Heat inside a device is meant to spread out and travel along a heatsink toward the airflow before leaving through the vents. A hot spot appears when that spreading fails in one place, so warmth pools directly above a single hard-working part instead of being shared and carried away. A patch of thermal material that has thinned or shifted, an airflow path that leaves one corner unventilated, or a particular chip carrying a heavy background load can all concentrate heat. Because the rest of the casing stays normal, the contrast makes exactly where the trouble sits stand out clearly.
Symptoms
- One region of the casing feels far hotter than surrounding areas
- The warmth stays in the same spot across different sessions
- Nearby keys, ports, or surfaces become uncomfortable during use
- The rest of the device feels normal while one zone stands out
Likely causes
- 1A hard-working component sitting directly under that part of the shell
- 2Heat that should spread through a heatsink staying trapped locally
- 3A blocked or poorly routed airflow path leaving one area unventilated
- 4Thermal material failing in just one spot and creating a hot pocket
- 5Background activity loading a specific chip more than the others
What to observe and check
- Map exactly where the heat concentrates relative to the vents
- Note whether the hot spot tracks a particular kind of task
- Observe if the warmth eases when that activity stops
- Consider whether the area sits over storage, power, or processing hardware
Step-by-step repair
 1
1Map where heat concentrates
Feel across the casing to find exactly where the warmth pools and note whether it sits over storage, power, or processing hardware.
 2
2Check which task loads the chip
Watch background activity to see whether a particular process is loading one component hard, and notice if the hot spot eases when that task stops.
 3
3Check airflow around the area
Make sure no edge is pressed against a wall or cushion, since a single corner starved of ventilation lets heat gather instead of being carried away.
 4
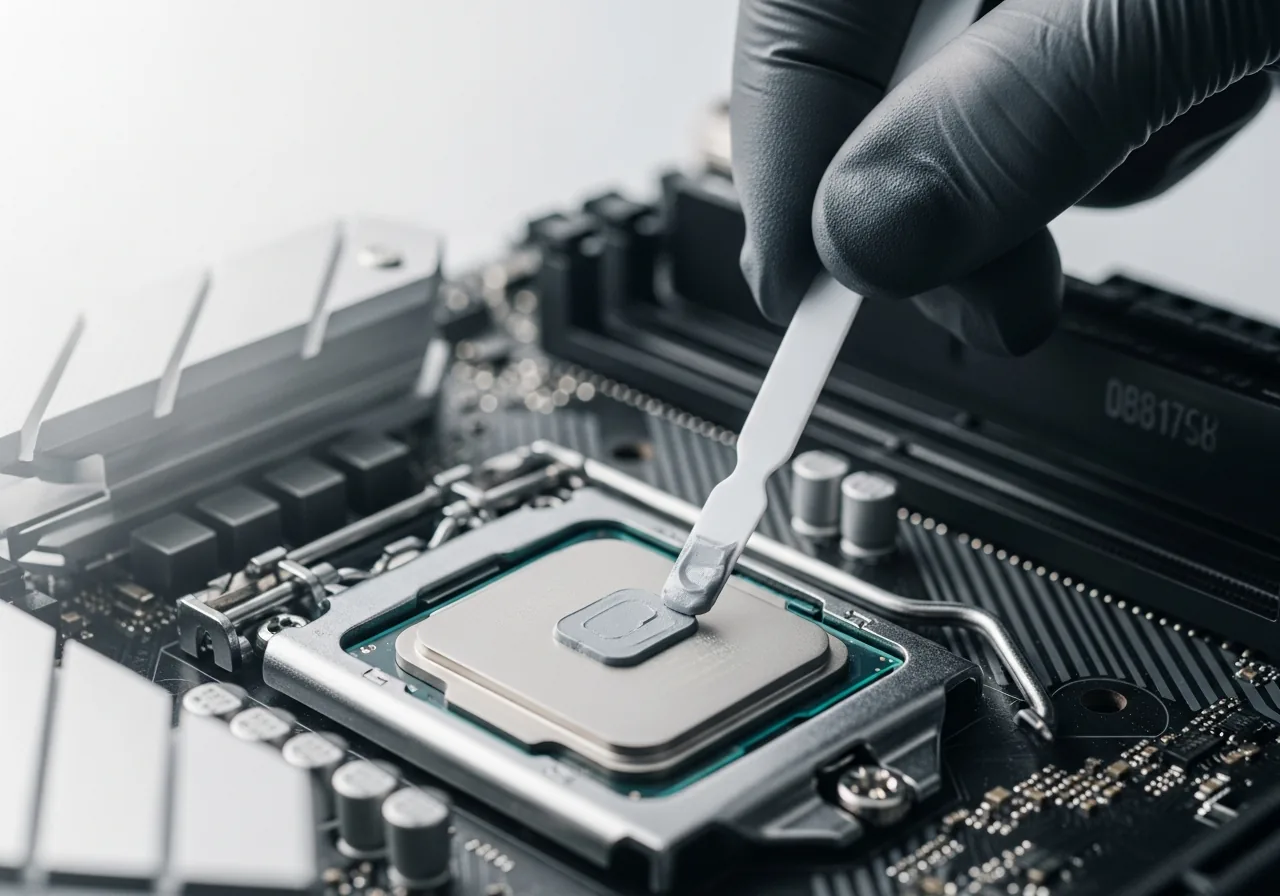
4Even out the thermal material
If the hot pocket comes from thermal material that has thinned or shifted, applying it evenly can help heat spread; only attempt this powered off and if you are confident opening the device.
 5
5Confirm the warmth spreads evenly
Use the device again and check the casing now warms more uniformly, with no single zone standing out far hotter than the rest.
When to seek help
If a hot spot becomes painful to touch, discolours the casing, or is joined by any smell of burning, stop and consult a qualified technician.
Reducing the chance it returns
Position the device so air can reach every side evenly, since pressing one edge against a wall or cushion is a common way to starve a single area of ventilation. Spread demanding work rather than letting one component run flat out for hours, and keep an eye on background activity that quietly loads a particular chip. When internal work is done, making sure thermal material is applied evenly helps heat share itself across the heatsink. With balanced airflow and balanced loads, warmth stays distributed instead of gathering into one stubborn pocket.
Repair110 is a free, informational resource. These steps describe a careful, general approach — every device is a little different, so work slowly, back up anything you value, and prioritise your own safety. If a step feels beyond your comfort, stop and consult a qualified technician.