Understanding the problem
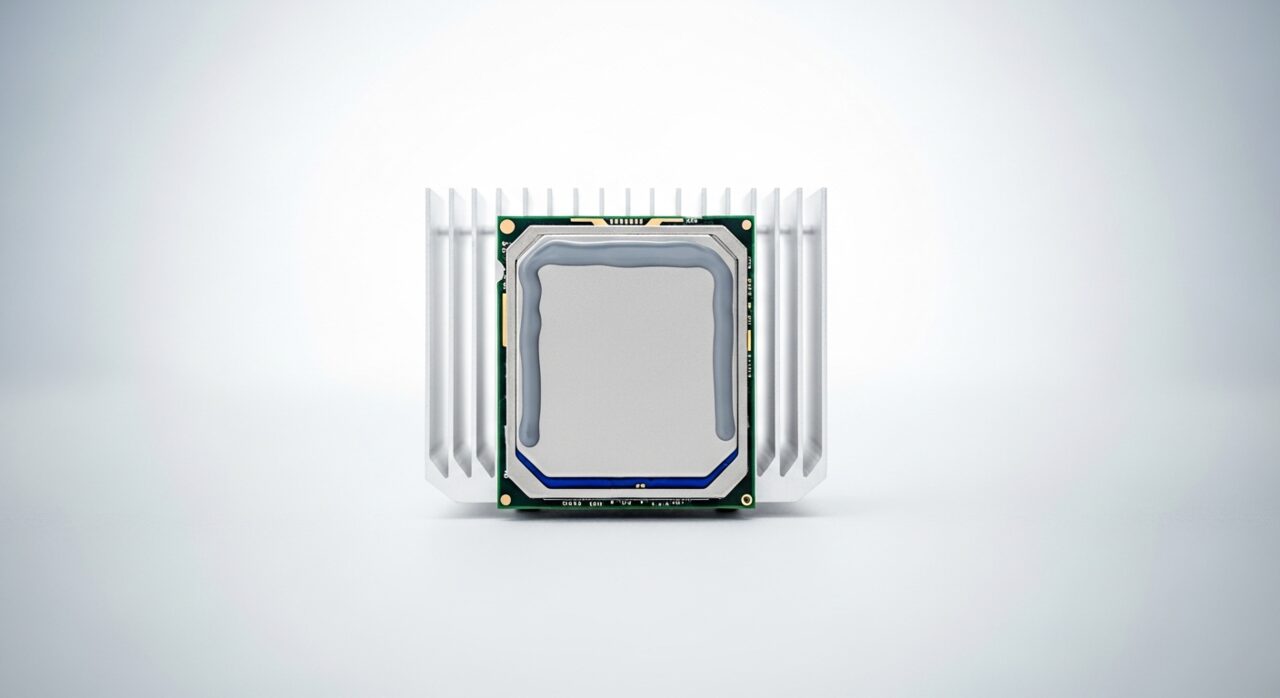
Inside the slim chassis, heat from the processor and graphics chip travels through a metal heatsink and is carried away by a fan pushing air across thin fins and out of the vents. A film of thermal paste bridges the chip to that metal, and a steady stream of moving air is what keeps temperatures in check. Over time dust mats the fins, paste dries and stops conducting, and a tiring fan moves less air, so heat builds faster than it leaves. When a safe limit is reached, the system shuts down deliberately to protect its silicon from lasting harm.
Symptoms
- The laptop powers off abruptly during demanding tasks or gaming
- The underside and keyboard grow uncomfortably hot to the touch
- Fans roar loudly yet temperatures still climb
- Performance drops sharply just before a shutdown occurs
Likely causes
- 1Dust packed into the heatsink fins blocking airflow
- 2Dried or poorly spread thermal paste on the processor or graphics chip
- 3A failing or partly seized cooling fan moving little air
- 4Vents covered by soft surfaces such as beds or cushions
- 5Background software keeping the processor at full load unnecessarily
What to observe and check
- Note whether shutdowns happen only after the device warms up over time
- Feel where the exhaust air emerges and judge if the flow is weak
- Observe if the fan noise is constant, fluctuating, or absent
- Watch whether heavy tasks trigger the fault while light use does not
- Consider whether the laptop sits on a hard, open surface during use
Step-by-step repair
 1
1Power down and unplug
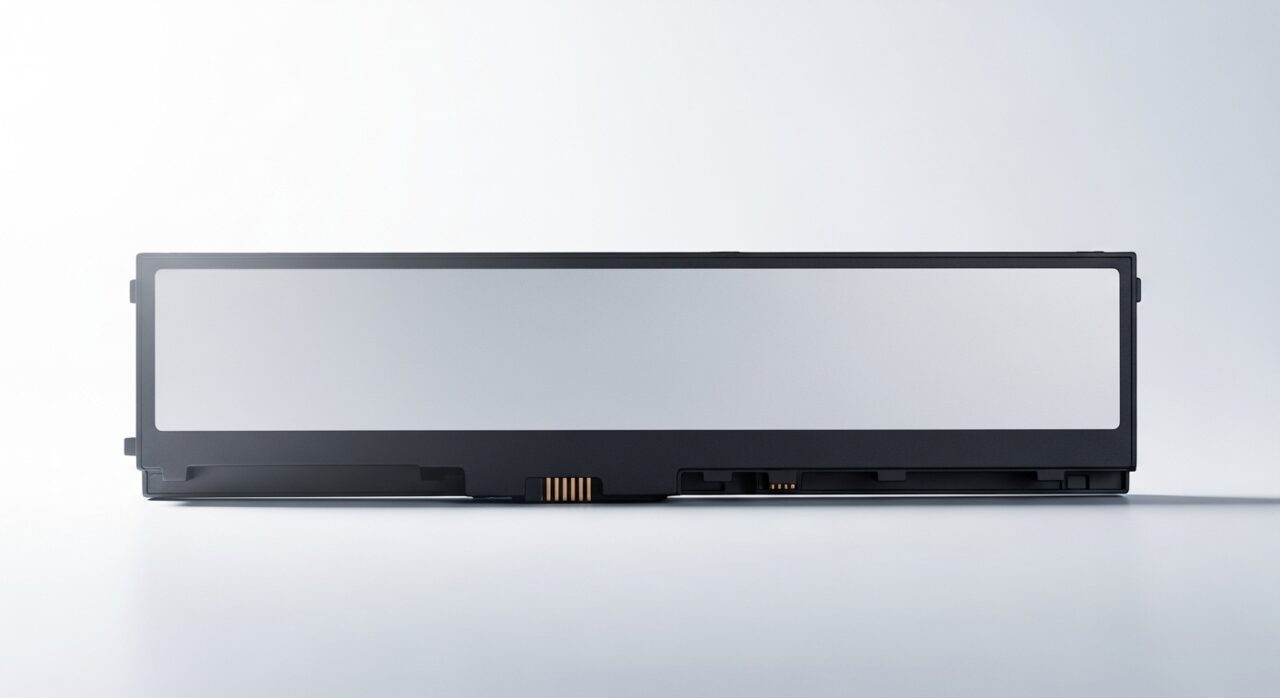
Shut the laptop down fully, disconnect the charger, and remove or isolate the battery where possible so no power remains while you work on the cooling system.
 2
2Set up a clean workspace
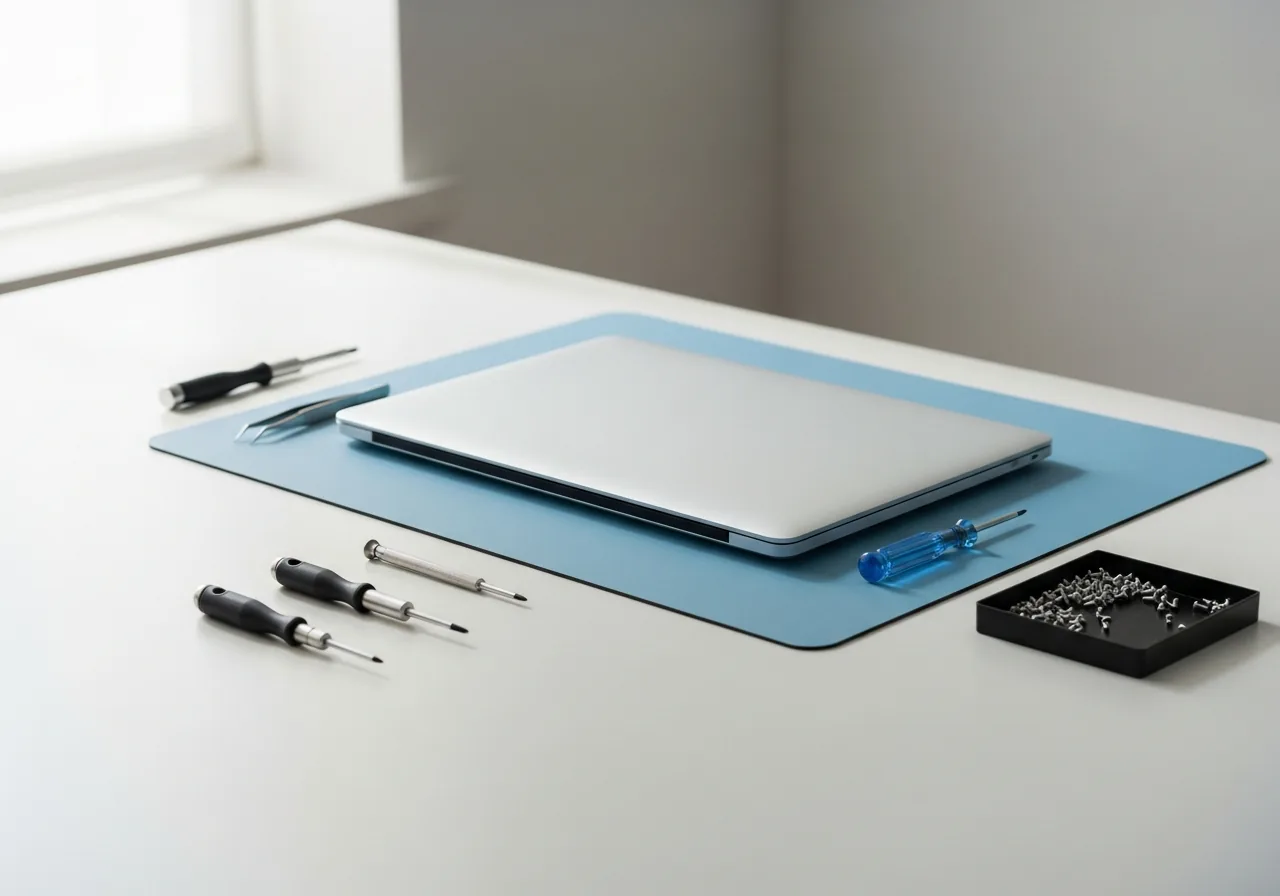
Clear a flat, well-lit surface and ground yourself before opening the chassis, keeping the small screws ordered so reassembly stays straightforward.
 3
3Clear dust from vents and fan
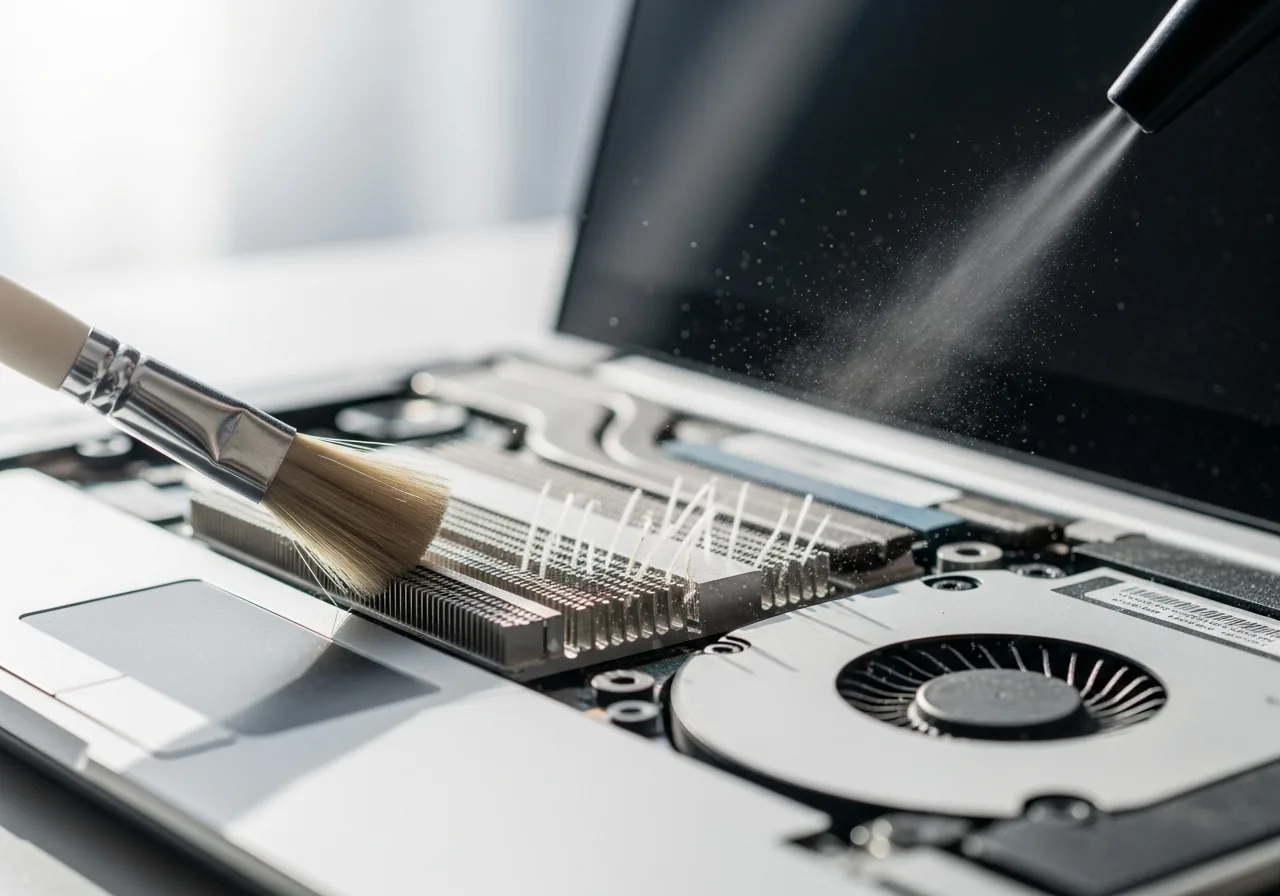
Gently loosen the matted dust packed into the heatsink fins and fan blades with short puffs of air, holding the fan still so it cannot spin and strain its bearing.
 4
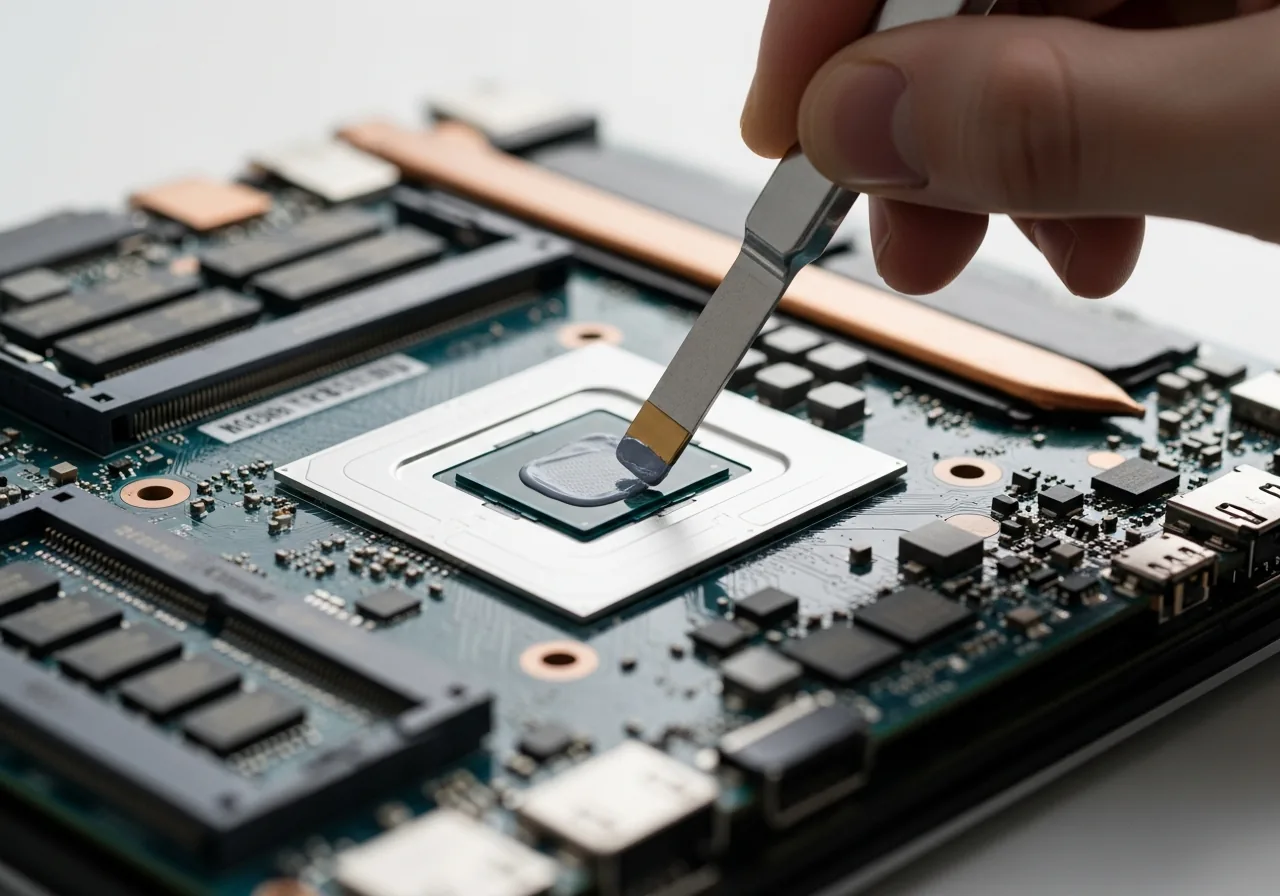
4Refresh the thermal contact
Where dried paste has stopped conducting, carefully clean the old film from the chip and metal and apply a thin, even fresh layer to restore heat transfer.
 5
5Close the chassis carefully
Refit the panel and every screw in order, making sure no cable is pinched before the laptop is sealed back up.
 6
6Test under a heavy task
Power on and run a demanding task while feeling the exhaust airflow, confirming the machine now stays cool rather than shutting down.
When to seek help
If cleaning the vents and using the laptop on a flat surface does not calm the heat, internal cleaning and fresh thermal paste are best handled by a technician who can open the chassis safely.
Reducing the chance it returns
Keeping heat moving is mostly about airflow and routine. Use the laptop on a firm, flat surface so the intake vents stay open, rather than on a duvet or lap where soft fabric smothers them. Clear visible dust from the vents regularly with a gentle puff of air before it packs into the fins, and give the fan room to breathe by leaving space around the exhaust. Watch which tasks drive the temperature up and close idle background work that keeps the processor needlessly busy. Over the years, occasional professional cleaning and fresh paste restore the cooling the machine was built with.
Repair110 is a free, informational resource. These steps describe a careful, general approach — every device is a little different, so work slowly, back up anything you value, and prioritise your own safety. If a step feels beyond your comfort, stop and consult a qualified technician.