Understanding the problem
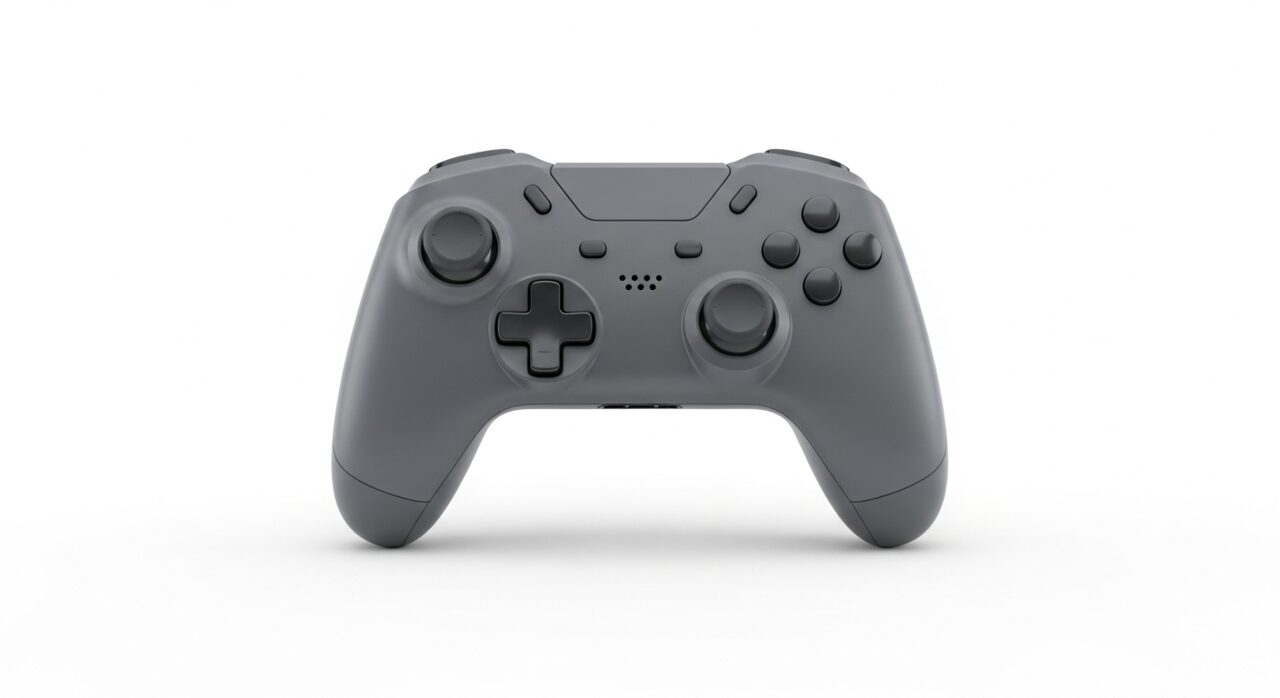
A wireless controller and the system must first agree to talk through a pairing step, exchanging an identity that lets them recognise each other from then on. If that exchange never finished, or was later cleared, the controller may light up while the system never lists it, because as far as the computer is concerned they have never been introduced. Power matters too, since a depleted internal cell cannot sustain the link. Many cables are wired for charging alone and carry no data, so a controller that comes alive on such a lead still stays invisible.
Symptoms
- The controller powers on but the system never lists it
- Buttons do nothing inside games or settings
- It connects briefly then drops away
- It works wired but refuses to pair wirelessly
Likely causes
- 1An incomplete or failed wireless pairing
- 2A depleted or failing internal battery
- 3A cable used only for charging that carries no data
- 4Missing controller driver or support in the operating system
- 5Interference or too many wireless devices competing for attention
What to observe and check
- Observe whether the controller is recognised over a cable but not wirelessly
- Note if the battery holds enough charge to stay connected
- Watch whether the cable in use actually carries data and not just power
- Check whether removing other wireless devices improves pairing
Step-by-step repair
 1
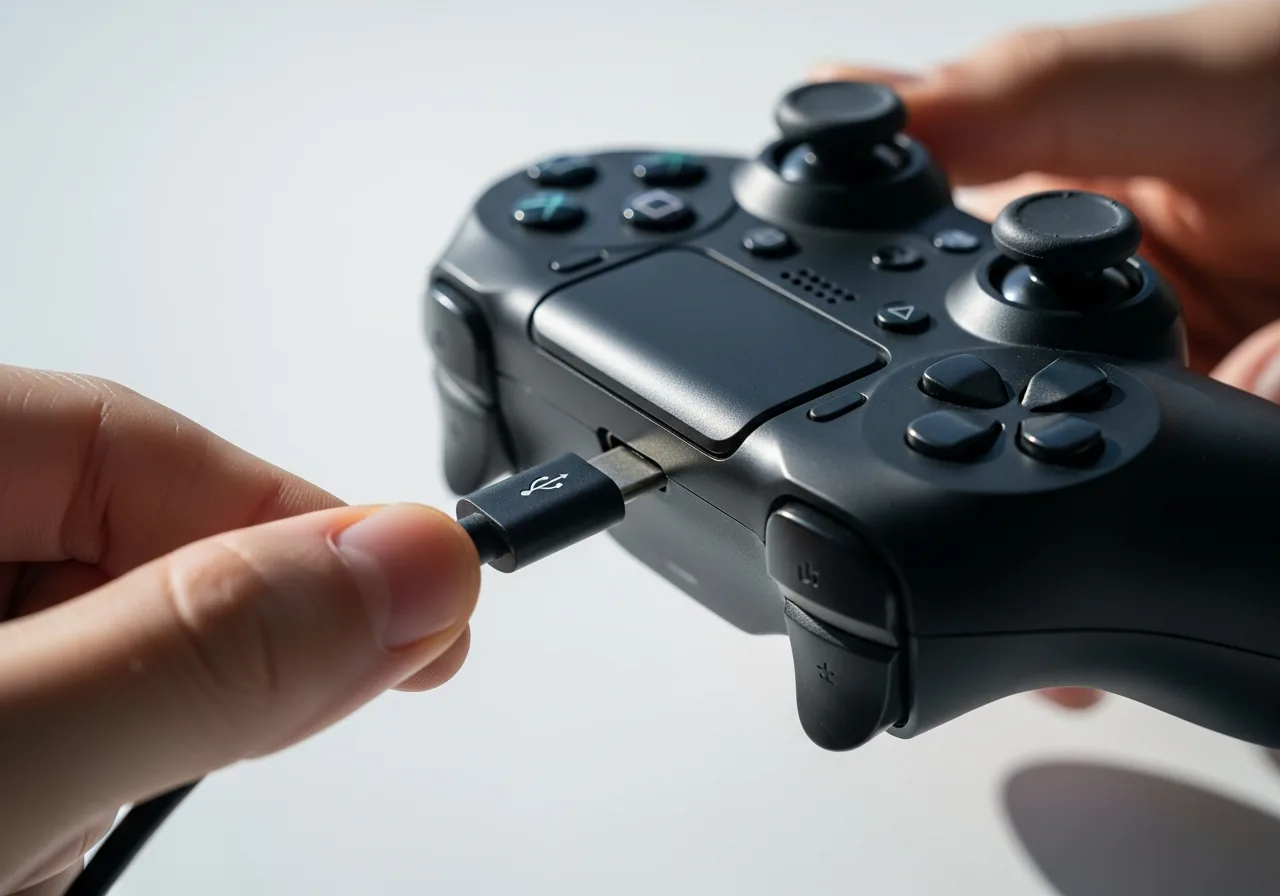
1Charge the internal battery
Top up the controller before it runs flat, since a depleted cell cannot sustain the link and the system may never list it.
 2
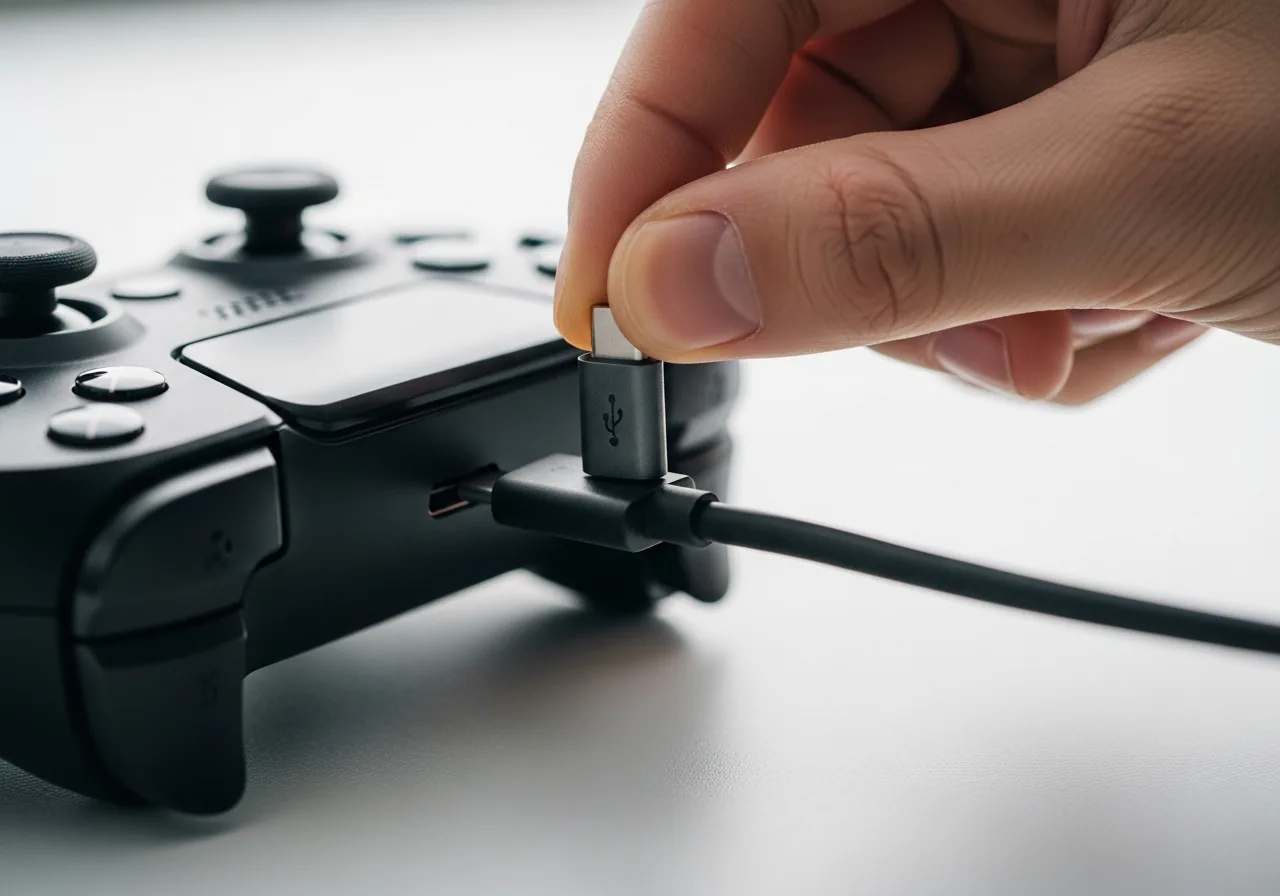
2Connect with a data cable
Plug in using a lead known to carry data, not just charge, because a charge-only cable leaves the controller alive yet invisible.
 3
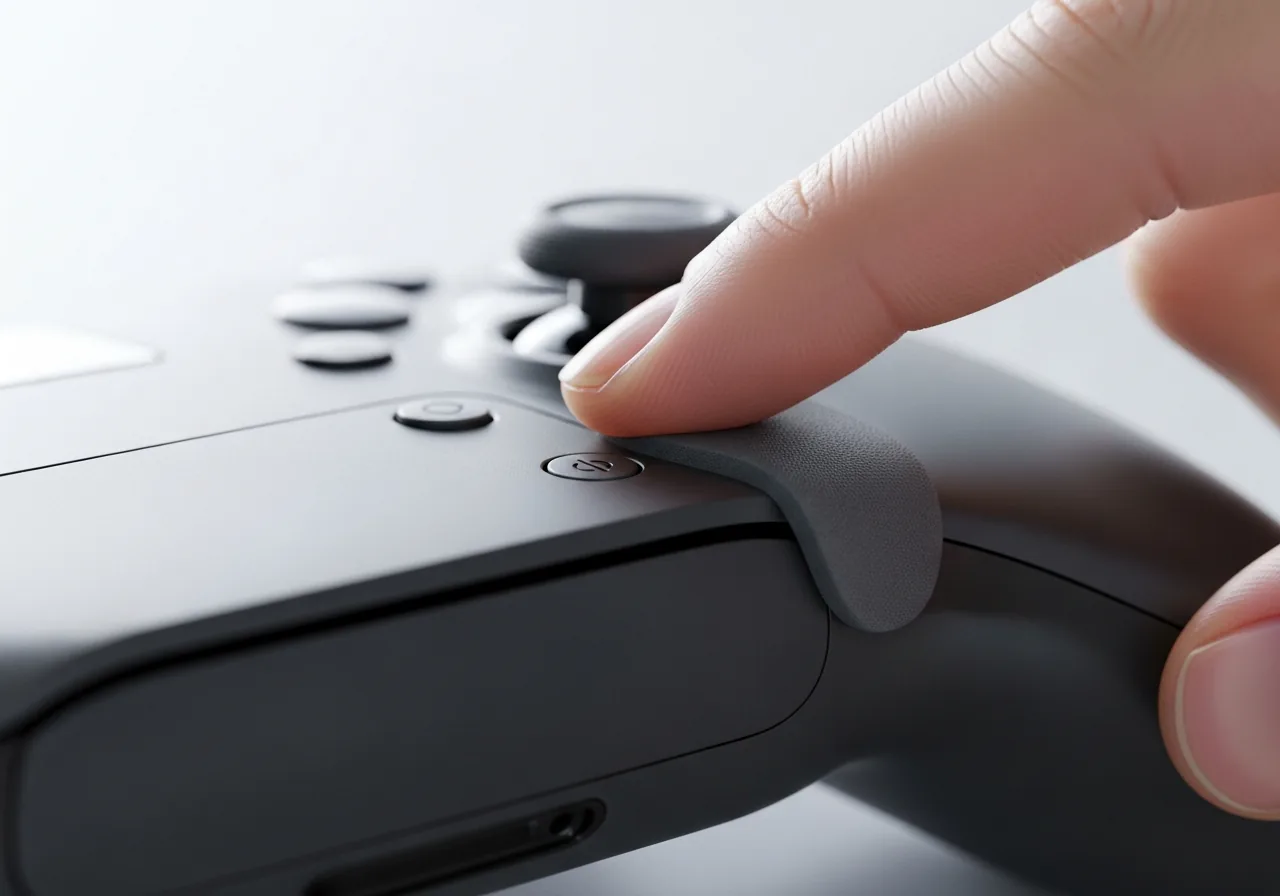
3Re-pair the controller
Start the pairing step again so the controller and system exchange an identity, repeating it if a previous pairing was cleared or never finished.
 4
4Install controller support
Let the operating system load the proper driver or support for the controller so it can be recognised in games and settings.
 5
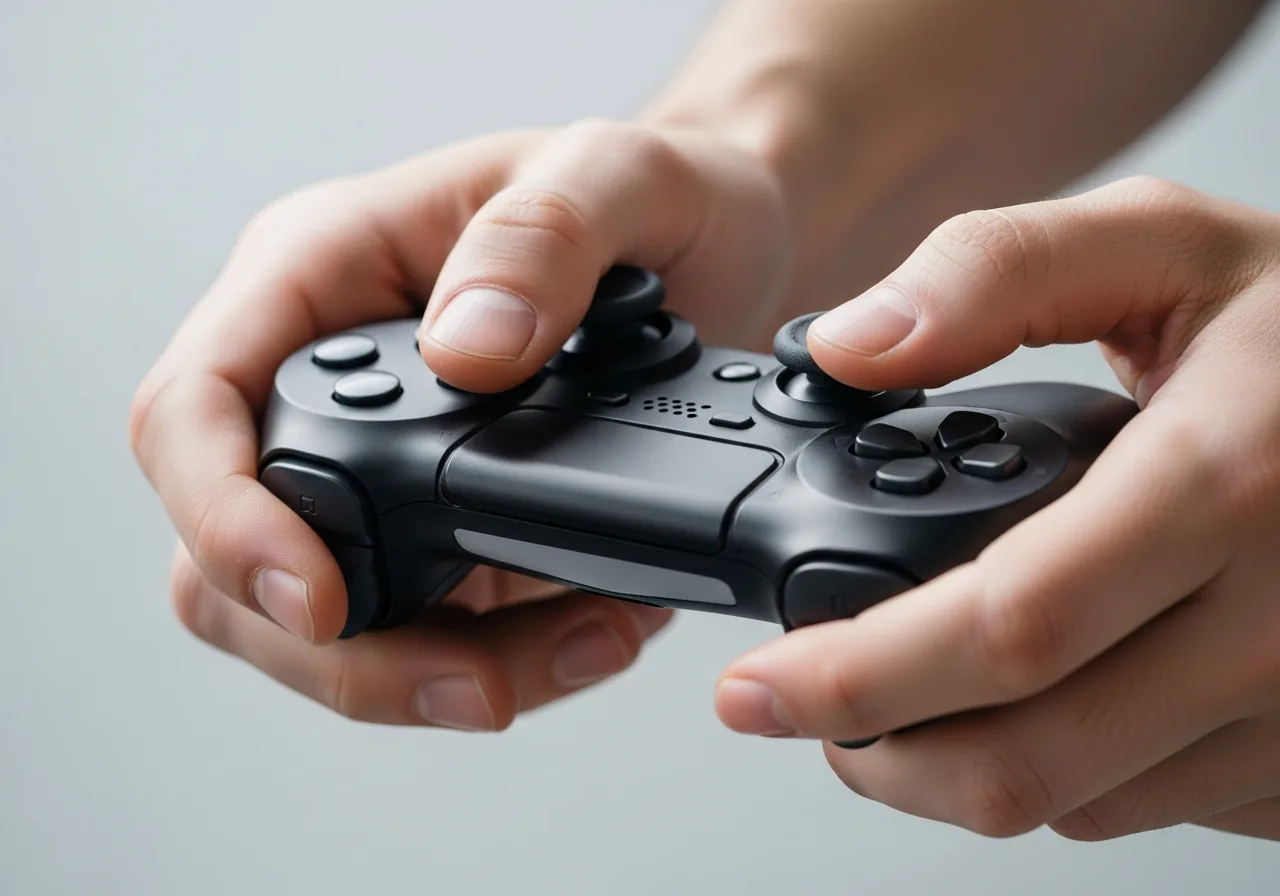
5Confirm it responds
Check that the controller stays listed and its buttons register both wired and wirelessly before relying on it.
When to seek help
If the battery is swollen, leaking, or unusually hot, stop using the controller and have it dealt with by someone qualified.
Reducing the chance it returns
Dependable detection follows from keeping the pairing intact and the cell charged, so topping the controller up before it runs flat avoids the dropouts that come with low power. Keeping a known data-carrying cable to hand means a wired fallback is always genuinely available rather than a charge-only lead in disguise. Pairing in a spot away from a crowd of other transmitters helps the link form cleanly and hold. Letting the system load proper support for the controller, and refreshing it occasionally, keeps recognition consistent across sessions.
Repair110 is a free, informational resource. These steps describe a careful, general approach — every device is a little different, so work slowly, back up anything you value, and prioritise your own safety. If a step feels beyond your comfort, stop and consult a qualified technician.