Understanding the problem
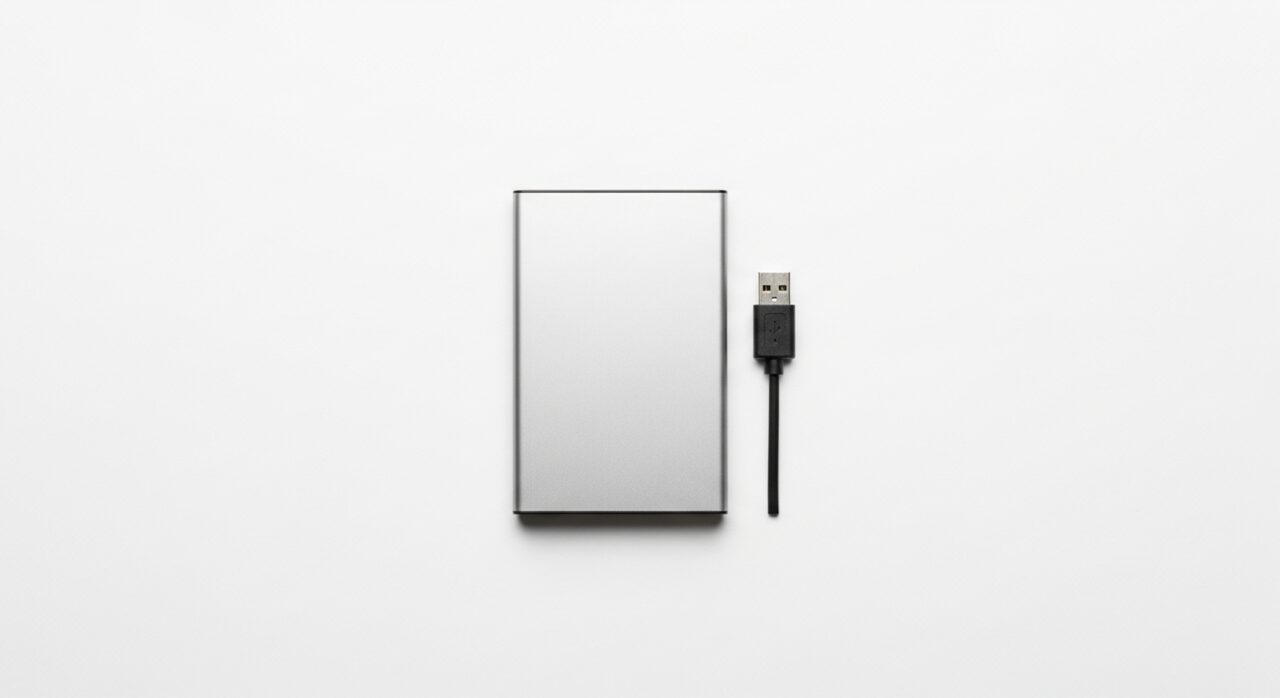
An external drive draws its power through the same cable that carries its data, and a spinning or busy drive needs a noticeable surge of current the moment it works hard. If the port or cable cannot deliver that steady supply, the drive briefly browns out, drops off, and then reappears once it recovers, which is why disconnections so often strike during large transfers. A worn lead or loose connector causes the same flicker by interrupting the link, and power-saving settings can compound it by sending the drive or its port to sleep mid-task.
Symptoms
- The drive appears in the system then vanishes moments later
- File transfers stall partway and the drive disappears
- The drive reconnects on its own after a short pause
- Faint clicking or spin-up sounds accompany the drops
Likely causes
- 1Inadequate or unstable power reaching the drive
- 2A worn cable or a loose connector interrupting the link
- 3Power-saving settings putting the drive or port to sleep
- 4A failing drive enclosure or the storage mechanism itself
- 5A driver or file-system error confusing the operating system
What to observe and check
- Observe whether drops happen during heavy transfers, hinting at power demand
- Note if a different cable or port keeps the drive stable
- Watch whether disabling sleep settings stops the disconnects
- Listen for unusual mechanical sounds that suggest the drive itself is struggling
Step-by-step repair
 1
1Copy off important files first
While the drive is briefly visible, save anything irreplaceable to another location, since repeated drops put the data at real risk.
 2
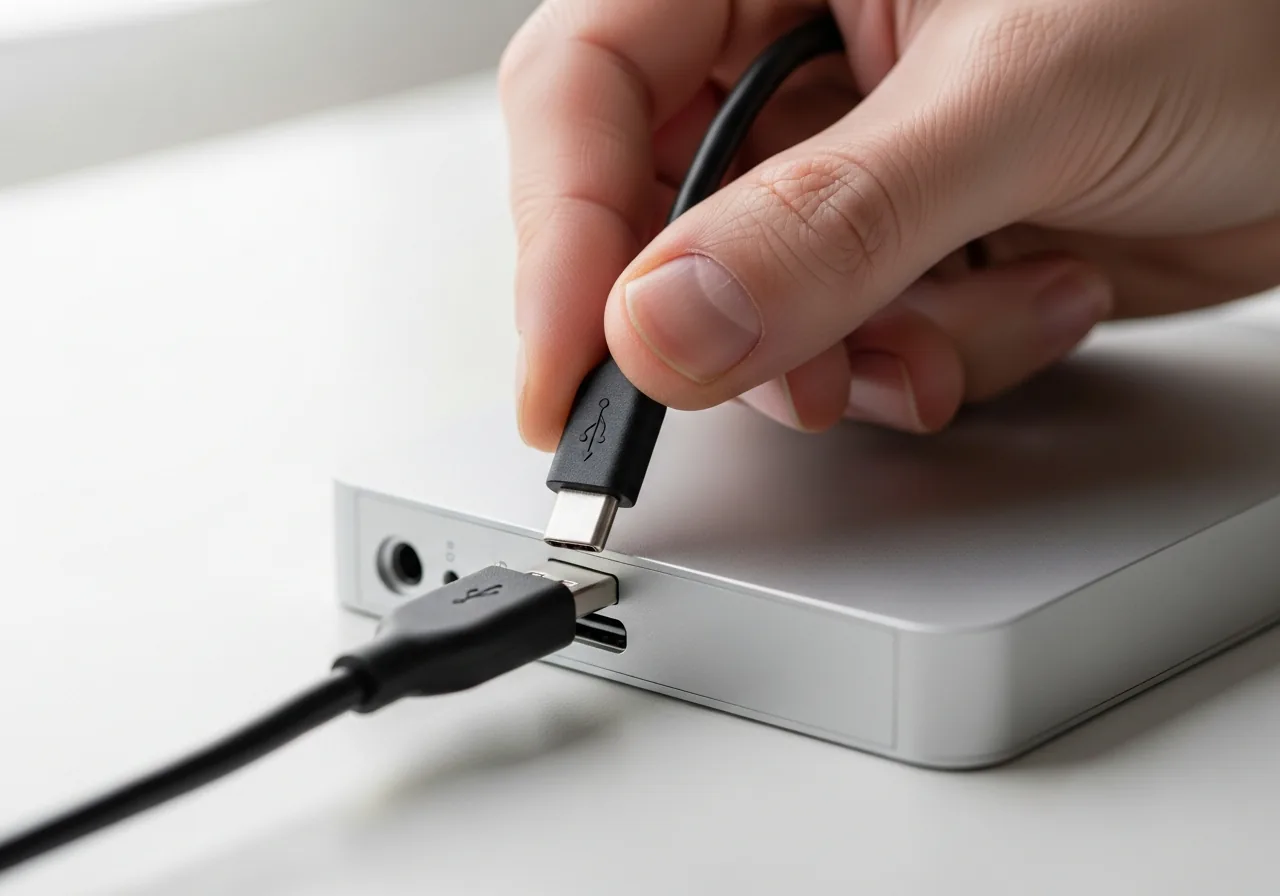
2Connect to a full-power port
Plug the drive into a port that delivers full power, or give a hungry drive its own supply, to stop the brown-outs that trigger disconnections during transfers.
 3
3Disable sleep for the drive
Turn off the power-saving options that send the drive or its port to sleep mid-task and cause it to drop off unexpectedly.
 4
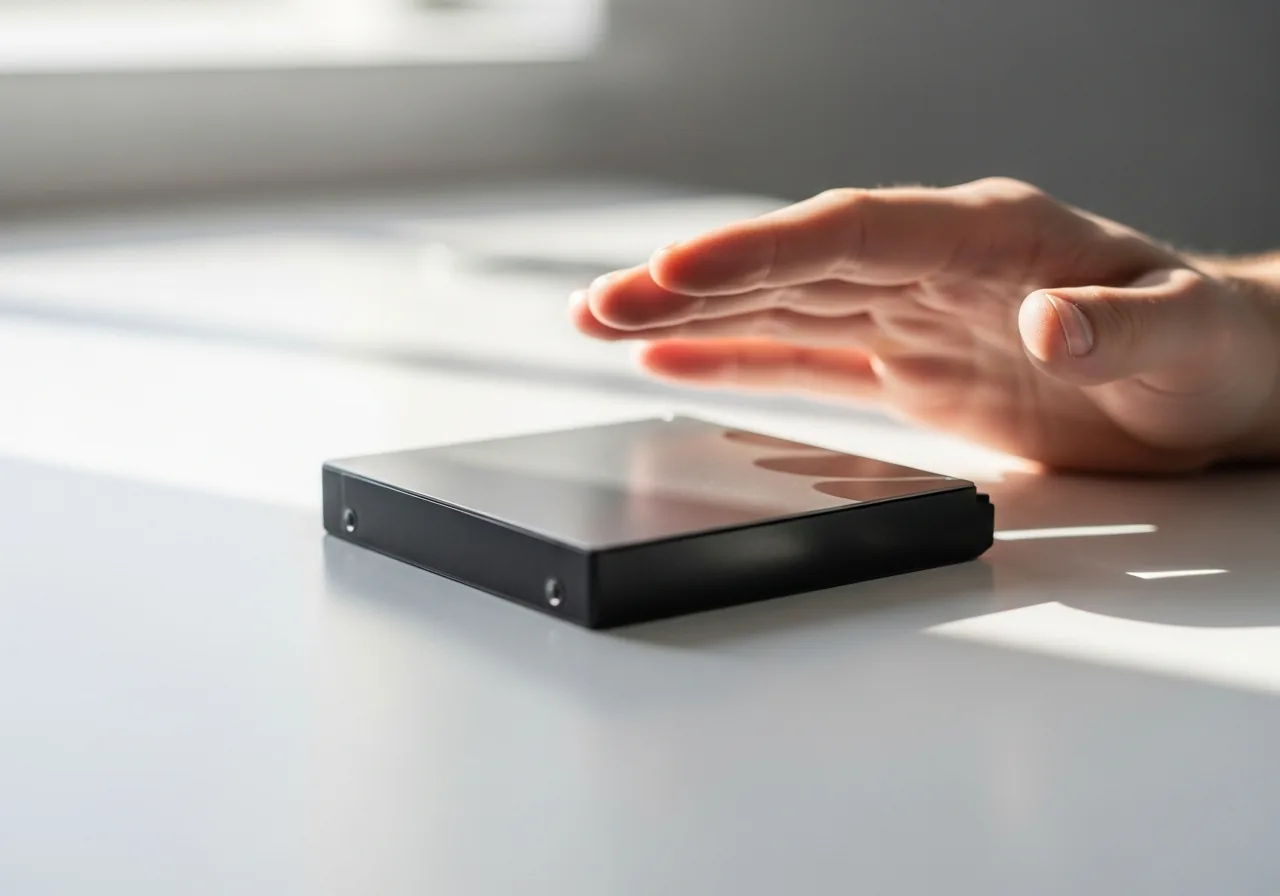
4Listen for mechanical noises
Note any clicking or repeated spin-up sounds during the drops; if you hear grinding, stop using the drive to avoid further harm to the data.
 5
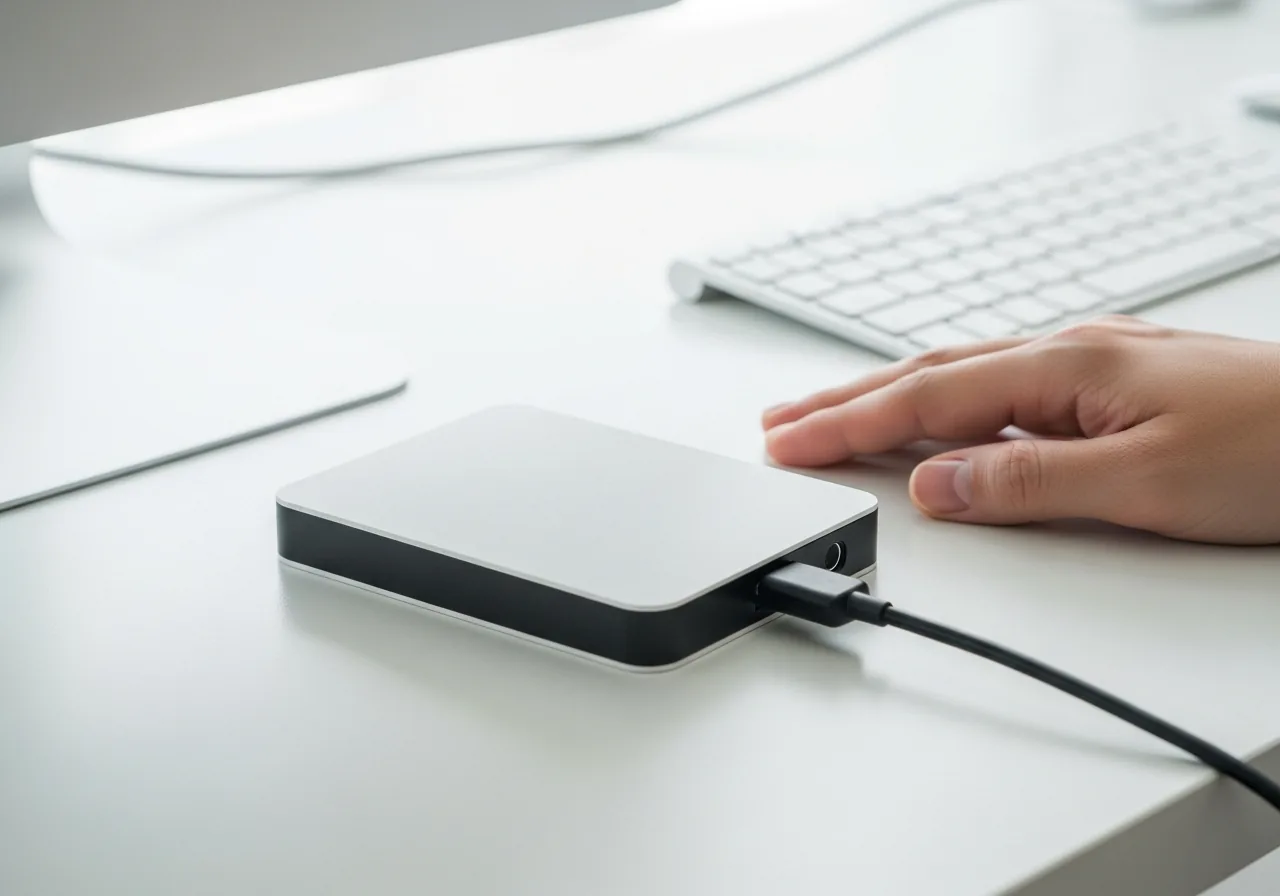
5Confirm a stable mount
Run a moderate file transfer and check that the drive stays connected from start to finish before trusting it again.
When to seek help
If the drive makes grinding or repeated clicking noises, or important data is at risk, stop using it and consult a data-recovery professional.
Reducing the chance it returns
Stable mounting depends most on a dependable supply, so connecting the drive to a port that delivers full power, or giving a hungry drive its own dedicated source, prevents the brown-outs that trigger drops. A sound, well-seated cable keeps the link unbroken, and replacing a frayed or loose lead early spares you a transfer that fails halfway. Turning off sleep settings for the drive and its port stops the system suspending it mid-task. Ejecting the drive properly and keeping a separate copy of important files protects the data should it falter.
Repair110 is a free, informational resource. These steps describe a careful, general approach — every device is a little different, so work slowly, back up anything you value, and prioritise your own safety. If a step feels beyond your comfort, stop and consult a qualified technician.