Understanding the problem
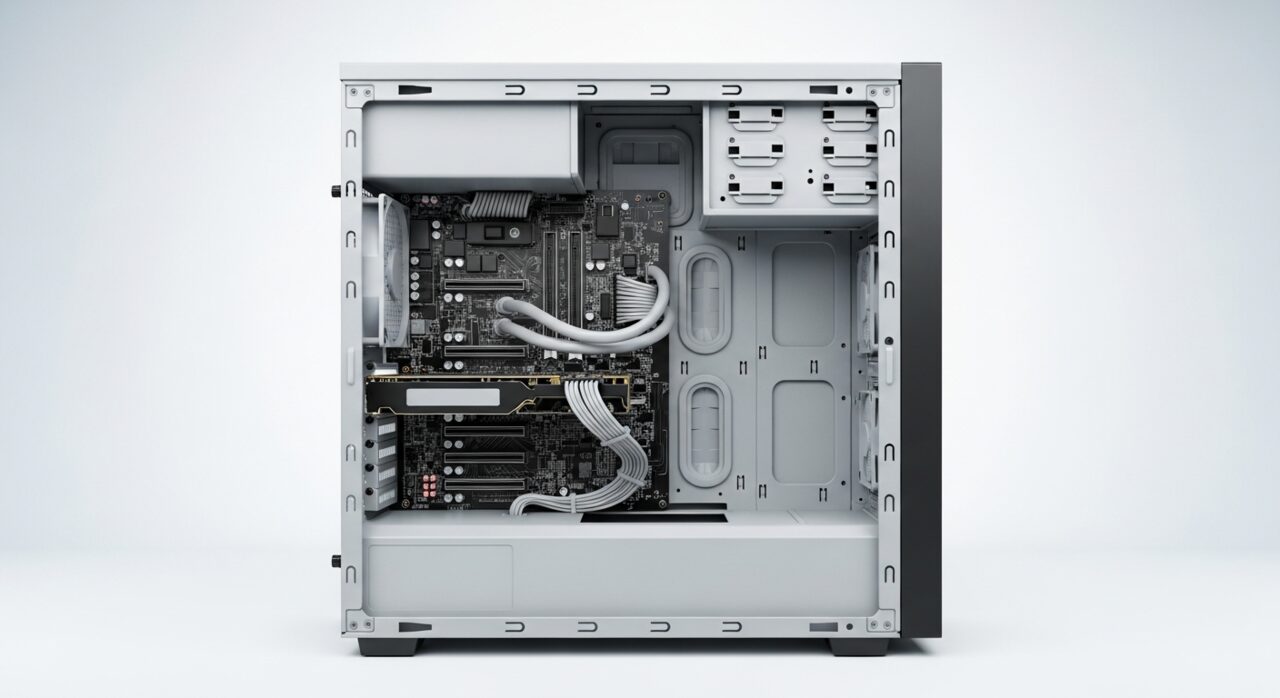
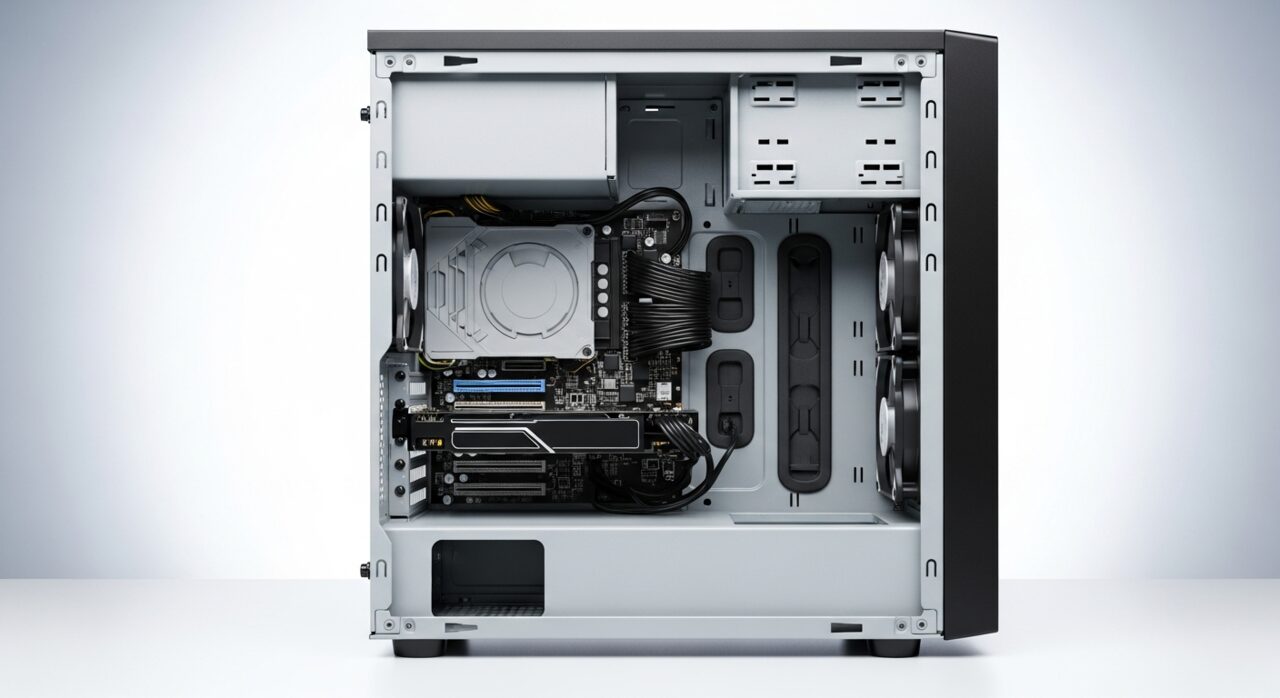
The sockets on the case front are not wired directly to the outside world; they reach the board through a slim internal cable and a small connector known as a header. That cable runs the length of the case and can ease loose when panels are opened or the tower is moved. The rest of the machine, including the rear ports wired straight to the board, carries on untouched. A tiny protective component can also trip on a single port group, or the firmware can simply switch that group off, leaving the front sockets quietly powerless.
Symptoms
- Devices in the front ports get no power or are not recognized
- Rear ports work normally while the front ones stay silent
- Only some front ports fail while others still function
- Connected devices flicker on and off in the front sockets
Likely causes
- 1The front-panel header not fully connected to the board
- 2A bent pin or damaged internal cable behind the case panel
- 3The ports disabled in firmware or by the operating system
- 4A blown protective component on that port group
- 5Debris or physical damage inside the front sockets
What to observe and check
- Confirm the same device works reliably in a rear port
- Note whether all front ports fail or only specific ones
- Observe if the fault began after moving or opening the case
- Inspect the front sockets for lint, debris, or bent contacts
- Consider whether a firmware or driver change preceded the problem
Step-by-step repair
 1
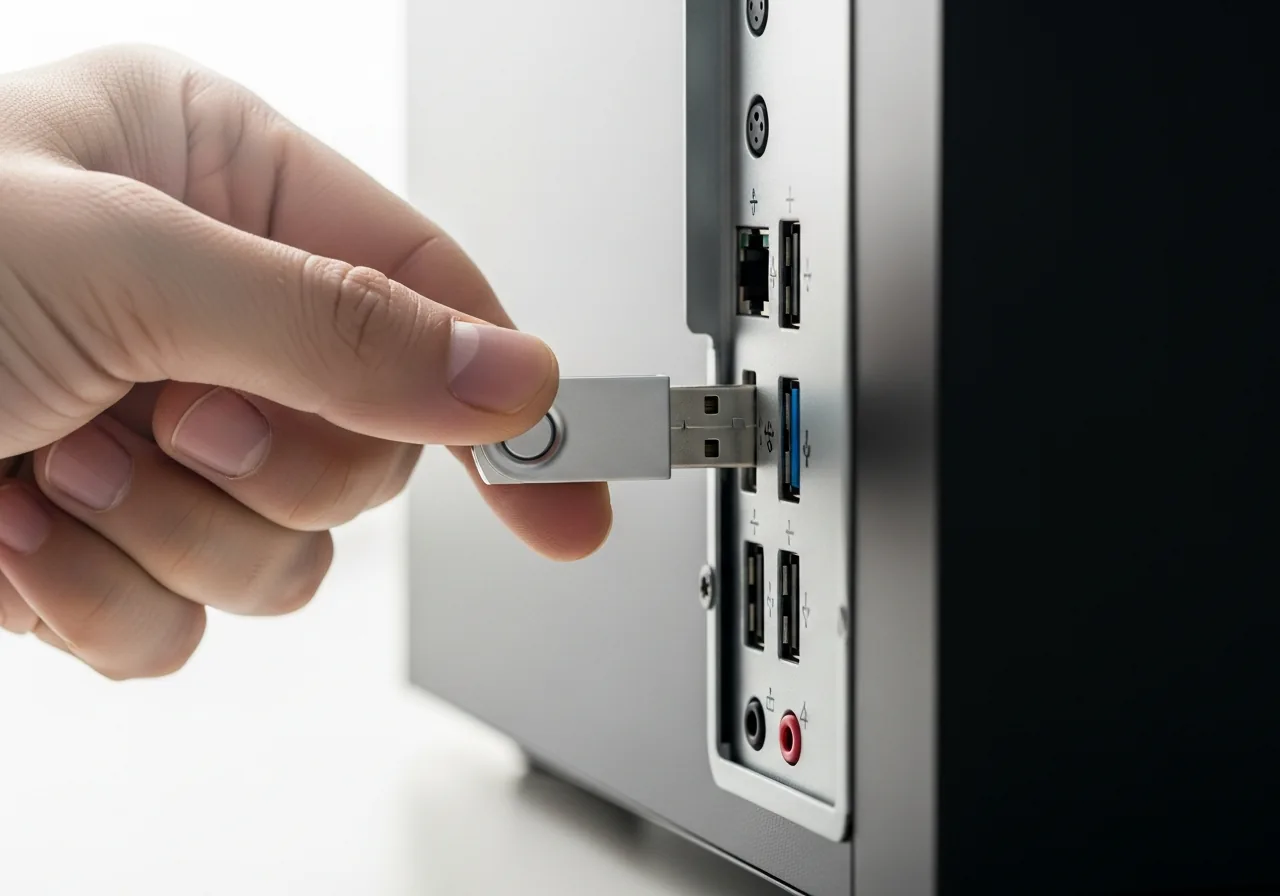
1Test the device in a rear port
Plug the same device into a rear port wired straight to the board; if it works there, the fault is isolated to the front sockets rather than the device or system.
 2
2Check the port settings
Confirm the front ports have not been switched off in firmware or by the operating system, since a disabled group leaves the sockets quietly powerless.
 3
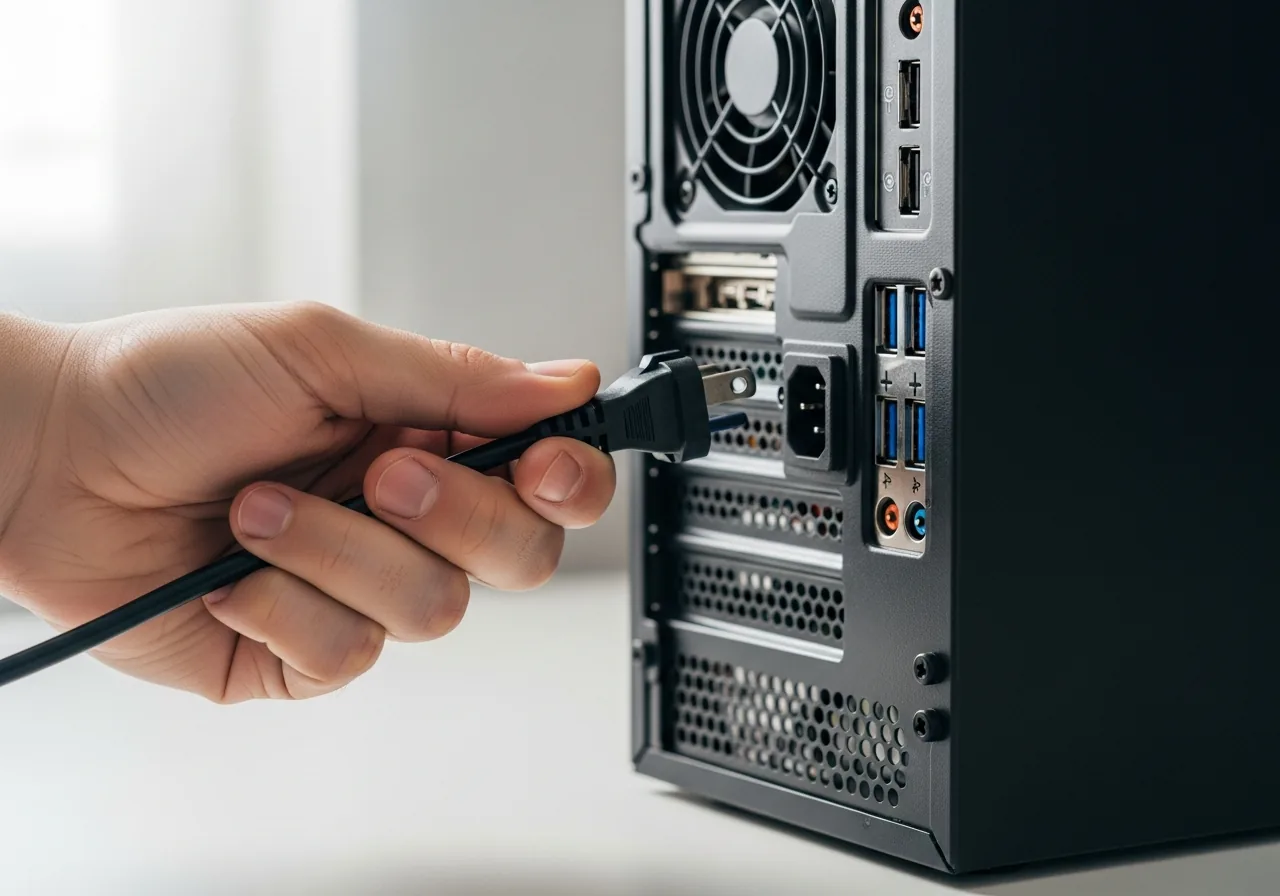
3Unplug before opening the case
Switch off and disconnect the mains lead before removing the panel, and work with grounded hands to protect the board's delicate pins.
 4
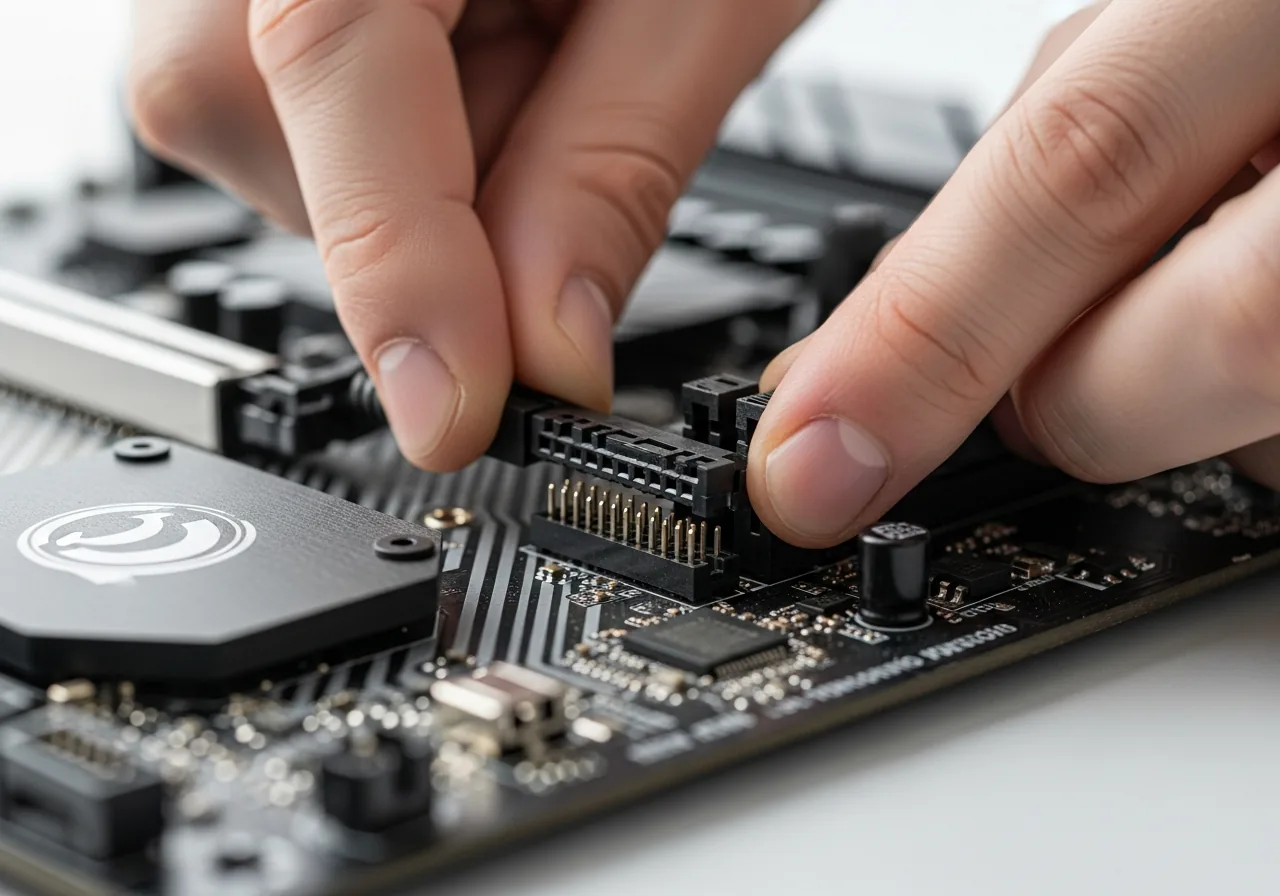
4Reseat the front-panel header
Find the slim front-panel cable on the board and press its connector squarely back onto the pins, since this header often eases loose when the case is moved or opened.
 5
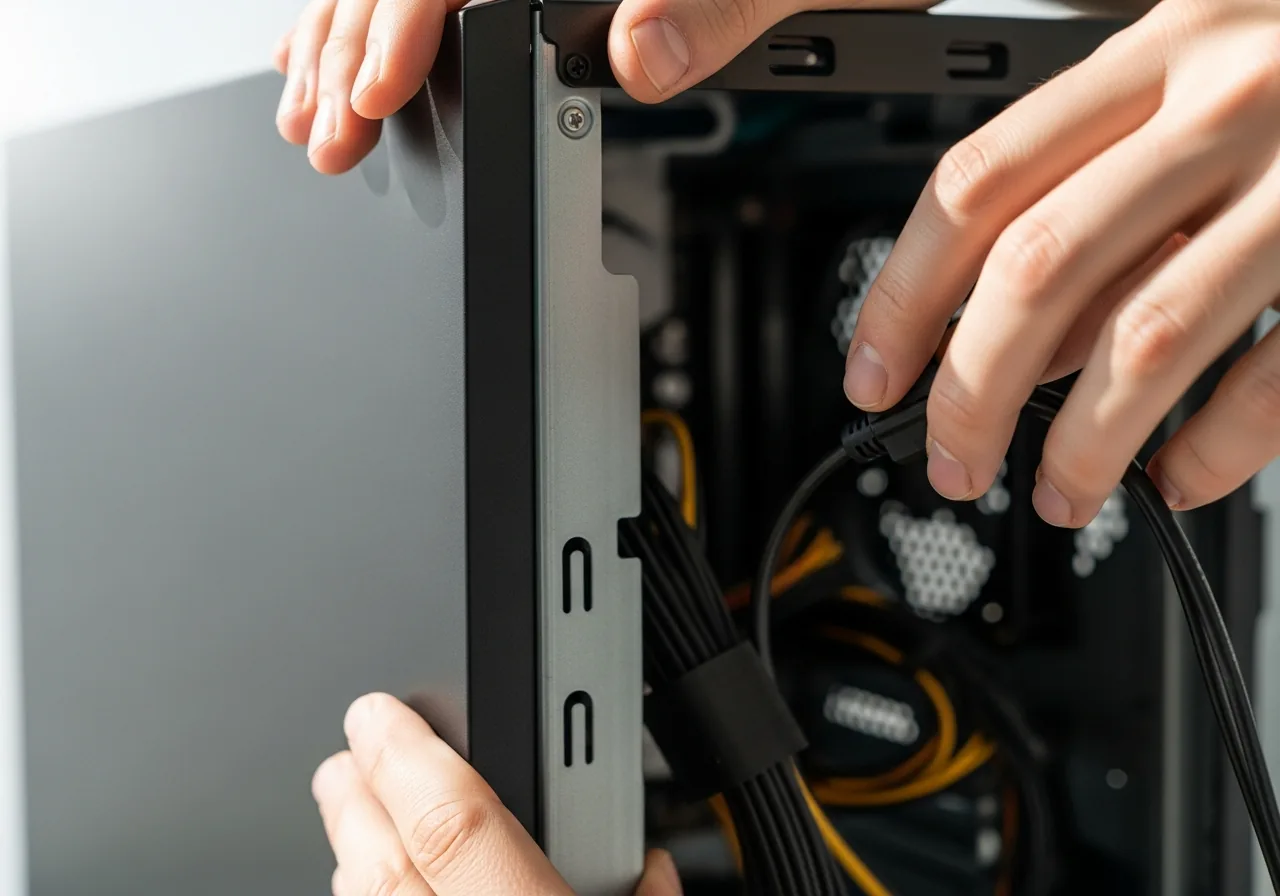
5Close up and reconnect
Refit the side panel and reconnect the mains, keeping the internal cable clear so it cannot be tugged loose again.
 6
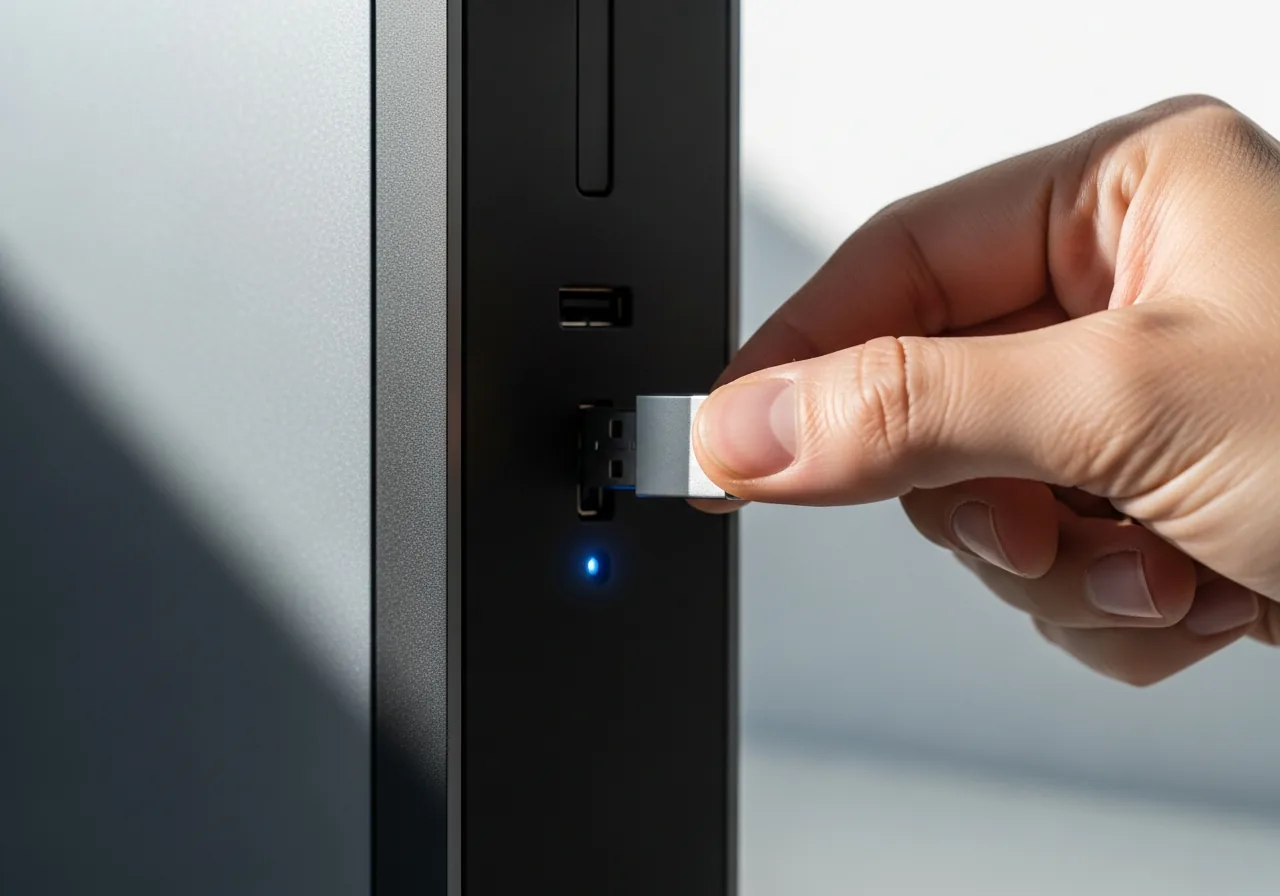
6Test the front sockets
Power on and plug a device into each front port in turn, confirming they now provide power and recognise what is connected.
When to seek help
If reseating is needed inside the case and you are unsure which header connects where, a technician can reconnect the front panel correctly without risking the board's delicate pins.
Reducing the chance it returns
Treat the front sockets gently, since they bear the strain of frequent plugging and unplugging. Insert and remove devices straight rather than at an angle, and avoid leaving heavy cables hanging from them, which slowly works the internal header loose. After opening or moving the case, glance at that header to be sure it still sits squarely on its pins. Keep the openings clear of pocket lint and dust with a soft puff of air. When changing firmware settings, note any that govern the front ports so they are not switched off by accident.
Repair110 is a free, informational resource. These steps describe a careful, general approach — every device is a little different, so work slowly, back up anything you value, and prioritise your own safety. If a step feels beyond your comfort, stop and consult a qualified technician.