Understanding the problem
Beneath each key sits a thin membrane that registers a press and sends it through a single ribbon cable to the mainboard, where software interprets it as a character. A press fails when any step in that path is interrupted. Crumbs or dried spill residue under a cap block the dome from closing, while liquid that reaches the membrane can corrode its contacts so a whole region falls silent. If the ribbon works loose, an entire block of keys stops together. Sometimes the hardware is fine and the layout or driver has simply misread which character each key should produce.
Symptoms
- Certain keys produce nothing while others type normally
- Keys feel sticky, mushy, or do not spring back
- Wrong characters appear, or keys repeat on their own
- A whole row or block of keys goes silent together
Likely causes
- 1Debris or spilled residue lodged under the affected keycaps
- 2A loose or damaged keyboard ribbon connector inside the chassis
- 3The keyboard driver or input layout becoming confused
- 4Liquid intrusion corroding the membrane beneath the keys
- 5Physical wear on the switch mechanism of heavily used keys
What to observe and check
- Map exactly which keys fail and whether they sit in a cluster
- Note whether a single spill preceded the keys going quiet
- Observe if an external keyboard works perfectly in the same session
- Watch whether the fault is constant or comes and goes with movement
- Consider whether a layout or language setting changed recently
Step-by-step repair
 1
1Map the failing keys
Note exactly which keys produce nothing and whether they sit in a cluster or a whole row, since a block failing together points to the ribbon rather than single switches.
 2
2Confirm with an external keyboard
Plug a known-good keyboard into a port and type the same keys; if it works perfectly, the fault lies in the built-in keyboard, not the system or software.
 3
3Check the layout setting
Confirm the language and keyboard layout match your hardware, as a changed setting can make keys produce the wrong characters while the keys themselves are fine.
 4
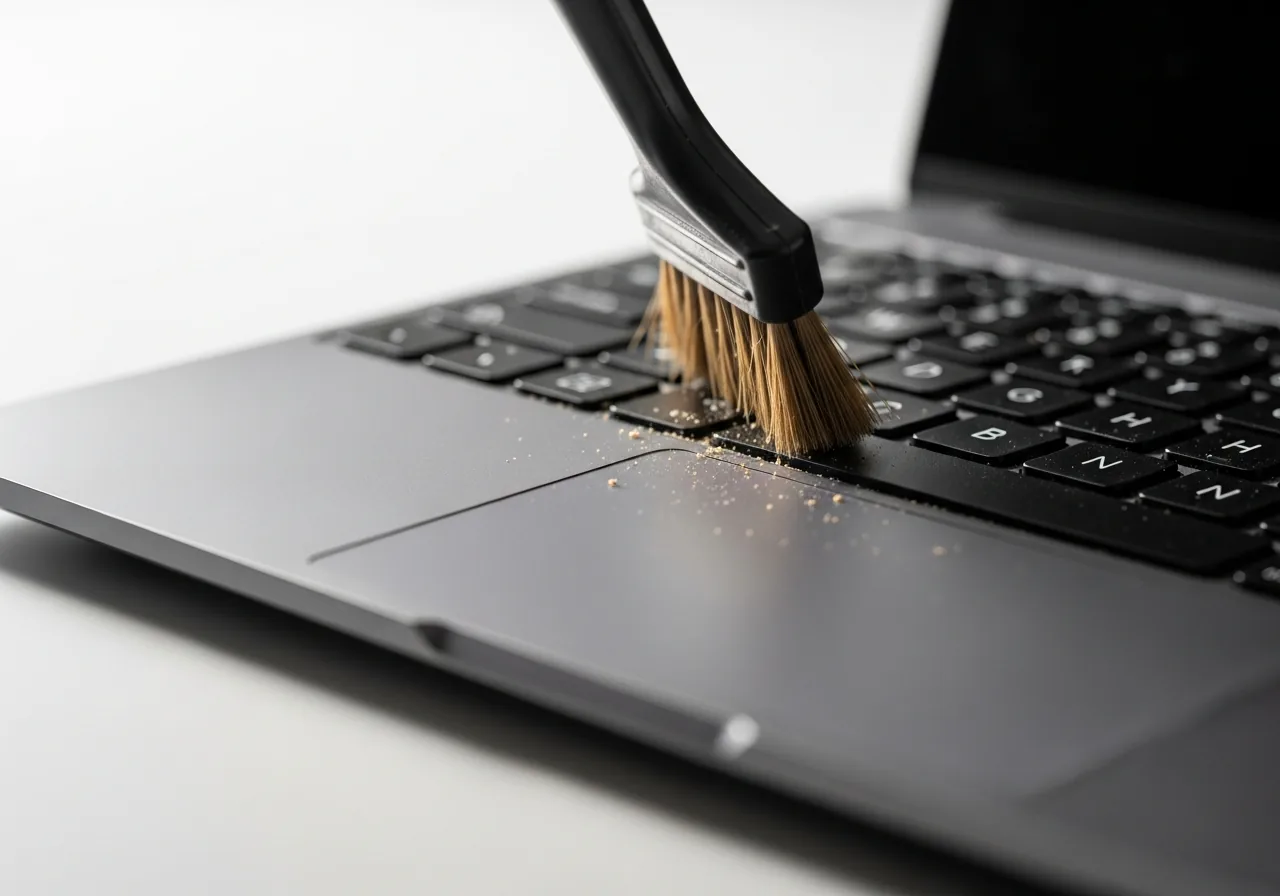
4Clean beneath the keycaps
With the laptop off, gently lift away crumbs and dried residue under the affected caps; if liquid reached the keys, stop and seek help, as hidden corrosion can spread.
 5
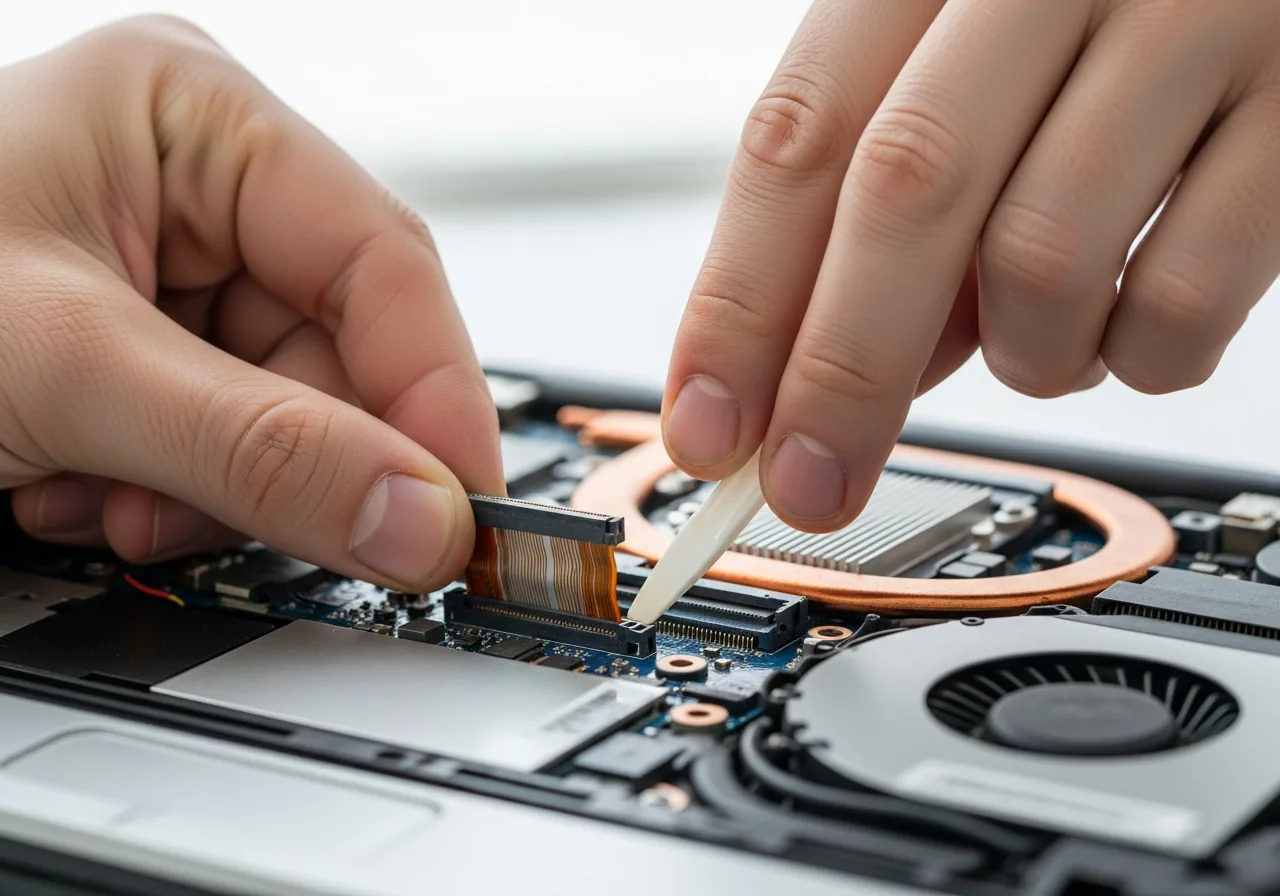
5Reseat the keyboard ribbon
If a whole block stays silent, the ribbon connector inside may have worked loose; only reopen the chassis powered off and grounded, and reseat it gently if you are confident.
 6
6Confirm the keys respond
Power on and type across the keyboard, checking that every key now registers correctly and none repeat or stick.
When to seek help
If liquid reached the keyboard, power down and seek help promptly, since hidden corrosion can spread to the mainboard. A technician can also reseat the ribbon connector that an external keyboard cannot bypass.
Reducing the chance it returns
Keeping the keyboard healthy is mostly about what reaches it. Keep drinks well away from the machine, since a single spill can corrode the membrane long after the surface looks dry. Brush away crumbs and dust before they settle under the caps, and turn the laptop off and gently inverted to shake loose grit now and then. Press keys with an even touch rather than hammering, which spares the switch mechanisms on the keys you use most. When you change a language or layout, confirm it matches your keyboard so characters keep landing where you expect.
Repair110 is a free, informational resource. These steps describe a careful, general approach — every device is a little different, so work slowly, back up anything you value, and prioritise your own safety. If a step feels beyond your comfort, stop and consult a qualified technician.