Understanding the problem
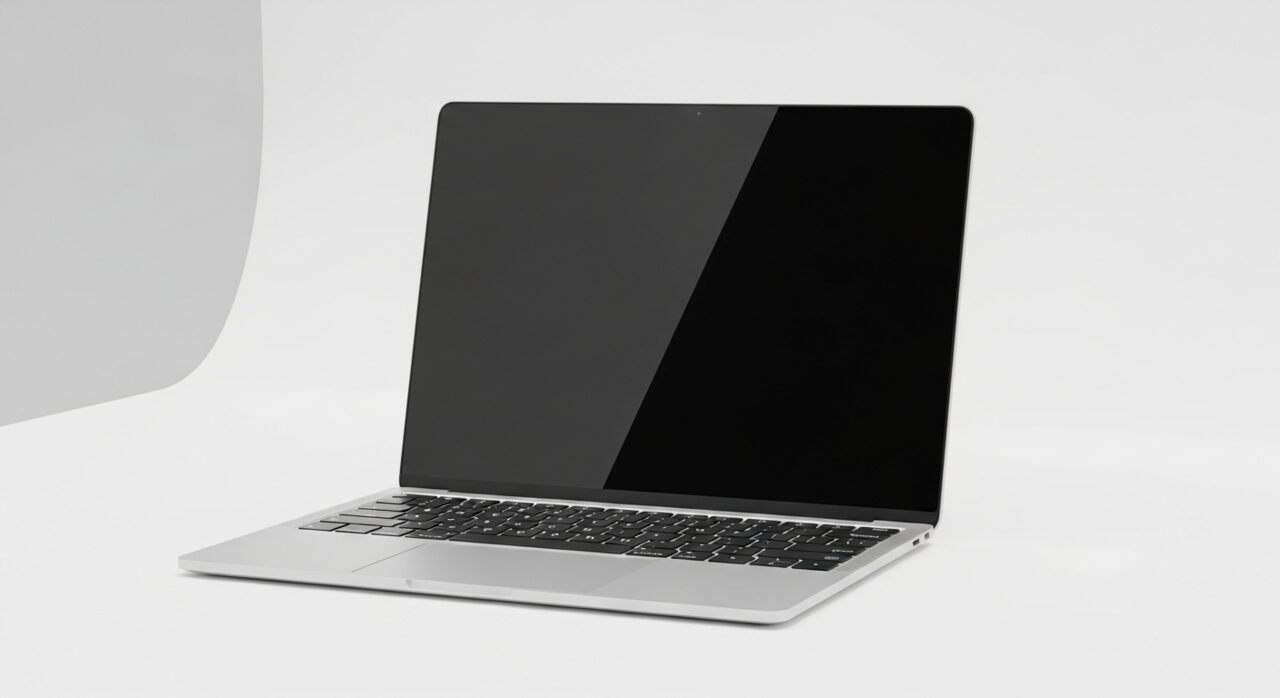
The charging port is soldered to the mainboard and carries the strain of every plug, unplug, and tug on the cable. Those small solder joints were never meant to take much movement, so repeated leverage at awkward angles slowly fatigues them until the connection becomes intermittent. Inside the socket, fine pins must press firmly against the charger tip; lint packed into the opening or a bent pin keeps them from meeting cleanly. As contact comes and goes, current flows through a poor join, which can warm the area and, in time, leave faint discoloration around the connector.
Symptoms
- Charging only works when the connector is held at a certain angle
- The plug feels loose, wobbly, or falls out easily
- The charge indicator flickers on and off without the cable moving
- Warmth or faint discoloration appears around the port
Likely causes
- 1Solder joints under the port fatiguing from repeated plugging
- 2Lint or debris packed into the connector preventing full contact
- 3A bent or worn connector pin from awkward cable angles
- 4Cable strain pulling the port loose over time
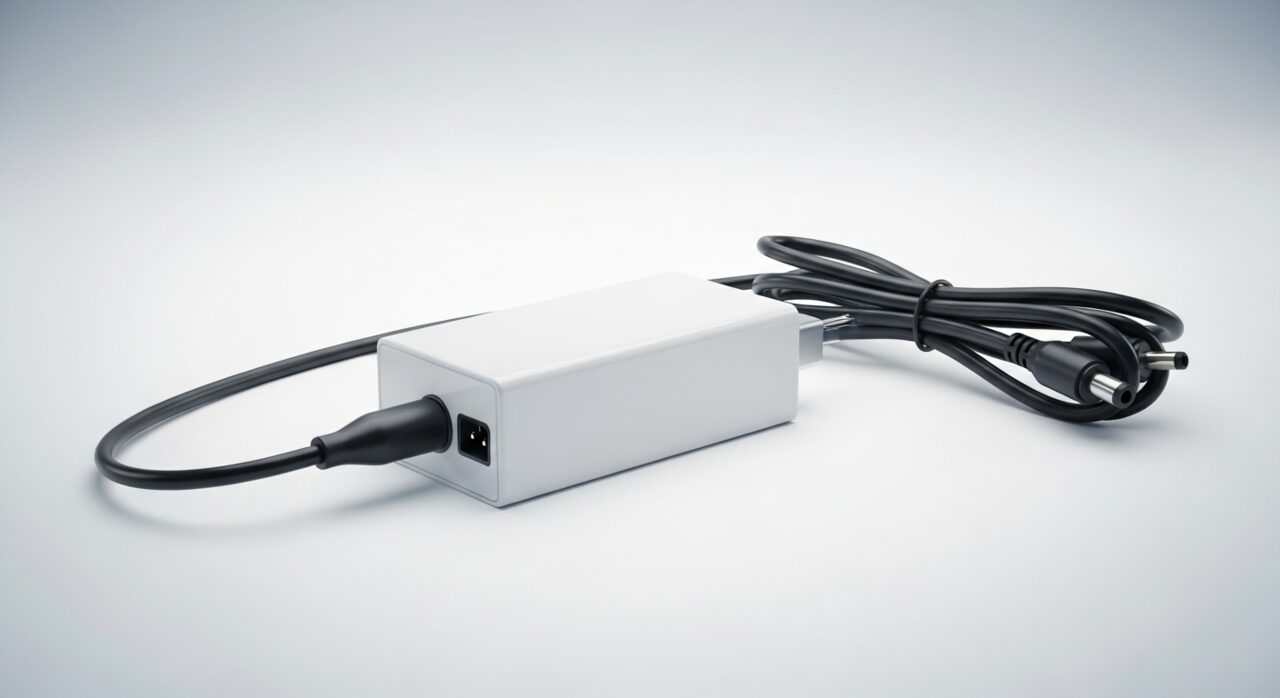
- 5An aging charger tip that no longer seats firmly
What to observe and check
- Note the exact angle at which charging starts and stops
- Inspect the port opening for lint or visible debris
- Observe whether the port shifts inward when the plug is inserted
- Watch for any warmth or scorch marks near the connector
- Consider whether a different charger tip seats more securely
Step-by-step repair
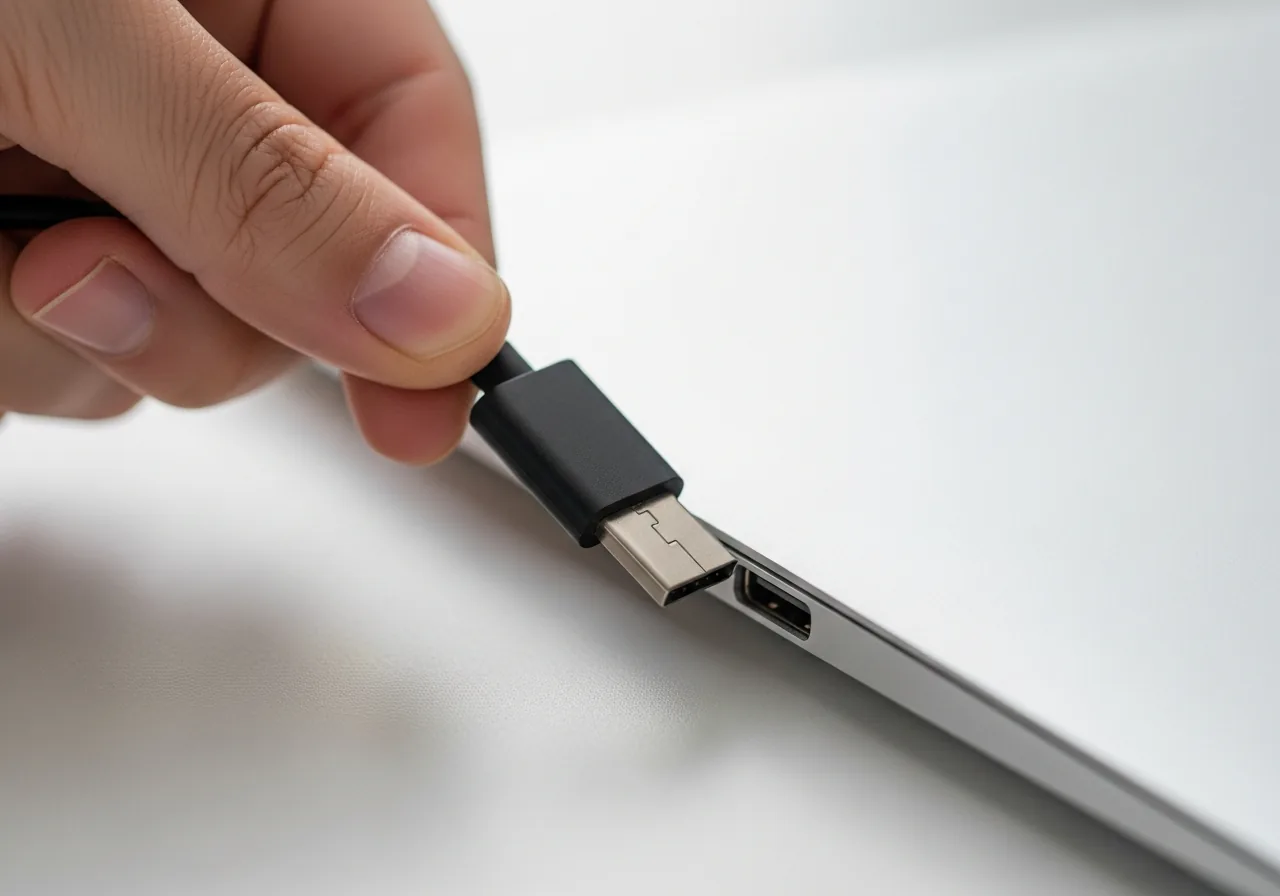 1
1Power down and disconnect
Shut the laptop off and unplug the charger before examining the socket, especially if the area has felt warm, so you can inspect it without current flowing.
 2
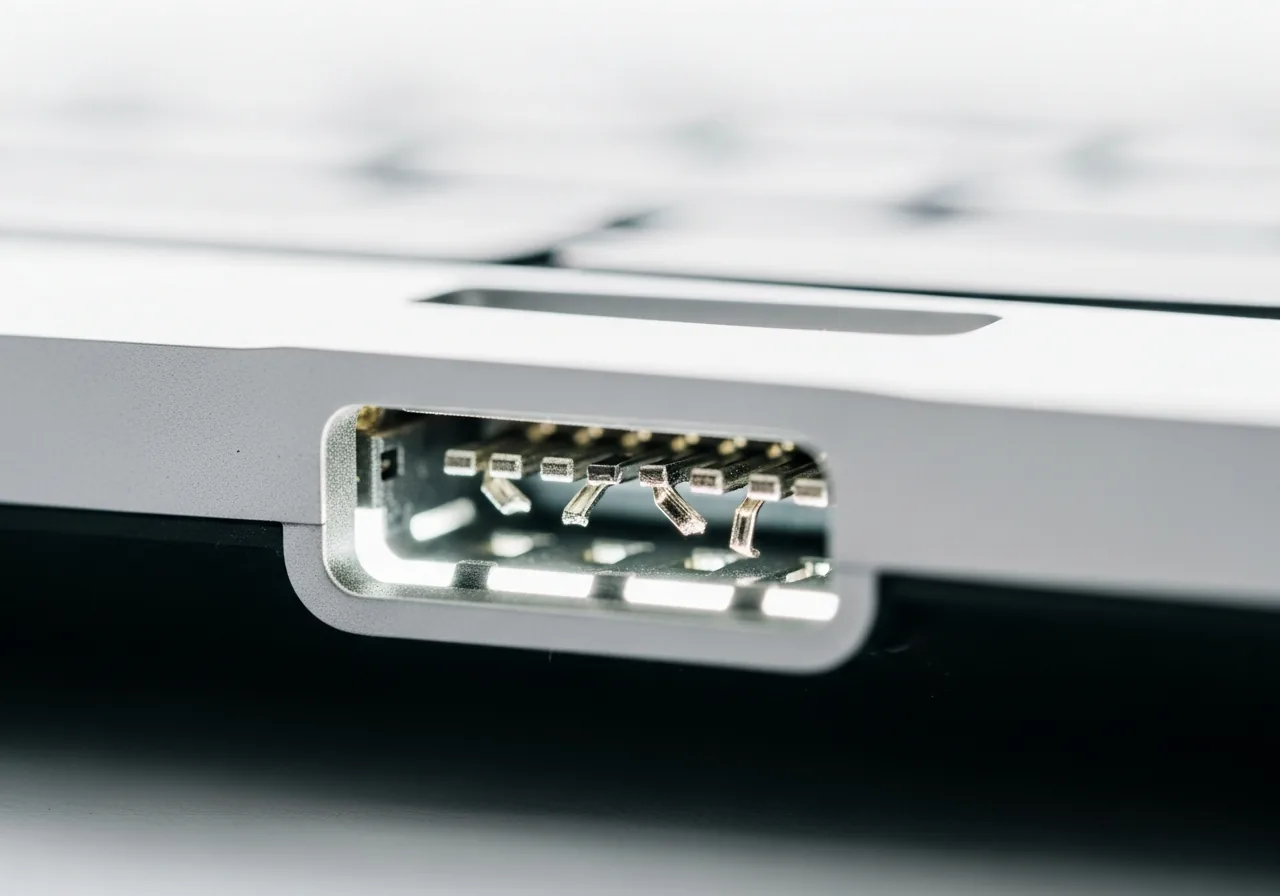
2Inspect the connector and pins
Look into the socket for a bent or worn pin and check for warmth marks or faint discoloration, which hint the solder joints beneath are carrying a poor connection.
 3
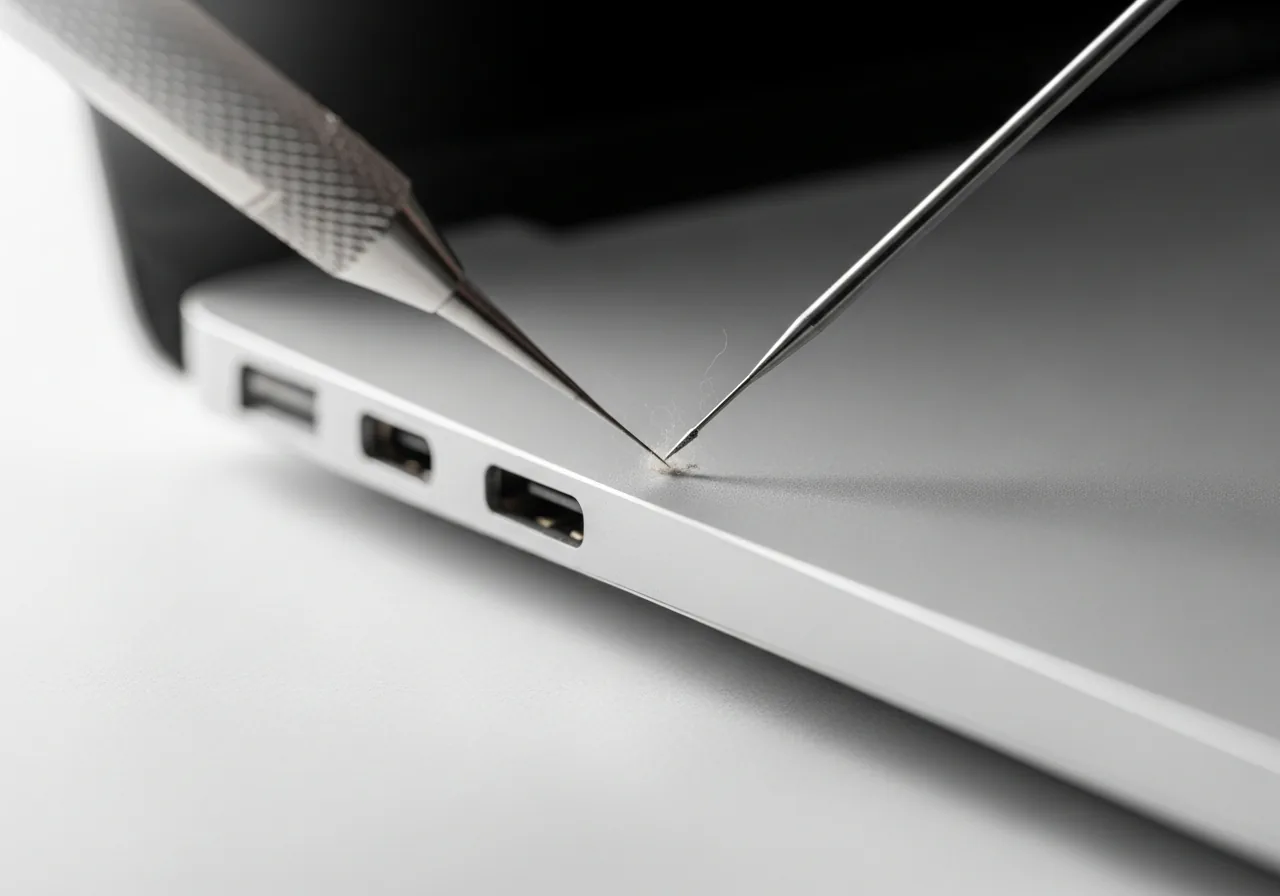
3Clear lint from the port
Gently remove packed lint or debris from the opening so the charger tip can seat fully, taking care not to bend the delicate pins inside.
 4
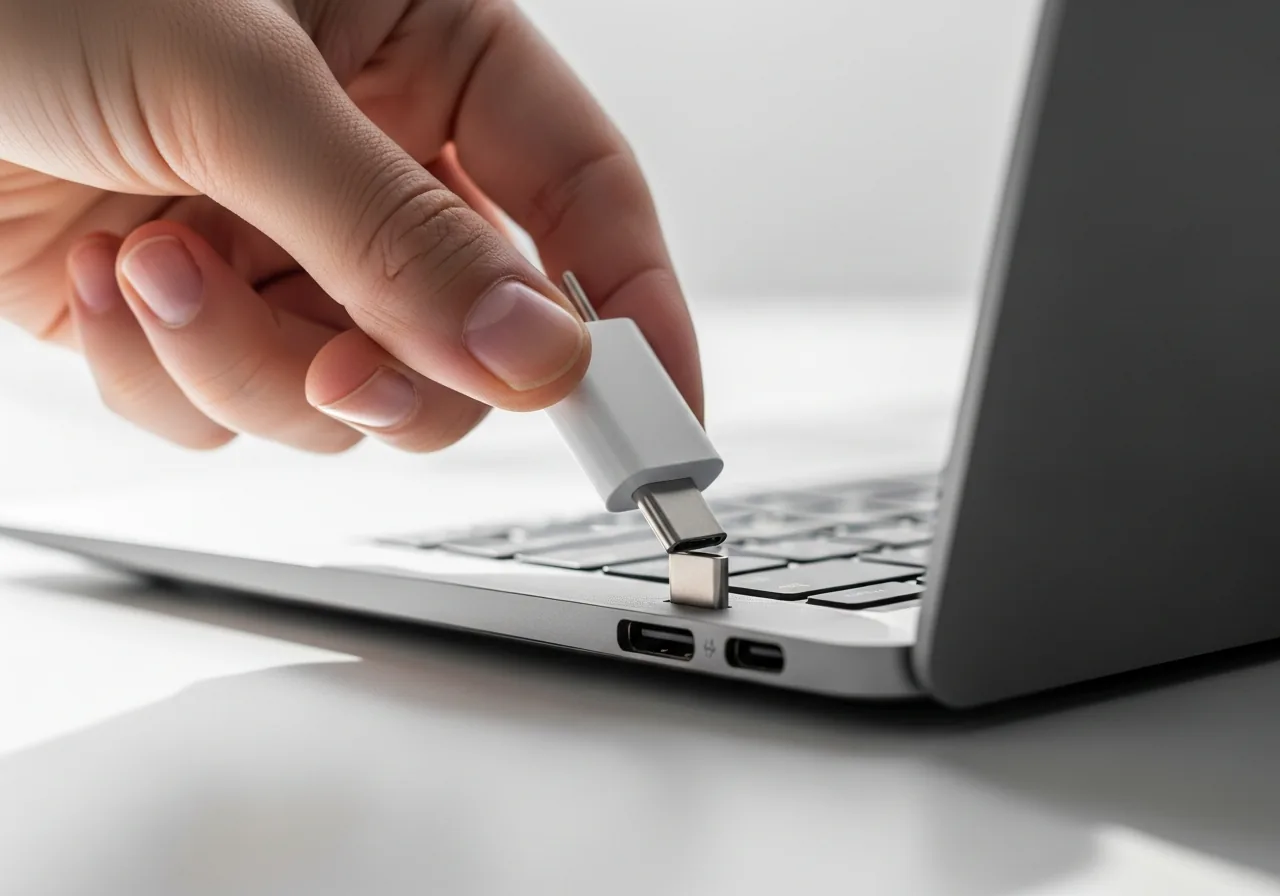
4Try a firmer charger tip
Fit a charger tip that seats securely and note whether charging still depends on holding it at an angle, which would point to the port rather than the lead.
 5
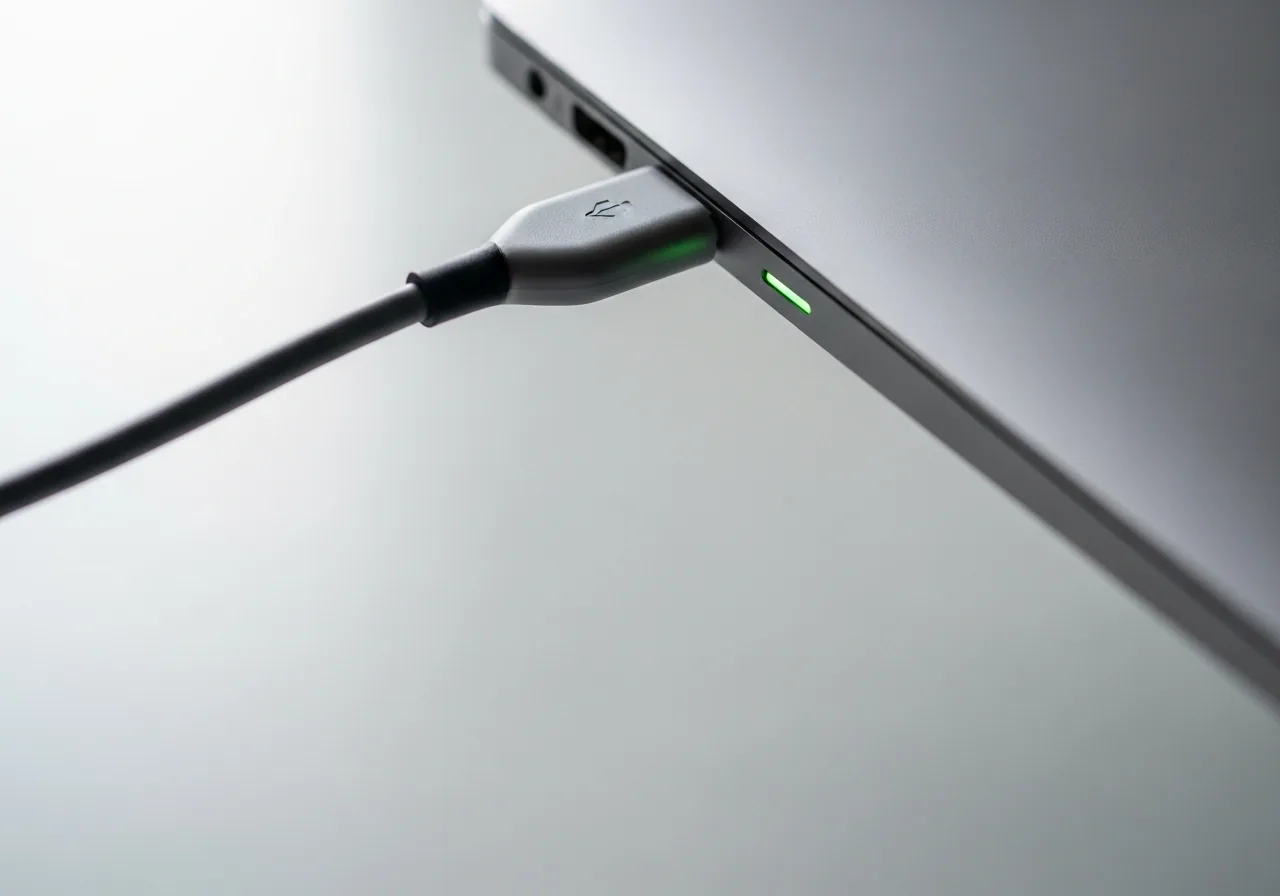
5Test charging at rest
With the cable hanging freely, watch whether the charge indicator stays steady; if the port feels hot or looks scorched, stop and seek board-level repair.
When to seek help
If the port feels hot, looks scorched, or smells burnt, stop charging at once and seek qualified help. A port loose at its solder joints needs board-level repair rather than continued forcing.
Reducing the chance it returns
The port lasts longest when the cable is spared leverage. Insert and remove the plug straight on, holding the connector rather than pulling the lead, so the solder joints beneath are not levered sideways. Route the cable with a little slack and avoid charging with the laptop pressed against a wall that bends the plug at an angle. Clear lint gently from the opening before it packs in and blocks contact. Using a tip that seats firmly, and resting the machine where the cable hangs freely, keeps that high-stress joint steady for years.
Repair110 is a free, informational resource. These steps describe a careful, general approach — every device is a little different, so work slowly, back up anything you value, and prioritise your own safety. If a step feels beyond your comfort, stop and consult a qualified technician.