Understanding the problem
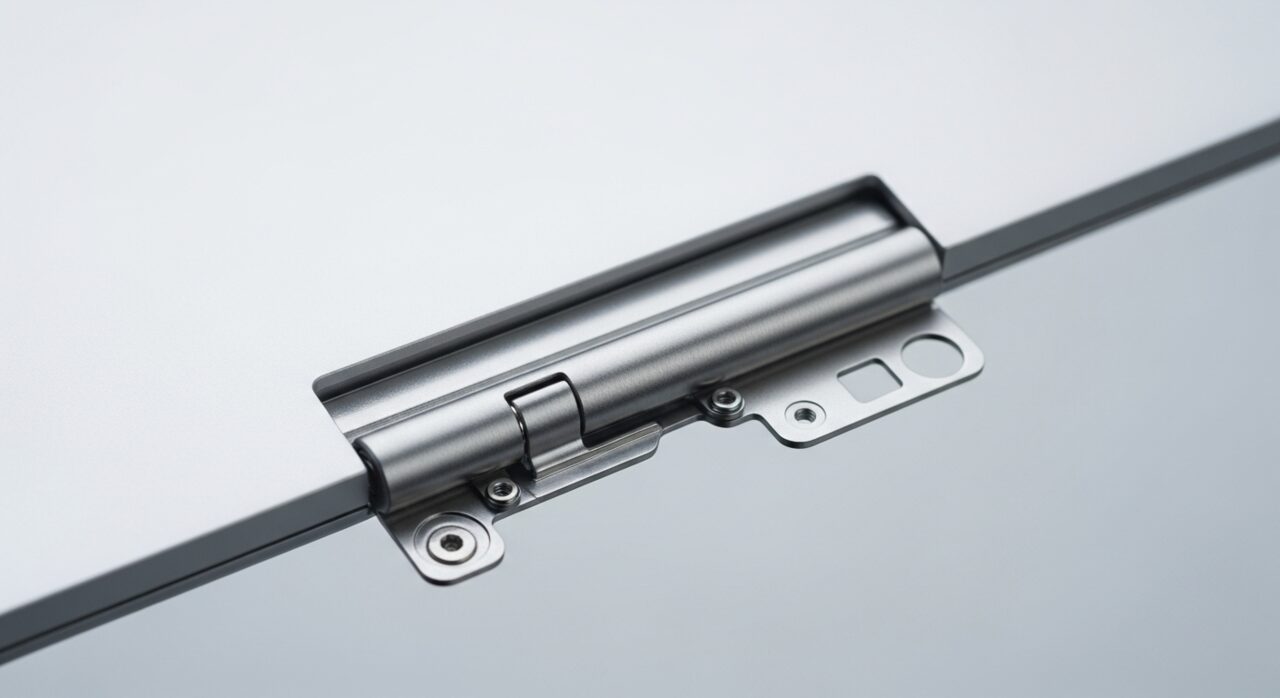
Each hinge is a small metal joint anchored to the plastic frame, and every time the lid moves it carries the full leverage of the screen. That force concentrates on a few mounting points and the screws holding them, so years of opening and closing slowly fatigue the metal and stress the plastic around it. When a hinge grows stiff, the effort needed to move the lid transfers into the casing, prising it apart at the corners. Cracks then spread, screws loosen their grip, and the assembly begins to flex, dragging on the delicate cables that thread alongside it.
Symptoms
- The lid feels wobbly or refuses to hold its angle
- A cracking or grinding sound when opening or closing the screen
- Visible splits in the plastic near the hinge corners
- The screen bezel lifting or separating from the lid
Likely causes
- 1Metal fatigue in the hinge mechanism after years of movement
- 2Mounting points in the plastic frame cracking under repeated stress
- 3A stiff hinge tearing at the surrounding casing as it is forced
- 4Loosened or stripped screws letting the assembly shift
- 5An earlier drop that weakened the lid structure
What to observe and check
- Open and close the lid slowly and note where the resistance changes
- Inspect the corners for hairline cracks spreading from the hinge
- Watch whether the display flickers as the lid moves, hinting at cable strain
- Observe if one side feels tighter or noisier than the other
- Consider whether forcing a stiff hinge has begun lifting the casing
Step-by-step repair
 1
1Power down and unplug
Shut the laptop off and disconnect the charger before handling the lid, so a sudden flex near strained cables cannot cause a short while you work.
 2
2Prepare a padded workspace
Lay the laptop on a flat, cushioned surface with the lid supported, and keep a small tray for screws so nothing is lost during the repair.
 3
3Inspect the hinge and mounts
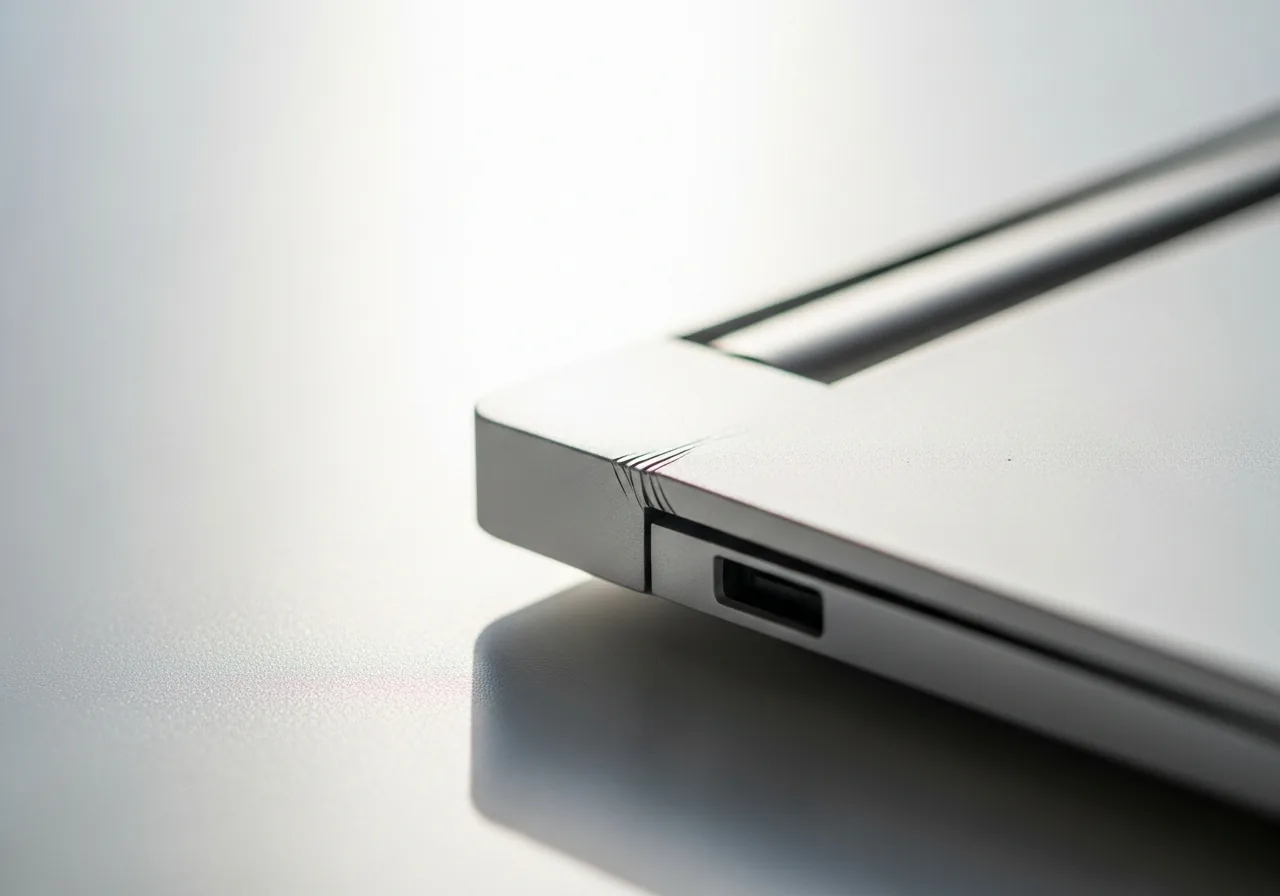
Look closely at the hinge corners for hairline cracks and check whether the mounting points in the plastic frame have split or the screws have loosened.
 4
4Reseat and tighten the hinge screws
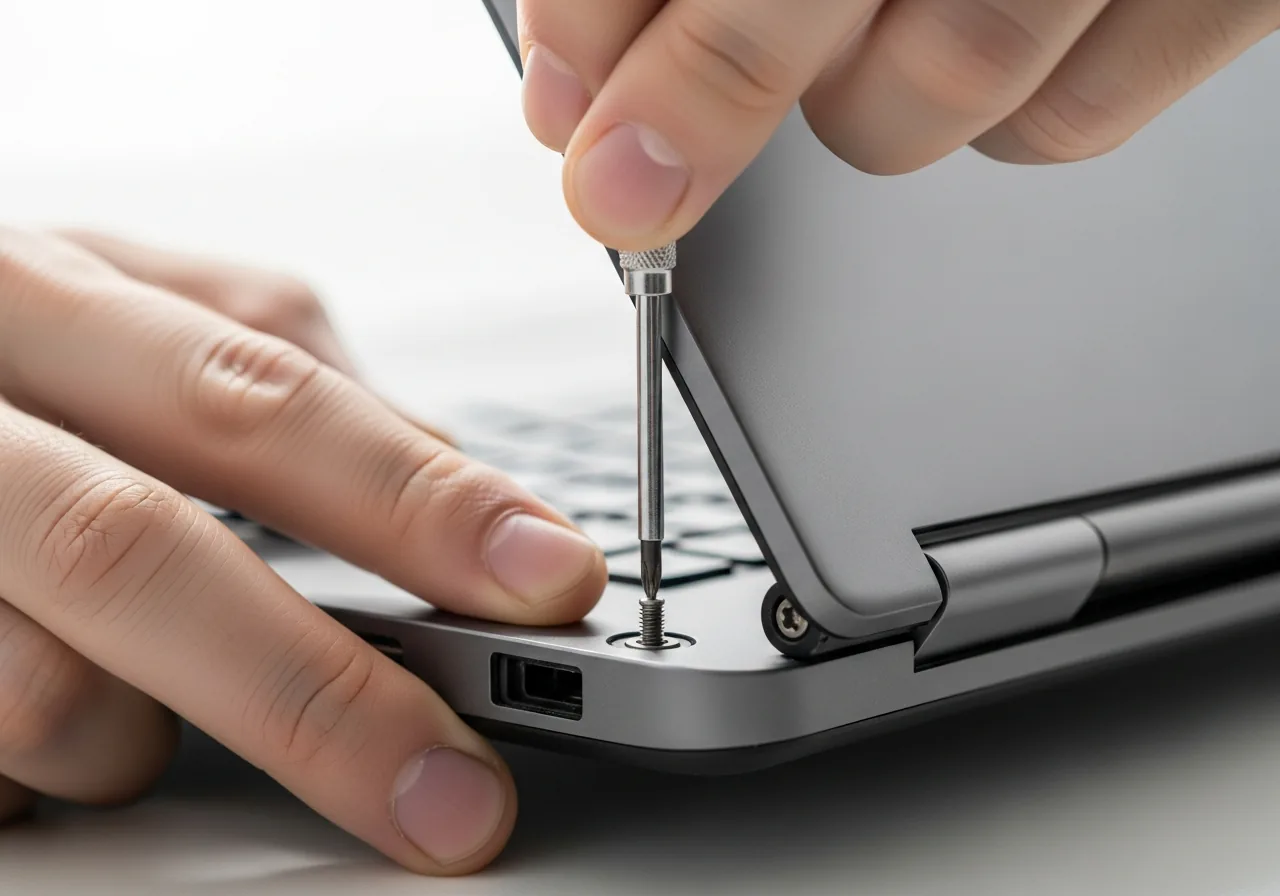
Where screws have worked loose in sound mountings, refit them snugly; do not force a stiff hinge, since that strain is what tears the surrounding casing.
 5
5Close and check the movement
Refit any panel or bezel and move the lid slowly through its range, confirming it holds its angle without grinding or lifting the casing.
 6
6Test the lid in normal use
Open and close the laptop gently a few times and watch the screen for flicker, which would suggest the cable is still being strained.
When to seek help
If the hinge is dragging on the display cable or the casing is splitting near the screen, have a technician address it before a cracked panel or torn cable turns a small repair into a large one.
Reducing the chance it returns
A hinge lasts longest when the lid is treated as the fragile part it is. Open and close it slowly, gripping the screen near its centre so the load spreads evenly across both joints rather than twisting one corner. Avoid lifting or carrying the laptop by the screen, which levers the hinges against their mountings. If a joint begins to stiffen, address it early rather than forcing it, since a tight hinge is what tears the casing apart. Keeping the machine on stable surfaces and away from falls protects the frame those mounting points rely on.
Repair110 is a free, informational resource. These steps describe a careful, general approach — every device is a little different, so work slowly, back up anything you value, and prioritise your own safety. If a step feels beyond your comfort, stop and consult a qualified technician.