Understanding the problem
Every panel has a fixed grid of physical pixels, and it looks sharpest when the image is drawn at exactly that count, its native resolution. When the system feeds a different number of pixels, the panel must stretch or compress the picture to fit, blurring fine detail and distorting shapes. The reason is usually a setting: a resolution chosen away from native, a scaling level enlarging everything, or an aspect ratio that no longer matches the screen. A missing or generic driver can also hide the correct option, leaving the display stuck in a makeshift mode.
Symptoms
- Text and images look blurry, stretched, or squashed
- Elements appear oversized or crowded on screen
- Black bars frame the image instead of filling the panel
- The picture sharpens or distorts when resolution changes
Likely causes
- 1A resolution set away from the panel's native value
- 2A missing or generic display driver limiting the options
- 3A scaling setting enlarging or shrinking the image
- 4An aspect ratio that does not match the physical screen
- 5A recently connected display defaulting to a wrong mode
What to observe and check
- Note whether the image sharpens at one specific resolution
- Observe if the correct native resolution is even offered
- Watch whether the distortion began after a driver change
- Consider whether a scaling setting is enlarging everything
- Notice if the aspect ratio matches the screen's true shape
Step-by-step repair
 1
1Set the native resolution
Choose the panel's native resolution so the image maps one pixel to one, looking sharp rather than stretched or squashed.
 2
2Install the proper driver
If native is not even offered, put the correct display driver in place so the full list of resolutions becomes available.
 3
3Adjust scaling, not the mode
Use scaling only to make text a comfortable size, leaving the underlying resolution at native rather than changing the mode.
 4
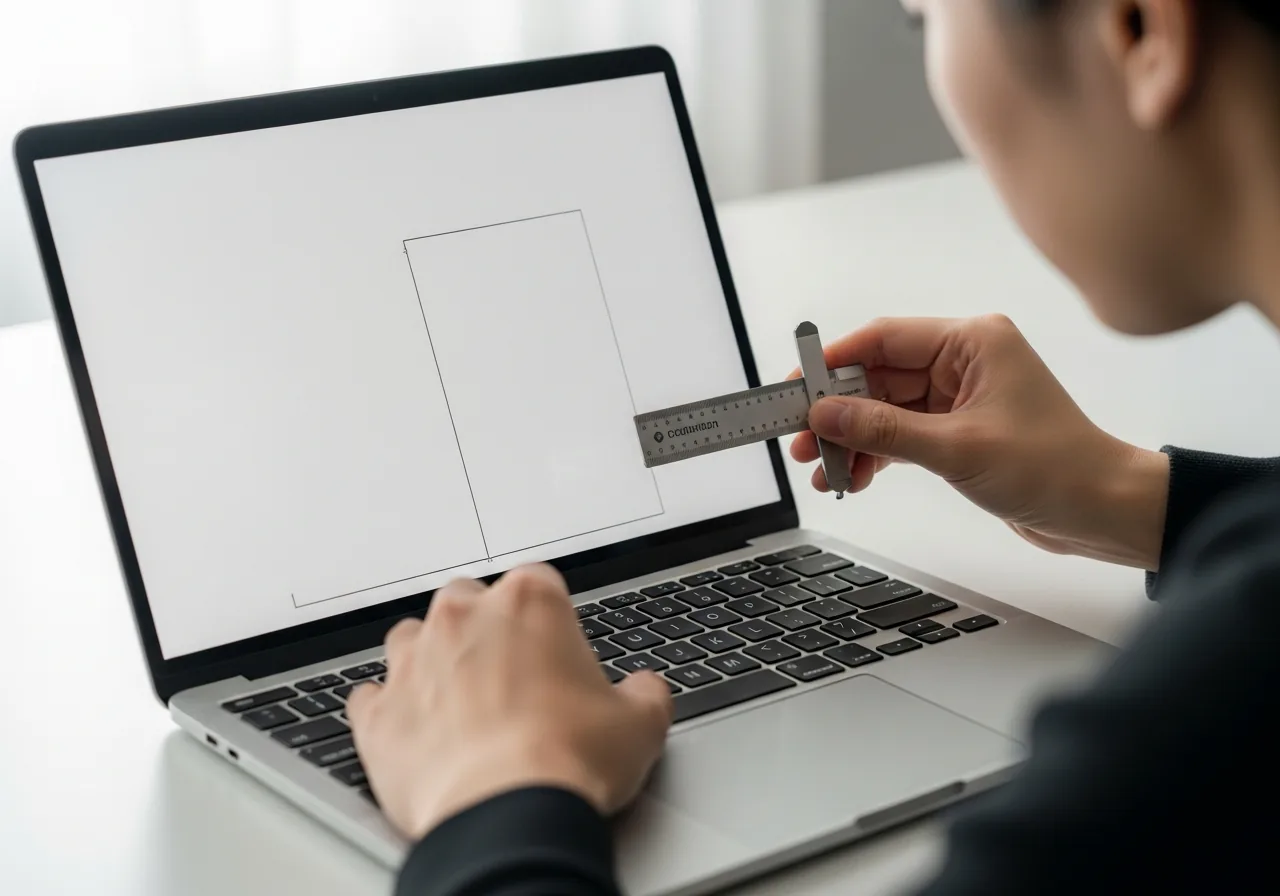
4Check the aspect ratio
Confirm the chosen ratio matches the screen's true shape so the picture is not squashed or framed by black bars.
 5
5Confirm a sharp picture
Verify text and images now look crisp and fill the panel correctly without distortion.
When to seek help
If the correct resolution is unavailable even after the display driver is in place, a technician can confirm whether the graphics hardware or panel is limiting the supported modes.
Reducing the chance it returns
Sharpness returns and stays when the panel runs at its native resolution, so set that value and use scaling only to make text comfortable rather than to change the underlying mode. Keep the proper display driver in place so the full list of resolutions remains available, and after any update glance at the settings to confirm nothing has reverted. When attaching a new screen, take a moment to set it to its native mode rather than accepting whatever default appears, and note the correct values so they are easy to restore.
Repair110 is a free, informational resource. These steps describe a careful, general approach — every device is a little different, so work slowly, back up anything you value, and prioritise your own safety. If a step feels beyond your comfort, stop and consult a qualified technician.